


103
4.10.5.4 Display
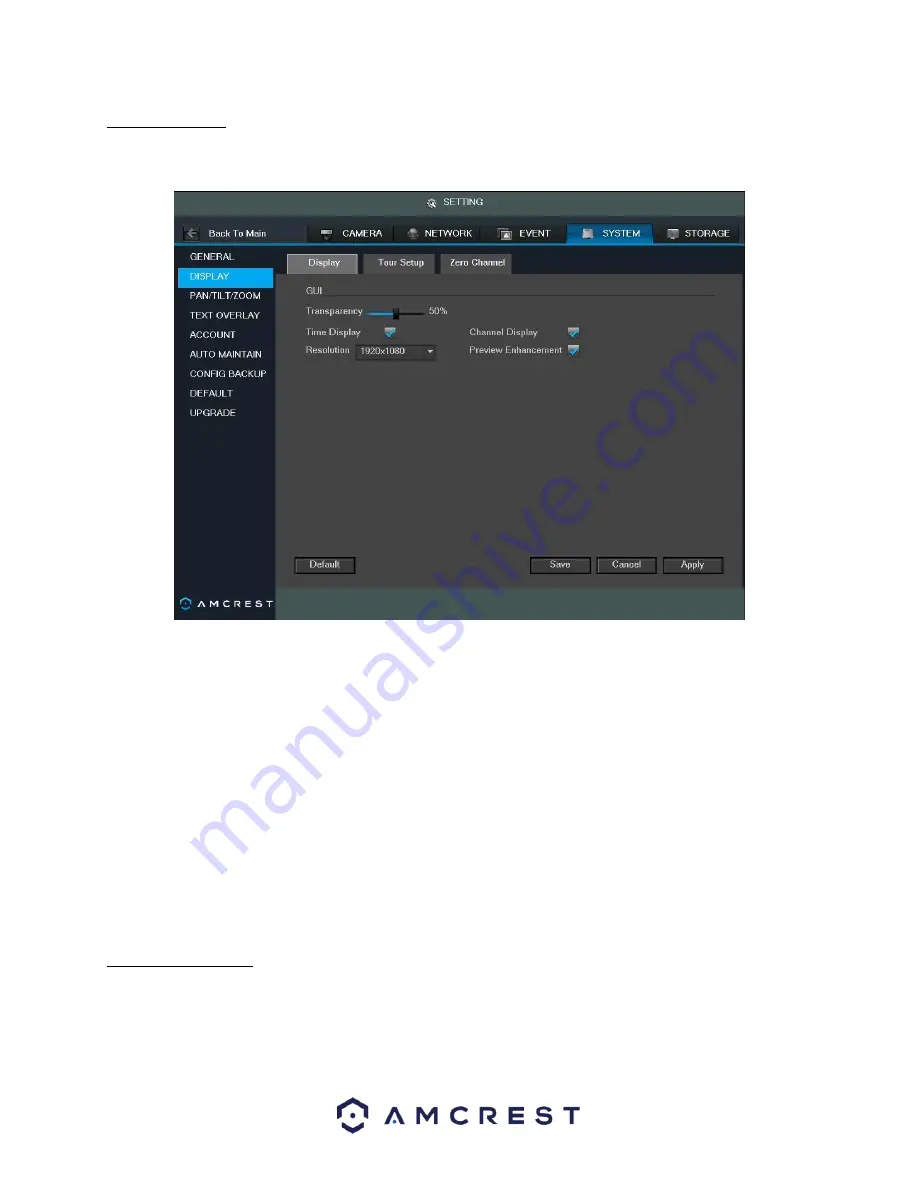
This screen is used to set display settings for the DVR. Below is a screenshot of the display settings screen:
Below is an explanation of the fields on the Display settings screen:
•
Transparency: This slider allows the user to change the transparency of the menu screens on the DVR. The
range goes from 0% to 100%.
•
Time Display: This checkbox allows the user to choose whether the time stamp shows in the playback video.
•
Channel Display: This checkbox allows the user to choose whether the channel number is displayed in the
playback video.
•
Resolution: This dropdown box allows the user to change the resolution of the DVR. There are 4 options:
o
1920×1080
o
1280×1024 (default)
o
1280×720
o
1024×768
•
Preview Enhancement: This checkbox allows the user to optimize the margin of the playback video.
To revert to default settings, click the Default button near the bottom left hand corner. To save settings, click the
save button near the bottom right hand corner. To cancel any modifications, click the Cancel button near the
bottom right hand corner. To apply the settings, click the Apply button near the bottom right hand corner.
4.10.5.5 Tour Setup
This screen is used to activate tour functionality for the live preview. Below is a screenshot of the Tour Setup
screen:


