Electronic Door Fittings of the PegaSys Series
21
Installation of the Office series
This installation type is suitable for standard doors made of wood, plastic and metal.
This installation type has not been approved for fire protection doors. Observe the statutory
stipulations.
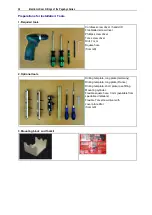
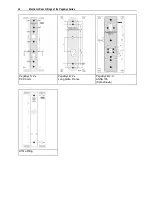
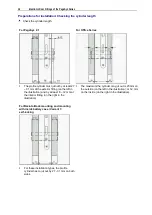
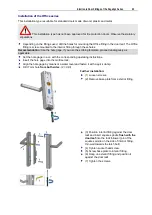
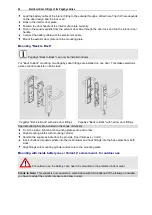
Depending on the fittings used, drill the holes for mounting the Office fitting in the door leaf. The Office
fitting is screw-mounted to the interior fitting through these holes.
Recommendation:
Use the hole gage. If you use the scribing template, proceed analogously as
applicable.
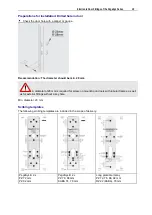
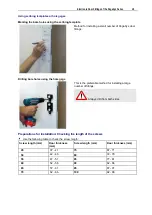
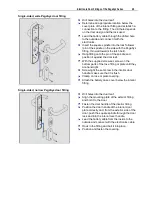
Set the hole gage in acc. with the corresponding operating instructions.
Insert the hole gage into the mortise lock.
Align the hole gage by means of a water level and fasten it with a quick clamp.
Drill 7 mm hole
from both sides
. (2 × drill)
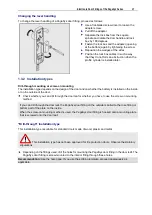
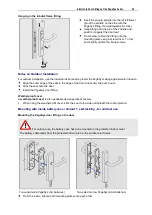
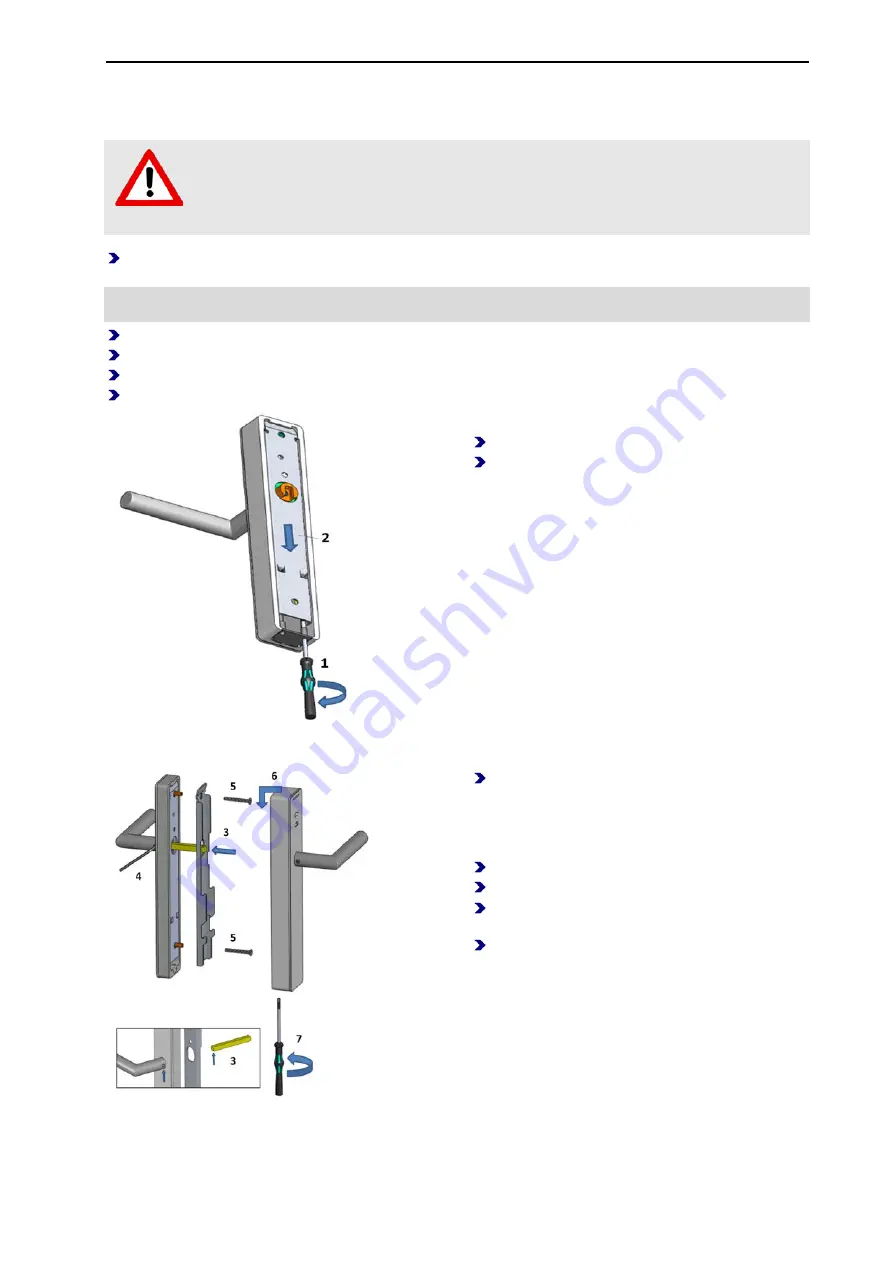
Further installation:
(1) Loosen screws.
(2) Remove base plate from exterior fitting.
(3) Position interior fitting against the door
leaf and insert square spindle
flush with the
door leaf
into the lock follower (pin of the
square spindle on the side of interior fitting,
thin wall towards the latch bolt).
(4) Tighten socket head screw.
(5) Screw base plate to interior fitting.
(6) Hang on exterior fitting and position it
against the door leaf.
(7) Tighten the screws.
Summary of Contents for PegaSys
Page 2: ......
Page 4: ......
Page 7: ...Installation Instructions for PegaSys Electronic Door Fittings ...
Page 8: ......
Page 34: ......
Page 35: ...Installation Instructions for PegaSys Electronic Lock Cylinders ...
Page 36: ......
Page 52: ......
Page 53: ...Installation Instructions for PegaSys Electronic Locker Locks ...
Page 54: ......
Page 61: ...PegaSys Locker Locks 57 Locking lever type 4 6 5 mm angled ...
Page 63: ...PegaSys Teach In or NetworkOnCard Operation Valid for all PegaSys offline components ...
Page 64: ......
Page 78: ......
Page 83: ......

