


Part # N7210 – 90006 NT 4.0 to Microsoft Windows XP Professional with Service Pack 2 Upgrade Procedure
Page 24 of 34
Printed in USA
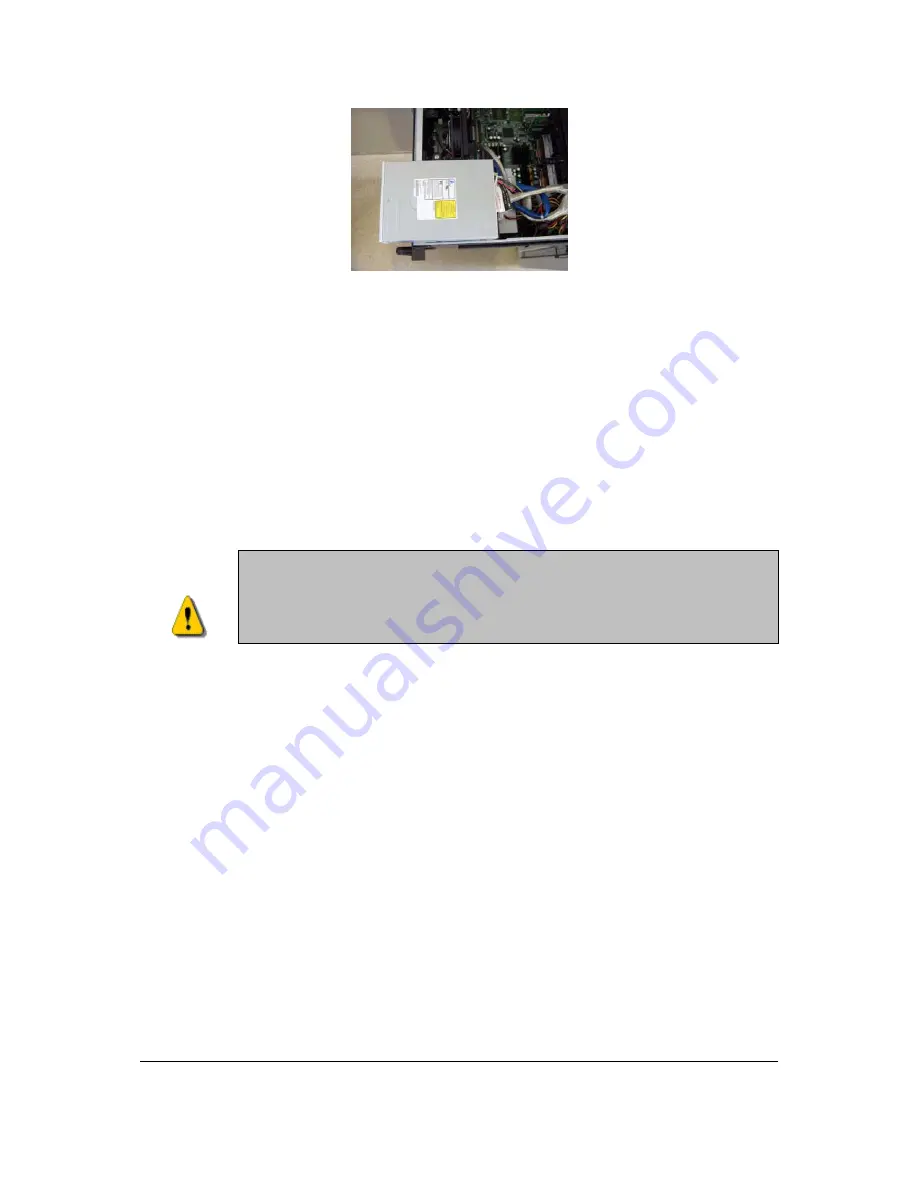
Figure 15 New CD RW Drive resting on top of the 2.8 Ghz IPC Controller with cables attached.
4. Replace the power supply and any connections that may have come loose. (Push
the tray back in if necessary.)
Note:
It may be necessary to slide the controller back slightly into the electronics tower in order to reconnect any
connections that have come loose.
5. Power on the expansion chassis.
Install Windows XP Professional and Perform a 5DX Software Restore on the Advantech
2.8 Ghz IPC Controller
Beginning the Process
1. Start with a powered off system.
2. Power on the system.
Immediately
insert the Agilent supplied
Microsoft Windows
XP Professional with Service Pack 2 Upgrade
installation CD into the new CD RW
Drive.
3. Press any key to boot from CD when prompted to do so.
4. Press <F6> to install a third party SCSI or RAID driver when prompted to do so.
This prompt appears within 5 – 10 seconds at the bottom of the blue window setup
screen. If this prompt is missed, reboot the system and try again.
5. Windows will load some initial drivers and then tell you that it couldn’t determine
the type of one or more of the mass storage devices and will prompt you to press
‘S’ to specify one. Press <S>. (If you do not receive this prompt, you missed the F6
to install command (step 4) and must reboot and try step 4 again.)
6. Insert the
Agilent Technologies IPC 2.8 Ghz Install Supplement
floppy
when
prompted to insert the disk labeled Manufacturer-supplied hardware support disk
into drive A. Press <ENTER> when ready.
The following procedure will permanently remove all content on the hard
drive. This should only be done if the 5DX controller has a system crash
and is not recoverable through any other means.
Warning


