


3
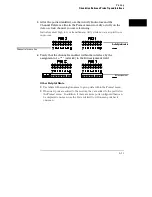
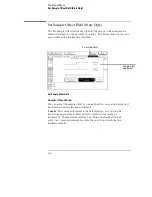
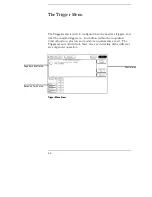
After the pod is identified, use the Activity Indicators and the
Channel Reference line in the Format menu to verify activity on the
data or clock channel you are referencing.
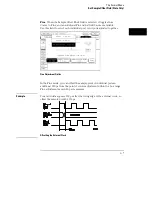
Indicators show high, low, or transitional activity while no data acquisition is
in process.
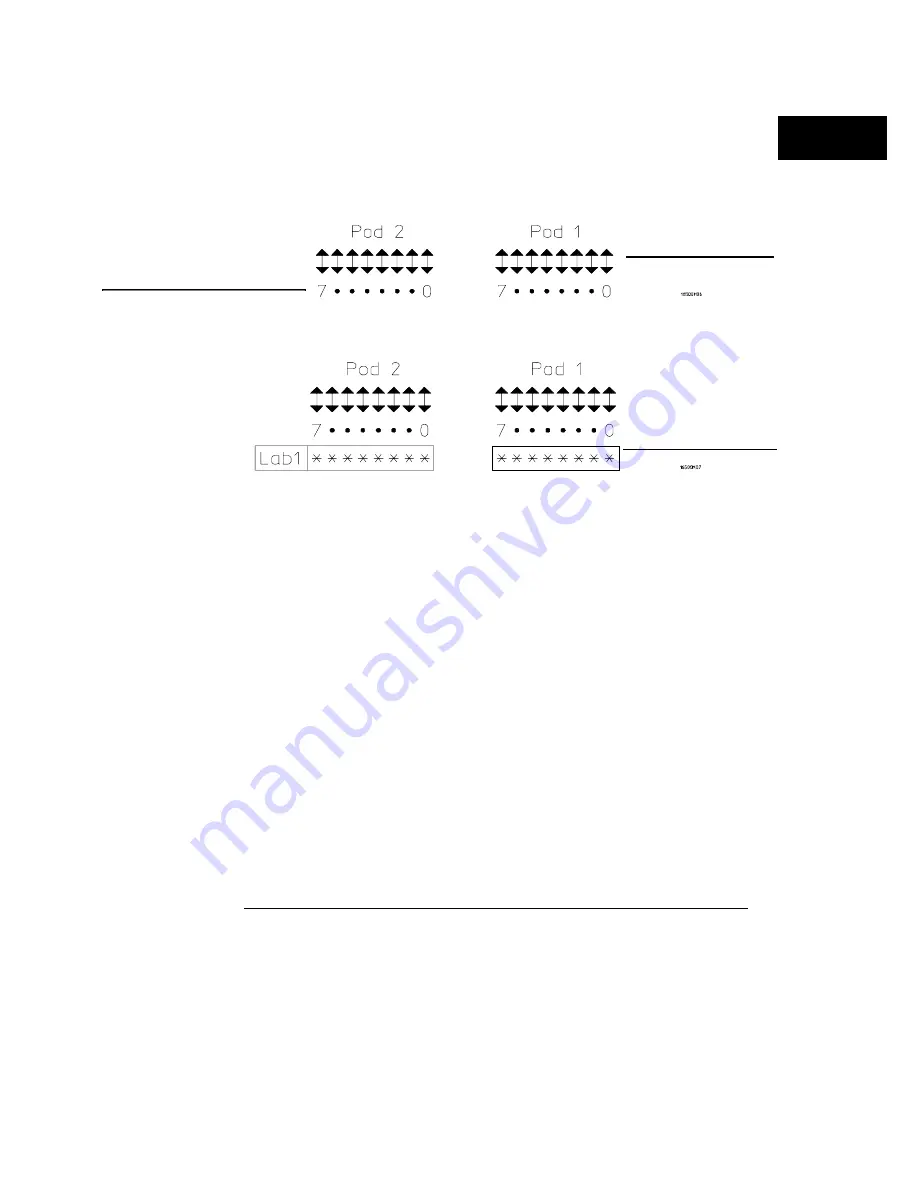
4
Verify that the channel is enabled within the interface by the
assignment of a "
*
" (asterisk) in the Bit Assignment field.
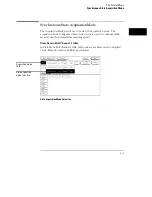
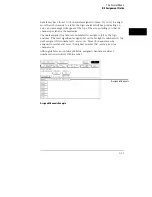
Other Helpful Hints:
•
Use labels with meaningful names to group data within the Format menu
•
When new pods are added to the module, they are added to the pod list in
the Format menu. In addition, if there are more pods configured than can
be displayed onscreen, use the Pods roll field to roll unseen pods back
onscreen.
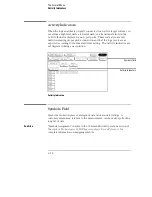
Activity indicators
Activity indicators
Channel reference line
Bit assignment
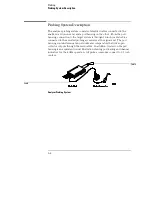
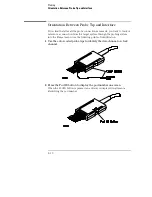
Probing
Orientation Between Probe Tip and Interface
2–11
Summary of Contents for 16517A
Page 3: ...The Agilent Technologies 16517A 4 GSa S Timing and 1 GSa S State Logic Analyzer ii ...
Page 5: ...iv ...
Page 11: ...Contents 6 ...
Page 12: ...1 General Information ...
Page 18: ...2 Probing ...
Page 29: ...2 12 ...
Page 30: ...3 The Format Menu ...
Page 42: ...4 The Trigger Menu ...
Page 79: ...4 38 ...
Page 80: ...5 The Listing Menu ...
Page 86: ...6 The Waveform Menu ...
Page 106: ...7 The Compare Menu ...
Page 122: ...8 The Chart Menu ...
Page 133: ...8 12 ...
Page 134: ...9 Markers and Stop Measurements ...
Page 149: ...9 16 ...
Page 150: ...10 Skew Adjust ...
Page 156: ...11 Error Messages ...
Page 165: ...11 10 ...
Page 166: ...12 Specifications and Characteristics ...
Page 176: ...13 Installation and Service ...
Page 189: ...13 14 ...
Page 193: ...Index 4 ...


