10
EN
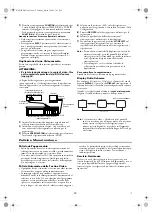
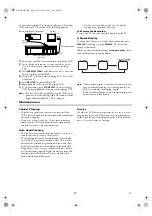
“OFF” will appear next to “AUTO REPEAT” on the TV
screen. Press
MENU
to exit.
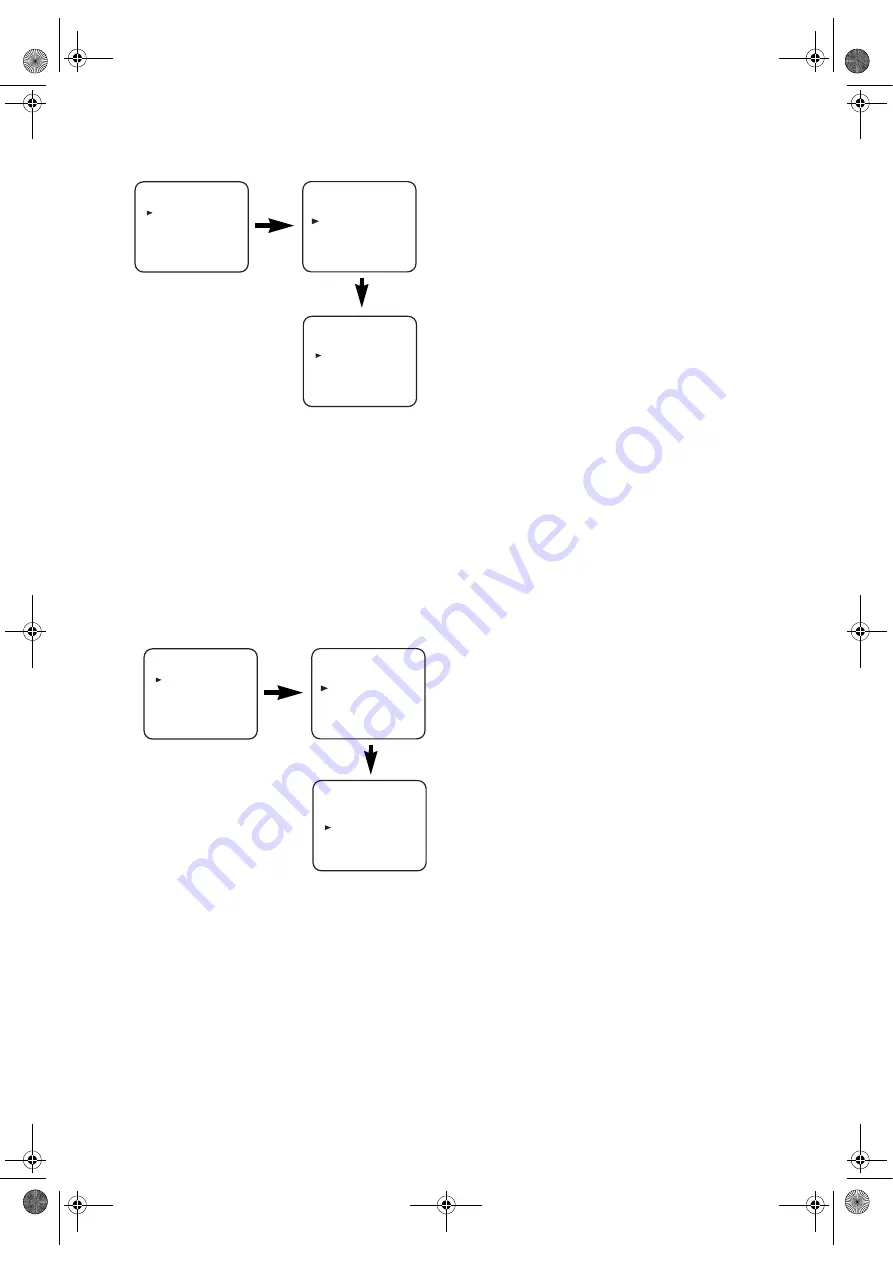
Picture Select
This function enables you to select the picture quality of a
tape.
• Use the remote control for this procedure.
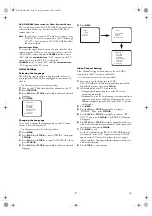
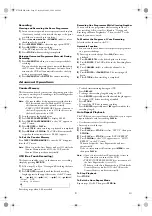
1)
Press
MENU
.
2)
Press
PLAY
/
o
or
STOP
/
L
to select “SET UP”, then press
F.FWD
/
B
.
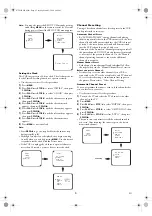
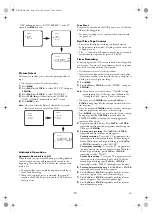
3)
Press
PLAY
/
o
or
STOP
/
L
to select “PICTURE”.
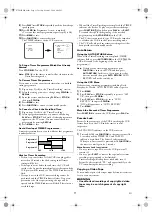
4)
Press
F.FWD
/
B
until the desired mode (NORMAL,
SOFT, or SHARP) is indicated on the TV screen.
5)
Press
MENU
to exit.
Note:
Once you select the Picture Select mode, it stays in
effect even after you turn off the VCR.
Automatic Operations
Automatic Rewind, Eject, Off
When the end of a tape is reached during recording, playback,
or fast-forward, the tape will automatically rewind to the
beginning. After that, the VCR will eject the tape and turn
itself to off.
• The tape will not auto-rewind during timer recording or
One Touch Recording.
• When the Counter Memory is activated, the tape will
rewind to the M0:00:00 position and the VCR will enter
the Stop mode.
Tape Eject
A tape can be ejected with the VCR power on or off (but the
VCR must be plugged in).
• If a timer recording is set, a tape can only be ejected with
the power on.
Real Time Tape Counter
• This shows the elapsed recording or playback time in
hours, minutes, and seconds. (Nothing is shown in the case
of blank portion.)
• The “ – ” indication will appear when the tape is rewound
further than the tape counter position “0:00:00”.
Timer Recording
You may program the VCR to start and end a recording while
you are away. You can set 8 programmes to record on specific
days, daily or weekly within a 1-year period.
• Use the remote control for this procedure.
• Insert a cassette tape with its erase-prevention tab in place.
(If necessary, rewind or fast forward the tape to the point at
which you want to begin recording.)
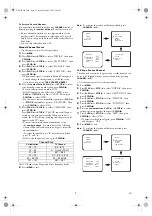
1)
Press
MENU
.
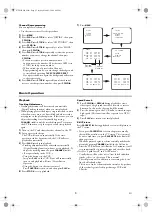
2)
Press
PLAY
/
o
or
STOP
/
L
to select “TIMER”, then press
F.FWD
/
B
.
Note:
If you have not set the clock yet, “CLOCK” setting
menu appears. If so, follow the steps outlined in the
“Setting the Clock” section. Then, set the timer.
• When you press
F.FWD
/
B
after pressing
PLAY
/
o
or
STOP
/
L
during steps
3)
to
9)
, the input mode will move to
the next step.
• If you do not press
F.FWD
/
B
within 5 seconds of setting an
item, the input mode will move to the next step.
• Press
REW
/
s
to go back one step from the current setting
during steps
4)
to
9)
. If
REW
/
s
is pressed when the
TIMER NUMBER is flashing, the entire programme
contents will be erased.
3)
Programme number flashes. Press
PLAY
/
o
or
STOP
/
L
repeatedly until the desired programme number appears.
Then, press
F.FWD
/
B
.
4)
For once-only recording
: Press
PLAY
/
o
or
STOP
/
L
repeatedly until the relevant month appears.
For daily recording
: To record a TV programme at the
same time on the same channel from Monday through
Friday. While the month digit is flashing, press
PLAY
/
o
or
STOP
/
L
repeatedly to select “MO-FR”.
For everyday recording
: To record a TV programme at
the same time on the same channel everyday. While the
month digit is flashing, press
PLAY
/
o
or
STOP
/
L
repeatedly to select “MO-SU”.
For weekly recording
: To record a TV programme at the
same time on the same channel every week. While the
month digit is flashing, press
PLAY
/
o
or
STOP
/
L
repeatedly to select “W-MO” (Example: every monday).
5)
For once-only recording only
: Press
PLAY
/
o
or
STOP
/
L
repeatedly until your desired day appears.
6)
Press
PLAY
/
o
or
STOP
/
L
repeatedly until the relevant
start hour appears. Next, enter the minute digit.
7)
Press
PLAY
/
o
or
STOP
/
L
repeatedly until the relevant
end hour appears. Next, enter the minute digit.
8)
Press
PLAY
/
o
or
STOP
/
L
repeatedly until the relevant
channel number appears.
MENU
TIMER
SET UP
INITIAL
MENU
TIMER
SET UP
INITIAL
SET UP
AUTO REPEAT
[ON]
PICTURE
[NORMAL]
AUTO RETURN
[ON]
MENU
TIMER
SET UP
INITIAL
MENU
TIMER
SET UP
INITIAL
SET UP
AUTO REPEAT
[ON]
PICTURE
[NORMAL]
AUTO RETURN
[ON]
HG210ED(EN).fm Page 10 Tuesday, March 2, 2004 4:08 PM

