PHOTOSHOP CS3
User Guide
493
If you print separations directly to film, you probably want a negative, although in many countries film positives are
common. Check with your print shop to determine which is required. To determine the emulsion side, examine the
film under a bright light after it has been developed. The dull side is the emulsion; the shiny side is the base. Check
whether your print shop requires film with positive emulsion up, negative emulsion up, positive emulsion down, or
negative emulsion down.
Background
Selects a background color to be printed on the page outside the image area. For example, a black or
colored background may be desirable for slides printed to a film recorder. To use this option, click Background, and
then select a color from the color picker. This is a printing option only; it does not affect the image itself.
Border
Prints a black border around an image. Type a number and choose a unit value to specify the width of the
border.
Bleed
Prints crop marks inside rather than outside the image. Use this option to trim the image within the graphic.
Type a number and choose a unit value to specify the width of the bleed.
Screen
Sets the screen frequency and dot shape for each screen used in the printing process.
Transfer
Adjusts the transfer functions, traditionally used to compensate for dot gain or dot loss that may occur
when an image is transferred to film. This option is recognized only when you print directly from Photoshop, or
when you save the file in EPS format and print to a PostScript printer. Generally, it’s best to adjust for dot gain using
the settings in the CMYK Setup dialog box. Transfer functions are useful, however, when compensating for a poorly
calibrated output device.
Interpolation
Reduces the jagged appearance of a low-resolution image by automatically resampling up while
printing. However, resampling may reduce the sharpness of the image quality. Some PostScript Level 2 (or higher)
printers have interpolation capability. If your printer doesn’t, this option has no effect.
For information on the Include Vector Data or Encoding options, see “Print vector data” on page 487 or “Change the
encoding method” on page 496.
See also
“Resampling” on page 64
Selecting halftone screen attributes
Halftone screen attributes include the screen frequency and dot shape for each screen used in the printing process.
For color separations, the prepress person must also specify an angle for each of the color screens. Set the screens at
different angles to ensure that the dots placed by the four screens blend into continuous color and do not produce
moiré patterns.
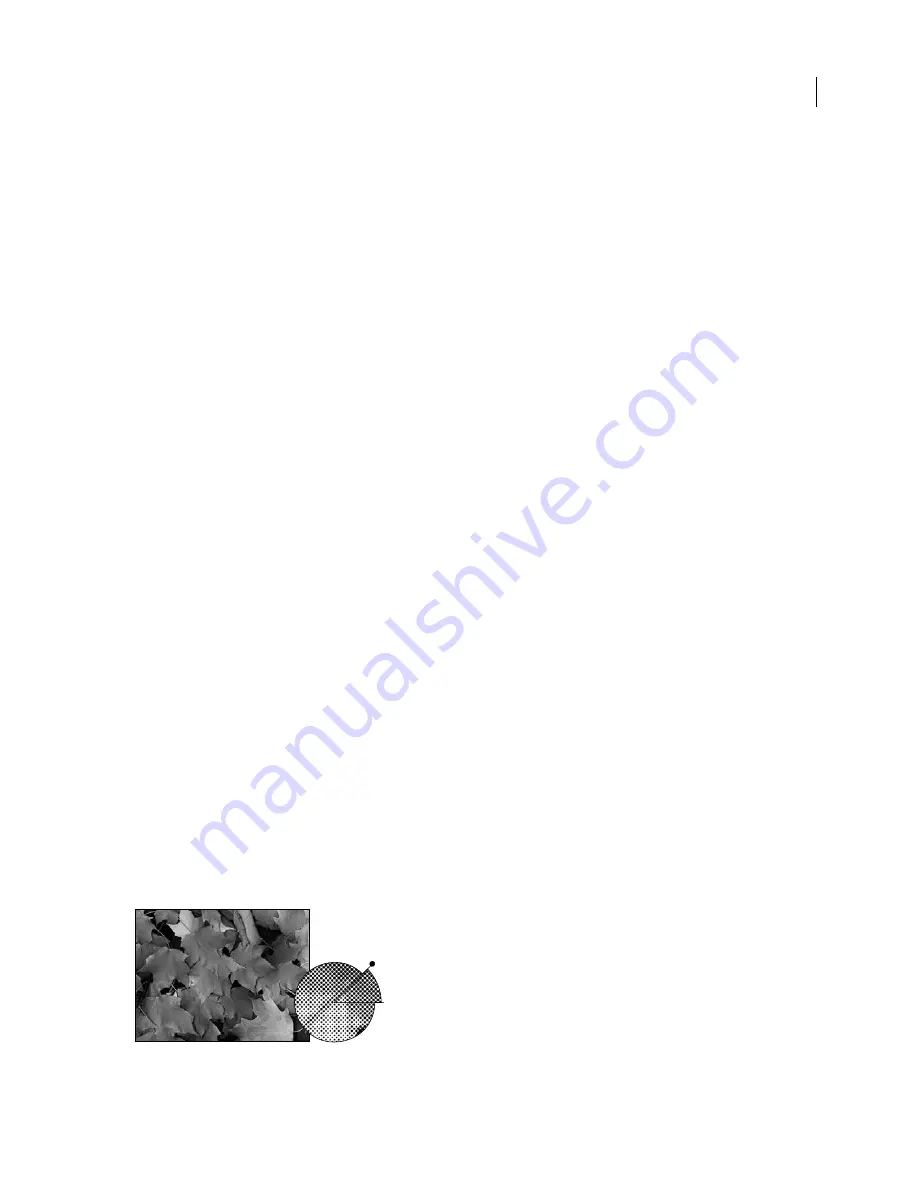
Halftone screens consist of dots that control how much ink is deposited at a specific location on press. Varying their
size and density creates the illusion of variations of gray or continuous color. For a process color image, four halftone
screens are used: cyan, magenta, yellow, and black—one for each ink used in the printing process.
Halftone screen with black ink
45
0


