


Rapid View Operation Guide
Page 39 © Ademco Video 2002 MNRDVO250602US
Chapter 5
11.1
Privacy Zone
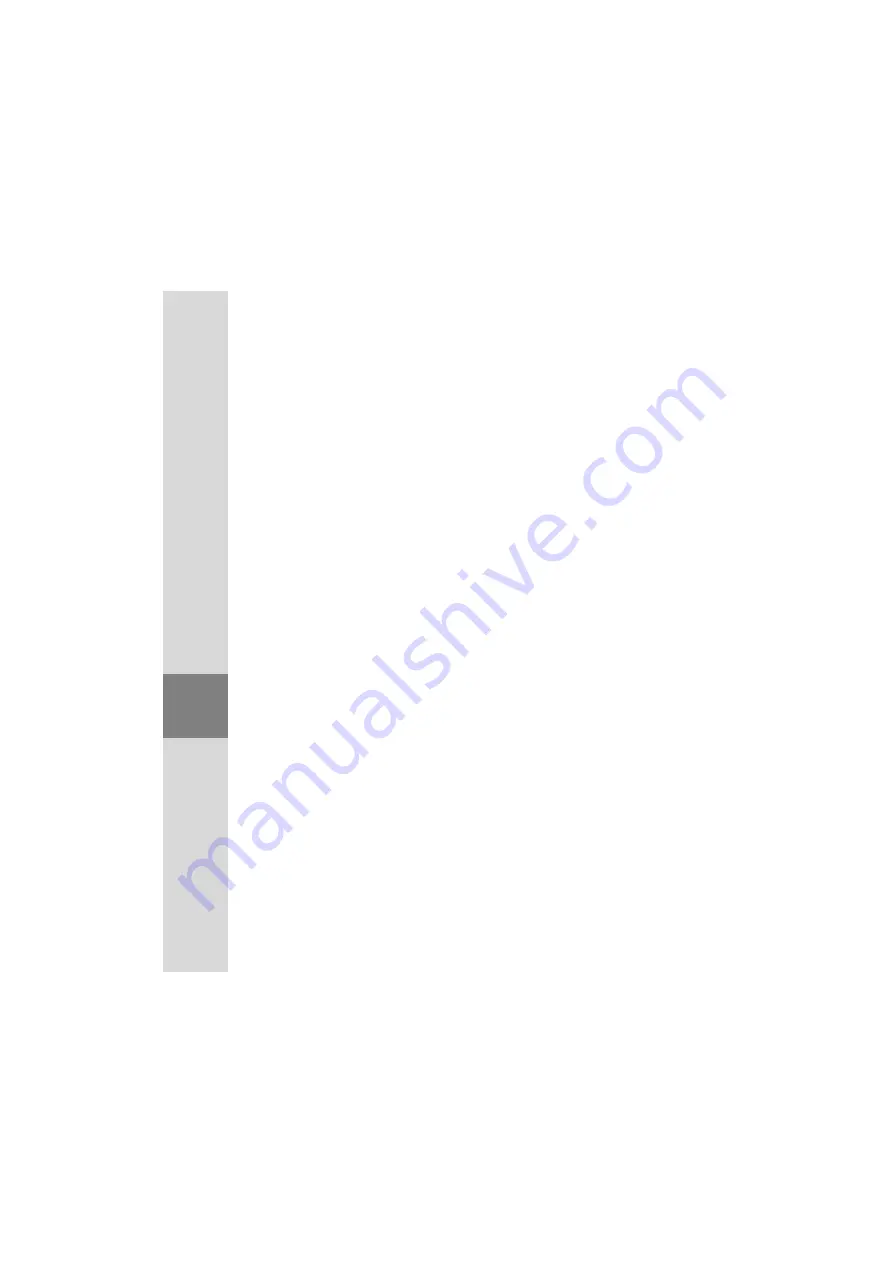
A Privacy zone consists of a blanked rectangular shaped area of screen
which is grey in colour.
Three Privacy Zones can be on the screen at anyone time. If more than
3 Privacy Zones are on the screen the camera may group them together
to ensure that the area that was under the Privacy Zones will never be
displayed.
11.2
To Define a Privacy Zone
Up to 28 Privacy Zones can be defined for each camera.
11.3
Define a Preset
Presets 100 to 127 can be used as Privacy Zones. It is not possible to
define presets 0 to 90 as Privacy Zones.
For example, to define preset 100 as a Privacy Zone.
It is not possible to redefined a preset that is already being used as a
Privacy Zone, see the section ‘Enabling / Disabling a Privacy Zone for
a Defined Preset’.
To select the camera that is to have a preset defined, enter the camera
number then press the ‘CAMERA’ button.
Using the joystick, move / zoom the camera to view the desired posi-
tion
Press and hold the ‘PRESET’ button.
Press buttons ‘1’,’0’,’0’ ,to define preset 100
Release the ‘PRESET’ button
The current camera position will now be defined as preset 100.
11.4
Tips for Defining a Preset that is to be a Privacy
Zone
When defining the preset that is to be a Privacy Zone, it is should be
noted that the whole screen that is currently in view will become
blanked when it is turned in to a Privacy Zone. In Figure xiv a), if the
house is to become a Privacy Zone, then we should zoom in until it
fills the whole screen , as shown in Figure xiv b). We then define it as
a preset. If we defined our preset as is shown in Figure xiv a), then not
only would the house be blanked , but also that area that surrounds the
Summary of Contents for RapidView
Page 1: ...Document Number MNRDVO250602US RapidView Operation Guide ...
Page 55: ......


