en
|
2 0
| User guide |
CP9680
AutoScanner® Plus
573102 | REV. A | 07.2015
Bosch Automotive Service Solutions Inc.
5. Press
again to return to the
Diagnostic Menu
.
4.8
Locating the OBD II Data Link Connec-
tor (DLC)
•
The OBDII data link connector (DLC) is usually
located under the driver’s side dash.
•
Refer to vehicle user manual for DLC location.
•
For more information, go to http://www.obdclear-
inghouse.com/oemdb.
NOTE: When tool is connected to the vehicle’s DLC,
power to the tool comes from the vehicle
4.9
Connect the Tool
1. Locate the OBDII data link connector under the
steering column. If the connector is not there, a
label should be there indicating the whereabouts of
the connector.
2. If necessary, remove the cover from the vehicle
connector.
3. Turn the ignition switch to the ON position. Do not
start the engine.
4. Plug the OBDII connector attached to the Tool into
the Data Link Connector.
5. The tool will attempt to identify the vehicle. If suc-
cessful, the vehicle identified will be displayed. If
vehicle couldn‘t be identified, menus will be shown
for you to select the vehicle manually.
The tool can support up to 5 previous vehicles in the
garage. If you already have 5 previous vehicle in your
garage, the tool will display a menu asking you
which previous vehicle to replace with the currently
identified vehicle.
6. Review Quick Test results.
7. Go to
Diagnostic Menu
by pressing
.
4.10 Vehicle Selection
AutoID™ uses the VIN to determine the type of vehicle
the tool is connected to. Vehicle manufactures began
programming the VIN into the vehicle controller in 2000,
but it was not an OBD II mandate until 2005. Vehicles
between 2000 and 2004 may or may not support
AutoID™, but vehicles after 2005 should support
AutoID™. If the tool is on a vehicle newer than database
coverage, the tool will AutoID™ as MY OBD II / EOBD, or
2012 OBD II / EOBD.
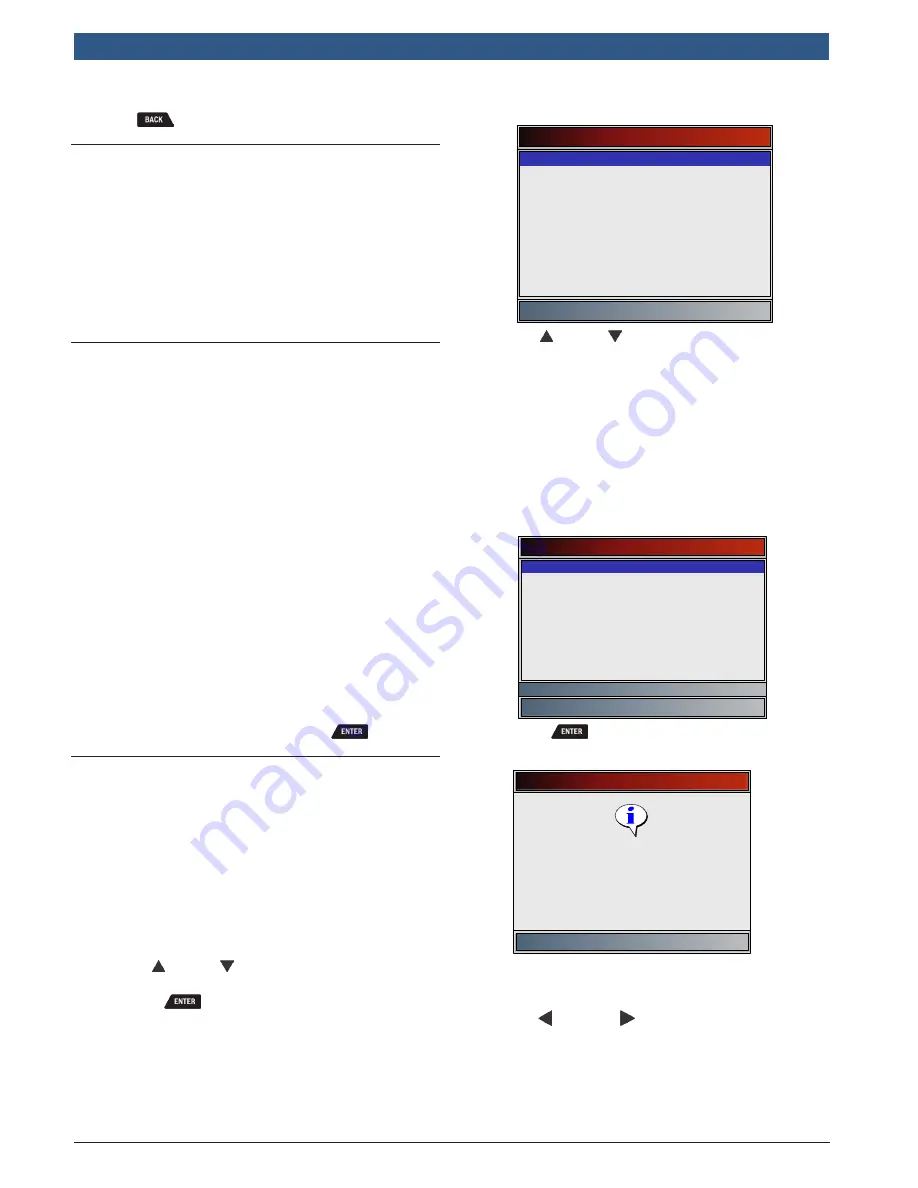
From the
Main Menu
:
1. Use the
UP
and
DOWN
keys until
Vehicle
Diagnostics
is highlighted.
•
Press
.
Main Menu
Vehicle Diagnostics
Acronyms
Review Data
Print Data
Code Lookup
System Setup
2. Use the
UP
and
DOWN
keys to select
AutoID
TM
, Manual
or
Prev
.:
•
If the vehicle is a model year 2000 or newer,
select
AutoID
TM
.
•
If the vehicle is 1999 or older, or if the vehicle
is 2000 to 2004 but does not support AutoID™,
select
Manual
and go to Step 3.
•
If the previously tested vehicle listed after
Prev:
is desired, select
Prev:
. If this is the first
time the tool has been used, the space after
Prev:
will be blank.
Select Vehicle
AutoID (>=2000)
Manual (<=1999)
Prev: 06 Accord
Prev: 04 Express 1500
Prev: 04 Express 1500
Prev: 04 Express 1500
2000-04 vehicles may support Aut
•
Press
.
•
A
Turn Key Off
screen will display.
Turn Key Off
Press ENTER to continue
Please turn the key off for
10 seconds then turn the key
on.
3. After 10 seconds, turn key ON.
•
If the vehicle is supported, the VIN number and
essential vehicle data will display.
4. Use the
LEFT
and
RIGHT
key to select YES or
NO.
•
If YES is selected, the Tool may display more
selections to further select the vehicle because
not every aspect of vehicle identification is
contained in the VIN.


