300
Copyright © Acronis, Inc., 2000-2010
7.1.3.2
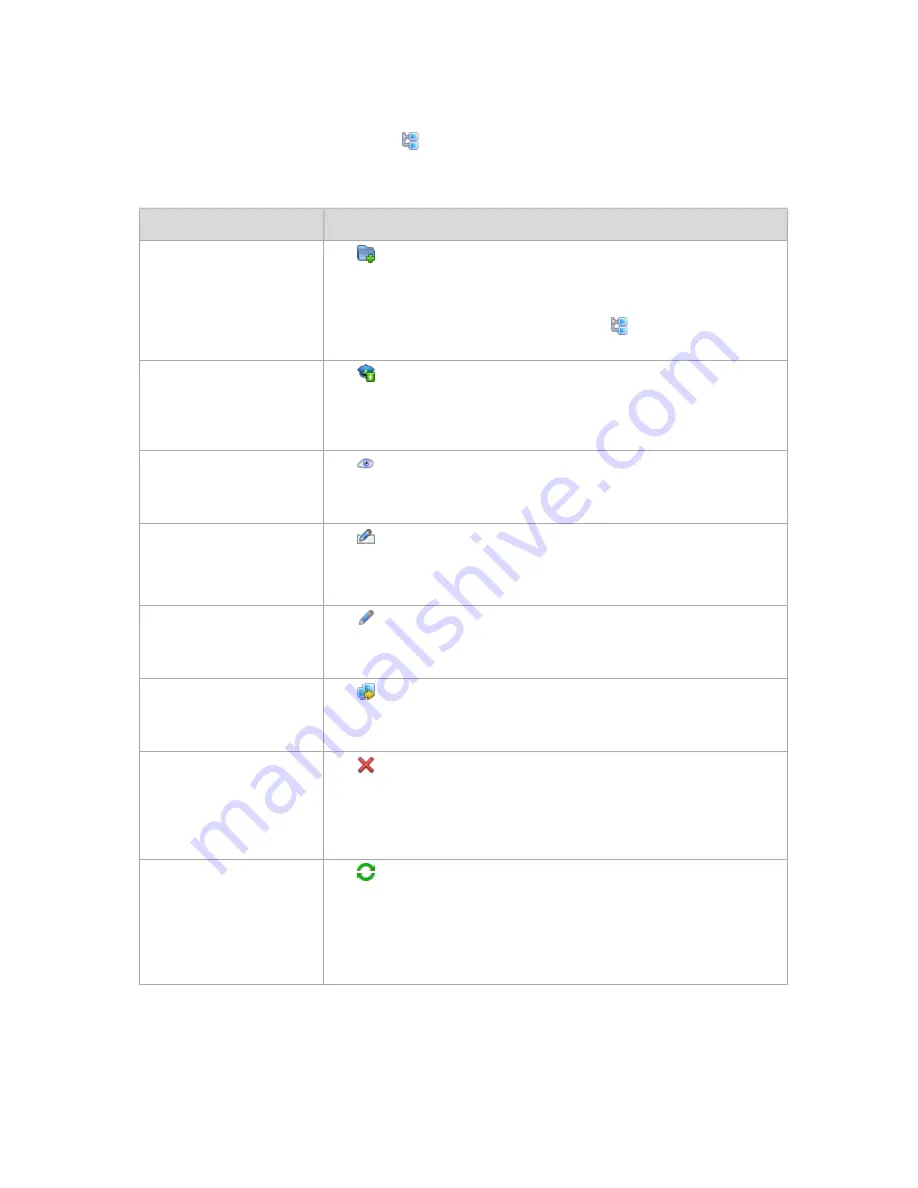
Actions on groups
Actions are available when you select the
Physical machines
view in the
Navigation
tree, and
then click on a group.
The following is a guideline for you to perform actions on selected groups.
To
Do
Create a custom static or a
dynamic group
Click
Create group
.
In the
Create group
(p. 300) window, specify the required parameters of the
group.
Custom groups can be created in the root folder (
Physical machines
), or in
other custom groups.
Apply a backup policy to a
group
Click
Apply backup policy
.
In the
Policy selection
window, specify the backup policy you need to apply to
the selected group. If there are child groups in the selected group, the backup
policy will be applied to them as well.
View detailed information on
a group
Click
View details
.
In the
Group details
(p. 303) window, examine information on the selected
group.
Rename a custom
group/subgroup
Click
Rename
.
In the
Name
column, type a new name for the selected group.
Built-in groups cannot be renamed.
Edit a custom group
Click
Edit
.
In the
Edit group
(p. 303) window, change the required parameters of the
group.
Move one custom group to
another
Click
Move to
.
In the
Move to group
(p. 302) window, specify a group that will be a new
parent of the selected group.
Delete a custom group
Click
Delete
.
Deletion of a parent group will delete its child groups as well. Backup policies
applied to the parent group and inherited by its child groups will be revoked
from all members of the deleted groups. The the policies that are directly
applied to the members will remain.
Refresh a list of groups
Click
Refresh
.
The management console will update the list of groups from the management
server with the most recent information. Though the list of groups is refreshed
automatically based on events, the data may not be retrieved immediately
from the management server due to some latency. Manual Refresh guarantees
that the most recent data is displayed.
Creating a custom static or dynamic group
To create a group
1.
In the
Group name
field, enter a name for the group being created.


