Copyright © Acronis, Inc., 2000-2010
263
Bootable components are uploaded to Acronis PXE Server using Acronis Bootable Media Builder. To
upload bootable components, start the Bootable Media Builder (either from the management
console, by selecting
Tools > Create bootable media
or as a separate component) and follow the
step-by-step instructions described in the "Bootable Media Builder (p. 249)" section.
Booting multiple machines from the Acronis PXE Server makes sense if there is a Dynamic Host
Control Protocol (DHCP) server on your network. Then the network interfaces of the booted
machines will automatically obtain IP addresses.
6.10.6.1
Acronis PXE Server Installation
To install Acronis PXE Server:
1.
Run the Acronis Backup & Recovery 10 setup file.
2.
Select Acronis PXE Server from the list of
Centralized management components
.
3.
Follow the onscreen instructions.
Acronis PXE Server runs as a service immediately after installation. Later on it will automatically
launch at each system restart. You can stop and start Acronis PXE Server in the same way as other
Windows services.
6.10.6.2
Setting up a machine to boot from PXE
For bare metal, it is enough that the machine’s BIOS supports network booting.
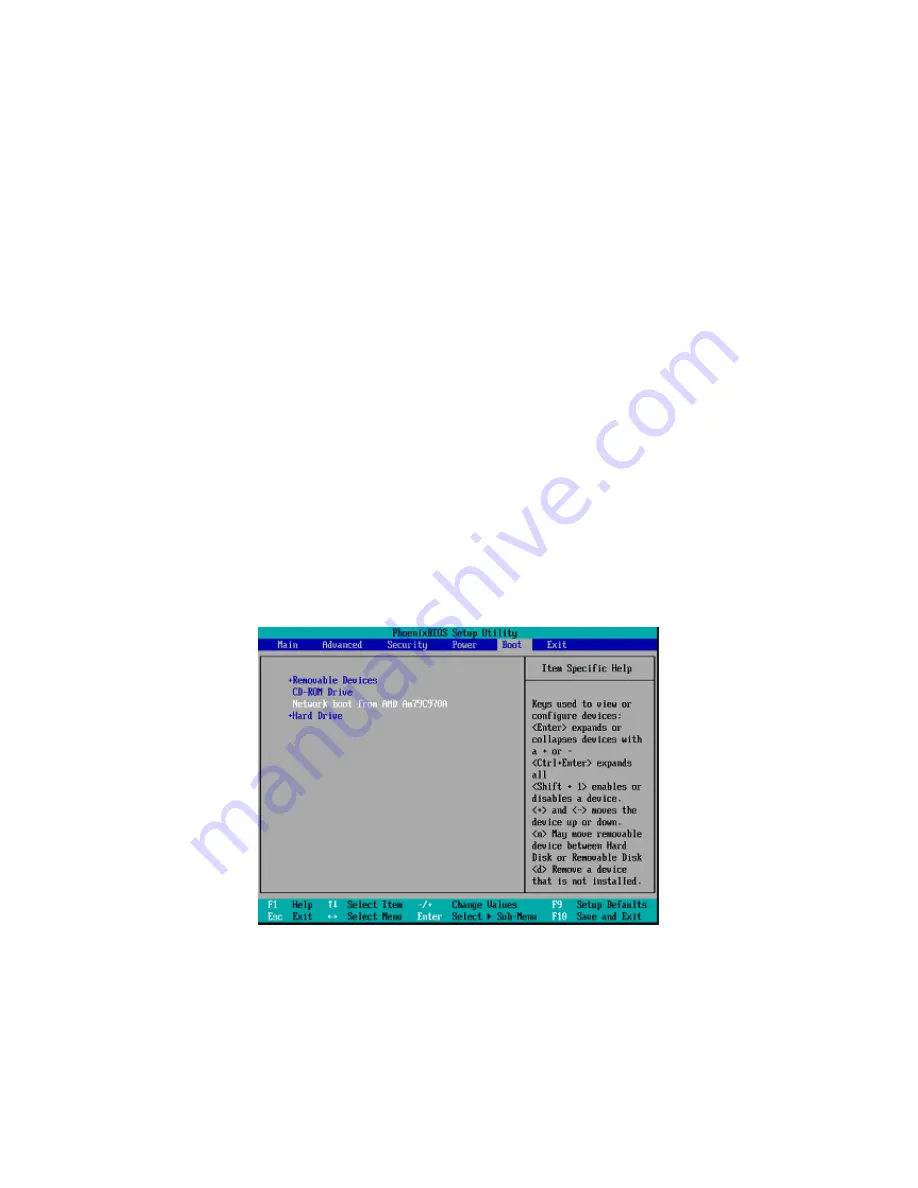
On a machine that has an operating system on the hard disk, the BIOS must be configured so that the
network interface card is either the first boot device, or at least prior to the Hard Drive device. The
example below shows one of reasonable BIOS configurations. If you don’t insert bootable media, the
machine will boot from the network.
In some BIOS versions, you have to save changes to BIOS after enabling the network interface card so
that the card appears in the list of boot devices.
If the hardware has multiple network interface cards, make sure that the card supported by the BIOS
has the network cable plugged in.


