1 G e t t i n g s t a r t e d
Command interface
14
NOTE:
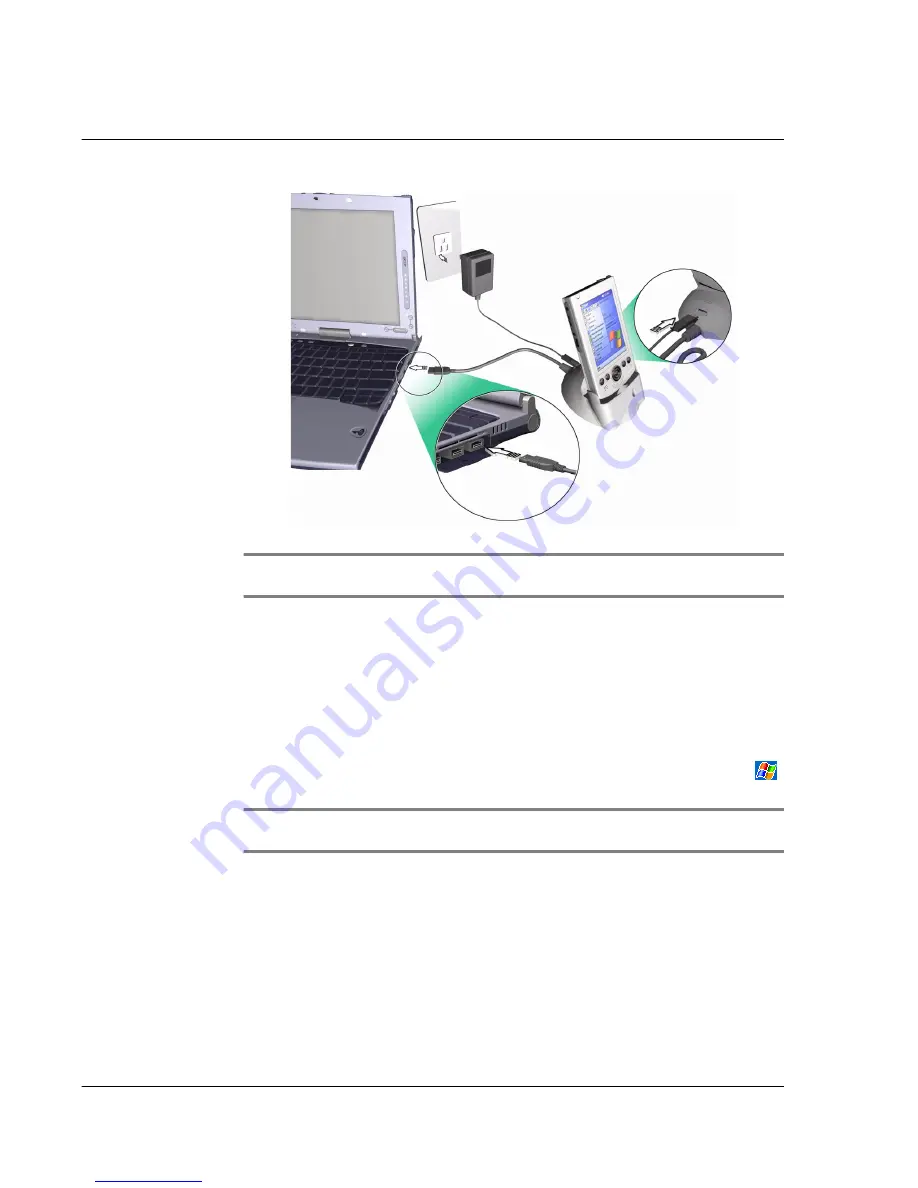
If the wizard does not automatically appear, launch ActiveSync on your computer by
clicking on its icon from
Start > Programs
.
4
Follow the onscreen instructions.
The first synchronisation process will automatically begin when you finish using the
wizard.
After your first synchronisation, take a look at Calendar, Contacts, and Tasks on your
handheld. You'll notice that information you've stored in Microsoft Outlook on your
computer has been copied to your handheld, and you didn't have to type a word.
Disconnect your handheld from your computer and you're ready to go!
Once you have set up ActiveSync and completed the first synchronisation process, you
can initiate synchronisation from your handheld. To do so, on your handheld, tap
,
then tap ActiveSync.
NOTE:
If you have a wireless LAN card, you can synchronise remotely from your handheld.
For Acer n20w models, you can use the built-in IEEE 802.11b WLAN adapter.
Command interface
Hardware buttons and the stylus
Your handheld has hardware buttons that control actions and scroll functions, and a
stylus for selecting items and entering information.
On your handheld, the stylus replaces the mouse.
Summary of Contents for n20
Page 1: ...Manual for Acer n20 Handheld ...
Page 4: ...About this Manual iv ...
Page 10: ...First things first Locking your Acer n20 x ...
Page 42: ...2 Entering data in your Acer n20 Using My Text 28 ...
Page 104: ...6 Using third party applications PocketTV Enterprise Edition 90 ...
Page 112: ...7 Using expansion features Expansion sleeve 98 ...
Page 128: ...9 Getting connected Getting help on connecting 114 ...
Page 134: ...10 Using Microsoft Pocket Internet Explorer Using Pocket Internet Explorer 120 ...
Page 152: ...11 Customising your handheld Adding a program to the Start menu 138 ...
Page 156: ...142 ...


