87
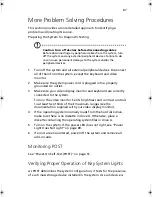
More Problem Solving Procedures
This section provides a more detailed approach to identifying a
problem and locating its source.
Preparing the System for Diagnostic Testing
Caution
:
Turn off devices before disconnecting cables
:
Before disconnecting any peripheral cables from the system, turn
off the system and any external peripheral devices. Failure to do
so can cause permanent damage to the system and/or the
peripheral devices.
1
Turn off the system and all external peripheral devices. Disconnect
all of them from the system, except the keyboard and video
monitor.
2
Make sure the system power cord is plugged into a properly
grounded AC outlet.
3
Make sure your video display monitor and keyboard are correctly
connected to the system.
Turn on the video monitor. Set its brightness and contrast controls
to at least two thirds of their maximum ranges (see the
documentation supplied with your video display monitor).
4
If the operating system normally loads from the hard disk drive,
make sure there is no diskette in drive A. Otherwise, place a
diskette containing the operating system files in drive A.
5
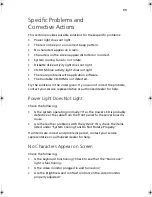
Turn on the system. If the power LED does not light, see “Power
Light Does Not Light” on page 89.
6
If errors are encountered, power off the system and remove all
add-in cards.
Monitoring POST
See “Power-On Self-Test (POST)” on page 51.
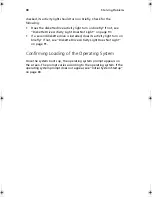
Verifying Proper Operation of Key System Lights
As POST determines the system configuration, it tests for the presence
of each mass storage device installed in the system. As each device is
BS811.f/cppl!!Qbhf!98!!Uvftebz-!Opwfncfs!37-!3113!!21;19!BN
Summary of Contents for Altos R700 Series
Page 1: ...Altos R700 Series User s guide ...
Page 10: ...x ...
Page 11: ...1 Description ...
Page 37: ...2 Installation Procedures ...
Page 43: ...33 8 Press one end of the clip down 2 9 Press the other end of the clip down 3 ...
Page 48: ...2 Installation Procedures 38 ...
Page 49: ...3 Upgrading ...
Page 54: ...3 Upgrading 44 ...
Page 55: ...4 Configuration Software and Utilities ...
Page 56: ...4 Configuration Software and Utilities 46 ...
Page 63: ...53 4 Press Enter 5 The boot process continues When finished a system prompt displays ...
Page 90: ...4 Configuration Software and Utilities 80 ...
Page 91: ...5 Solving Problems ...
Page 94: ...5 Solving Problems 84 hardware and operating system list on the Acer Customer Support website ...
Page 105: ...6 Technical Reference ...
Page 106: ...6 Technical Reference 96 ...
Page 124: ...6 Technical Reference 114 ...
Page 125: ...Appendix A Equipment Log and Power Consumption Worksheets ...
Page 127: ...117 Hard Disk Drive 5 Item Manufacturer Name and Model Name Serial Number Date Installed ...
Page 132: ...Appendix A Equipment Log and Power Consumption Worksheets 122 ...

