


+33 4 7642 9550
www.aaton.com
Cantar-X User Manual v2.44 (r14) 2013 March 21
p.49
p.49
TUTORIAL
PLAY
&
REC [2]
Play-card creation
Cantar-X1 & X2
1-
Go to BLUE-PLAY (see p.10), then with [shift] [>], choose
a Play-file among the
A to L
(1) displayed top-left of the
rectangular screen.
2-
With [<] or [>], select an empty card among the
A00
..
A51
(1) cards.
The factory A00 card contains the entire play-file;
it does
not store
cues-in entered for test purpose; the non-modifiable
cue-out is the take duration.
3-
To fill an empty card, e.g. A01, scrub the audio time-line
(4) by [jog], press the [black] button to set a cue-in (3), scrub
further and press the [red] button to set a cue-out (7); a
half
second mute
is inserted at the
cue-out to let you fine tune its
position. The last entered cue-
in or cue-out points replace the
former ones.
Once a cue-in is entered (cue-out not necessary), an empty
card becomes a
play-card
. The cue points are stored in
the iXML of the file and will only be removed by erasing
the play-card; to do so, [jog] to 00:00 and press [red]. To
hide
a play-card without erasing its cues, press [shift] [red];
tagged with a '
*
' the card is no longer visible in the BLUE-
TEST/BLUE-REC play list, shortening it.
4-
With [>] select a play-card and press [ok] to play it from
its cue-in. If there is no cue-out or if you want to stop the
playback before reaching it, press [ok]. Press [ok] again to
restart from cue-in. Press [esc] to pause, press [esc] to resume
play.
note1:
when going to BLUE-PLAY, take your time while pass-
ing over STOP! If the message '
you were too fast
' appears,
go back to STOP for one second.
note2:
The Play&Rec metadata is stored in an iXML v1.50a
chunk compliant with Cantar v2.11 or later. To
update
old
style files, see p.25.
Rehearsal
As soon as BLUE-TEST is activated, the playback tracks (Tp1
to Tp6), are internally sent to the digi1–8 inputs from where
they are routed the standard way (see
Play&Rec In-Grids,
p.28). Adjust the relative levels of the digital inputs (Tp tracks)
and analog inputs, then rehearse your intended BLUE-REC
navigation (see
Playback
below); the last BLUE-TEST selected
play-card is the first to be played.
TIP:
in BLUE-TEST you can go swiftly from one play-card to
the next to let the Director verify the 'hilited' segments of a
take without scrubbing through the entire file.
note:
Play&Rec works at 48kHz (±0.1%). The play-files are
played at the 'Live' recording sample rate, this is quite useful
on filmed music shows transferred to NTSC.
To import MP3s into your archives, see p.25.
Live recording
Select 'Live (all)' in
BLUE-BRWS.21
Playback
In BLUE-REC, the analog inputs are recorded the standard
way. To play the first play-card, press [ok] (or [space] on a
keyboard). To stop before reaching the card's cue-out, press
[ok]. To replay from the cue-in, press [ok]. To pause, press
[esc], to resume, press [esc].
To reach the next card, two possibilities:
1
browse the '
view
' tagged play-files with [shift] [>], then
select the desired '
*
'
tagged play-card with [>];
2
connect a PS2 keyboard (p.58) and type the successive
card IDs (B12, F45, A08), then [enter]. Tarkan (p.51) can be
of tremendous help here.
ADR-1
(same as above). The actor listens to the play-card contain-
ing the lines to be replaced. A buzz is heard in the head-
phones at the play-card's end to warn him to start talking.
Without stopping the live recording, the operation can be
repeated again and again to satisfaction.
E 01
E 15
E 04
E 34
*
E 08
E 45
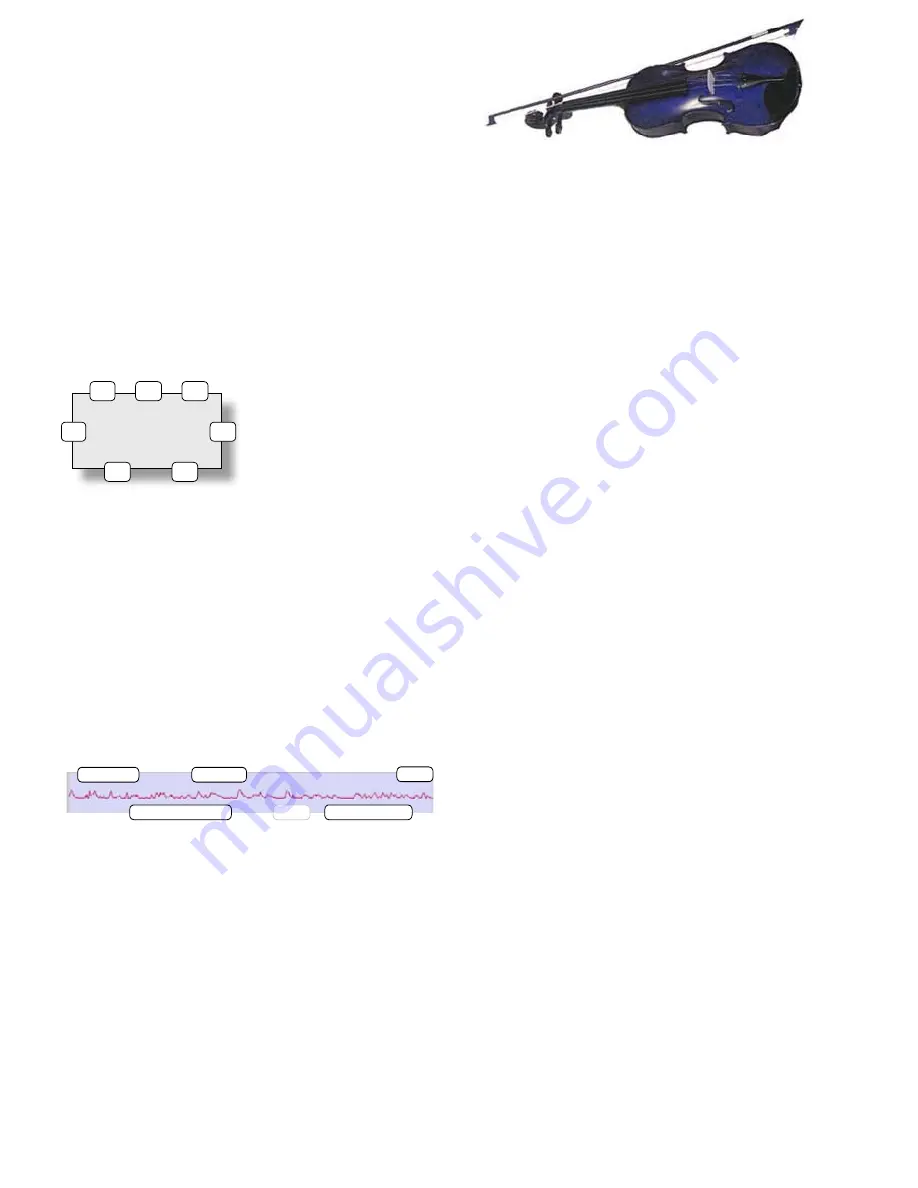
Play-file 'E' from the archives, six play-cards (E34 hidden). Note
their overlaping placement, suitable for 'classic playback'
A01* > 01:45
02:15 02:17
CC2165 ––:––
1
2
3
4
5
6
7


