Model 6753i IP Phone User Guide
151
4.
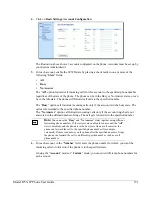
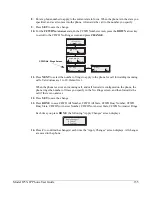
Click on
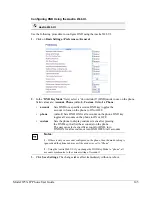
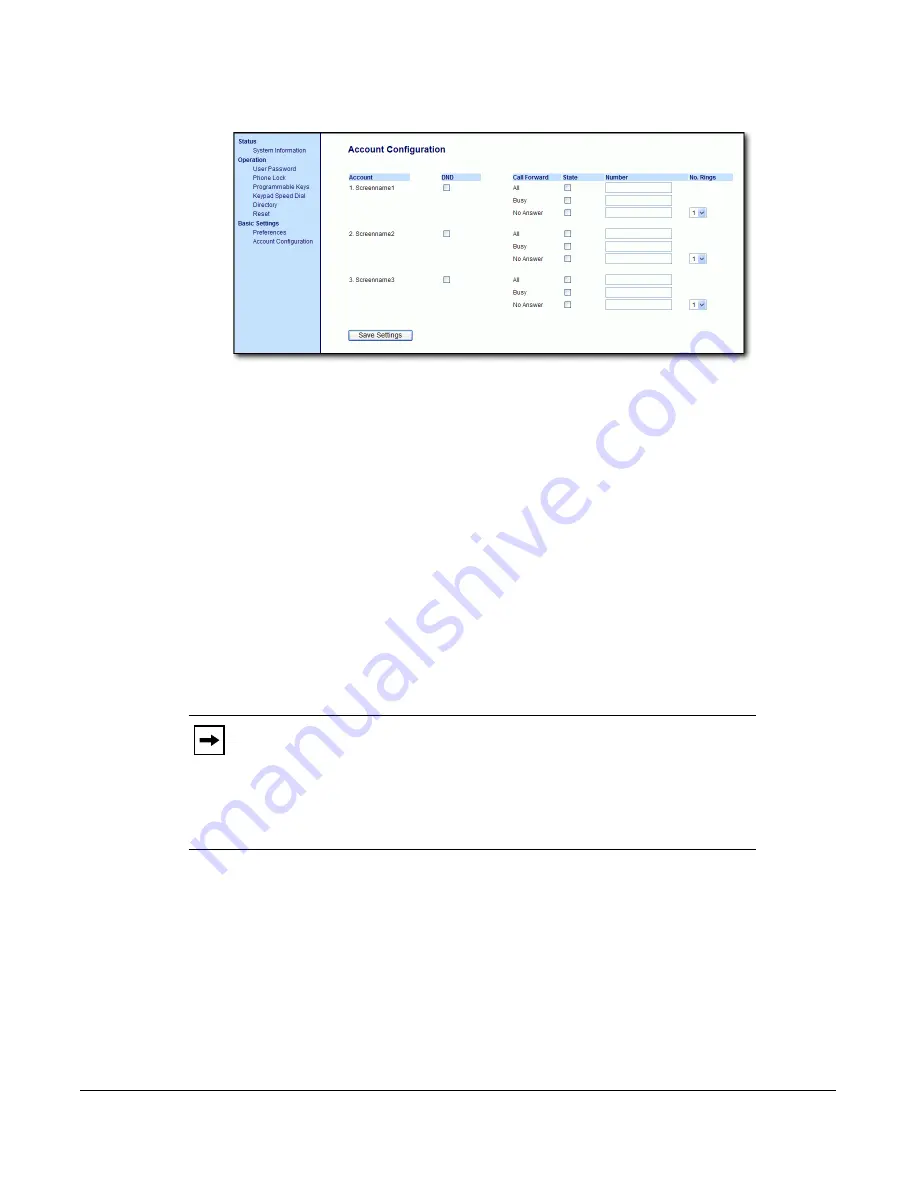
Basic Settings->Account Configuration
.
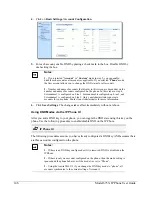
The illustration above shows 3 accounts configured on the phone. Accounts must be set up by
your System Administrator.
5.
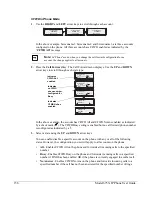
For each account, enable the CFWD state by placing a check mark in one or more of the
following “
State
” fields:
•
All
•
Busy
•
No Answer
The “
All
” option forwards all incoming calls for this account to the specified phone number
regardless of the state of the phone. The phone can be in the Busy or No Answer states, or can
be in the idle state. The phone still forwards all calls to the specified number.
The “
Busy
” option call forwards incoming calls only if the account is in the busy state. The
calls are forwarded to the specified phone number.
The “
No Answer
” option call forwards incoming calls only if the account rings but is not
answered in the defined number of rings. The call gets forwarded to the specified number.
6.
For each account, in the “
Number
” field, enter the phone number for which you want the
incoming calls to forward to if the phone is in the specified state.
If using the “
Account
” mode or “
Custom
” mode, you can enter different phone numbers for
each account.
Note:
You can use the “
Busy
” and “
No Answer
” states together using different
forwarding phone numbers. If these states are enabled for an account (the “
All
”
state is disabled), and the phone is in the busy state when a call comes in, the
phone can forward the call to the specified phone number (for example,
voicemail). If there is no answer on the phone after the specified number of rings,
the phone can forward the call to a different specified number, such as a cell
phone number.

