For technical questions, please call 1-888-866-5797
46
About the
Scan Tool
DIS
PL
AY
FUNC
TIONS
3
5.
M (Menu)
button
– W
hen
pre
sse
d, d
isp
lay
s th
e M
ain
Men
u.
6.
LD button
–
When pressed
while
linked to
a vehicle,
places
the
Scan To
ol in
Live
Data mode.
7.
UP butto
n
– When
in ME
NU mode,
scrolls UP
through the
menu optio
ns. When
LINKED
to
a vehic
le,
scrolls
UP thro
ugh
the
current disp
lay screen
to disp
lay
any addit
iona
l data.
8.
ENTER
button
-
When in
Menu mode,
confirms
the selected
option or
value.
9.
DOWN
button
- W
hen
in
M
EN
U m
ode
, s
cro
lls
do
wn
thr
oug
h the
menu options.
When LI
NKED
to
a veh
icl
e, scr
olls do
wn throu
gh the
current disp
lay screen
to disp
lay
any addit
iona
l data.
10.GR
EEN
L
ED
-
Indicates tha
t
all eng
ine s
ystems are
runnin
g
normally (all
Monitors
on the
vehi
cle
are a
ctive and
performing their
diagnostic
testing,
and no
DTCs
are
present).
11.YEL
LOW
LE
D
-
Indicates there
is a
possible problem.
A “Pe
nding”
DTC
is pres
ent and/or
some of
the
vehicle's em
ission mon
itors
have
not run
their dia
gnostic testin
g.
12.RE
D L
ED
-
Indicates there
is a
problem in
one or
more o
f th
e
vehicle's
system
s. The
red LED
is al
so
used
to show
that DT
C(s)
are present.
DTCs are
show
n on
the Scan
Tool’s LCD
display.
In
this case,
the Malfunctio
n Indicator
(“Check
Eng
ine”)
lamp on
the
vehicle
's
ins
tru
men
t p
ane
l will
light steady
on.
13.Di
splay
- D
isp
lay
s te
st r
esu
lts
, S
can
T
ool
fun
ctio
ns
and
Mon
ito
r s
tat
us
info
rm
atio
n. S
ee
DIS
PLA
Y F
UN
CT
IO
NS
, b
elo
w, fo
r d
eta
ils
.
14.CABLE
- C
onn
ect
s th
e S
can
Too
l to
the
ve
hic
le'
s D
ata
Li
nk C
onn
ect
or
(DLC).
DISPLAY
FUNC
TIONS
Figure 2.
Display
Functions
See F
igure
2 for
the locations
of items
1 through
15, below.
1.
I/M M
ONIT
OR S
TA
TU
S f
ield
- Id
ent
ifie
s th
e I/
M Monitor
status area.
4
3
2
5
7
6
1
14
10
11
12
8
9
13
15
ADJUSTMENTS AND SETTINGS
Additional Tests
ADJUSTMENTS AND SETTINGS
46
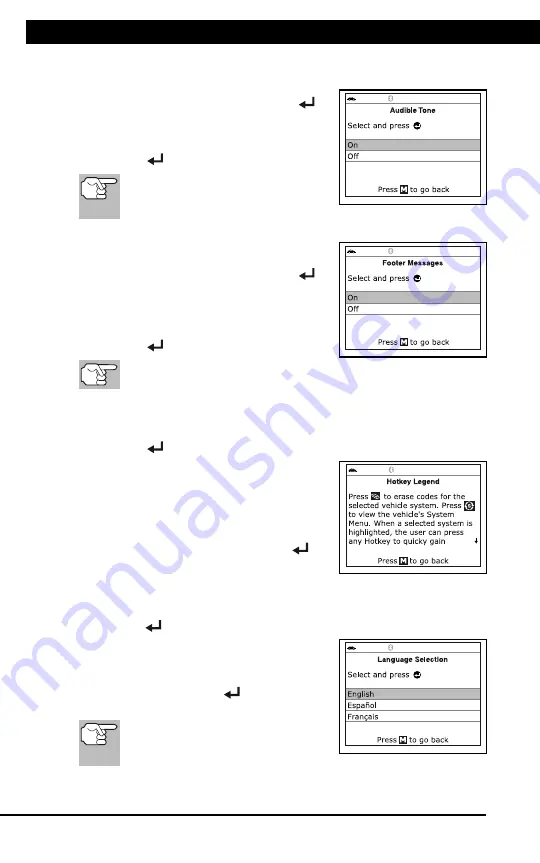
Enabling/Disabling the Audible Tone
1.
Select
Audible Tone
in the Tool
Settings menu, then press
ENTER
.
The Audible Tone screen displays.
2.
Select
On
or
Off
as desired, then press
ENTER
to save your changes.
To return to the Tool Settings
menu without making changes,
press
M
.
Enabling/Disabling Navigational Footers
1.
Select
Footer Messages
in the Tool
Settings menu, then press
ENTER
.
The Footer Messages screen
displays.
2.
Select
On
of
Off
as desired, then press
ENTER
to save your changes.
To return to the Tool Settings menu without making changes,
press
M
.
Viewing the Hotkey Legend
1.
Select
Hotkey Legend
in the Tool Settings menu, then press
ENTER
.
The Hotkey Legend screen displays.
The screen shows a functional
description of each of the Scan
Tool’s hotkeys.
2.
When you have finished viewing the
Hotkey Legend, press
ENTER
to
return to the Tool Settings menu.
Selecting the Display Language
1.
Select
Language Selection
in the Tool Settings menu, then press
ENTER
.
The Language Selection screen dis-
plays.
2.
Select the desired display language,
then press
ENTER
to save your
changes.
To return to the Tool Settings
menu without making changes,
press
M
.
Содержание ZR13s
Страница 1: ......


