USER MANUAL
USER MANUAL
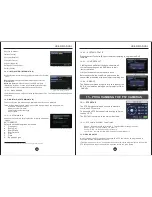
5.1 – Main Menu
The Main Menu contains the following sub-menus:
1.
Camera – Configure Live View and sequencing options
2.
Record - Configure recording options, resolution, and scheduling
3.
Network – Configure DVR for local and remote online access
4.
Search – Search for, play, and backup recorded files
5.
Devices – Manage hard drive, alarm, PTZ, mobile phone, and motion detection settings.
6.
System – Configure date and time, security settings, video options, system language,
device information, and automatic maintenance.
In order to access the Main Menu, either right-click on the live feed display and then click
Main Menu or press the Menu button on the front panel.
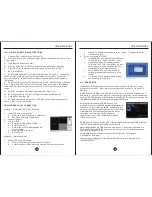
4.3 – SETTING SYSTEM DATE AND TIME
In order to find and view recordings for the proper date, it will be necessary to set
the system date and time.
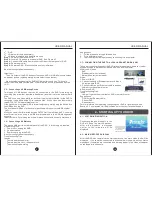
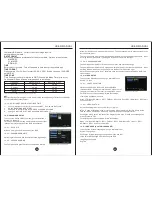
1. Go to Main Menu > System > Date/Time
2. Click Date field and enter today's date.
3. Click Time field and enter current time.
4. Click Time Zone drop-down menu and
select proper time zone.
5. Click DST drop-down menu and select On
or Off for your location.
6. Click Apply > OK > Exit.
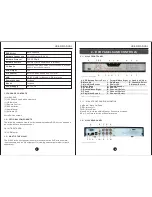
Figure 4-13: System Date and Time Setup Menu
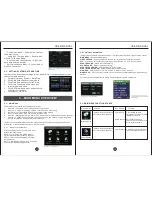
Figure 5-16: 9104V Main Menu
· Full Screen Mode – Double-click channel
to be maximized
· Quad(2
×
2) Screen Mode – Double-click
while in Full Screen Mode
· Access Quick Launch Menu – Right-click
anywhere on Main Display
· Exit Quick Launch Menu – Click outside of
Quick Launch menu
5 – MAIN MENU OVERVIEW
Figure 5-14: Menu Lock dialog box
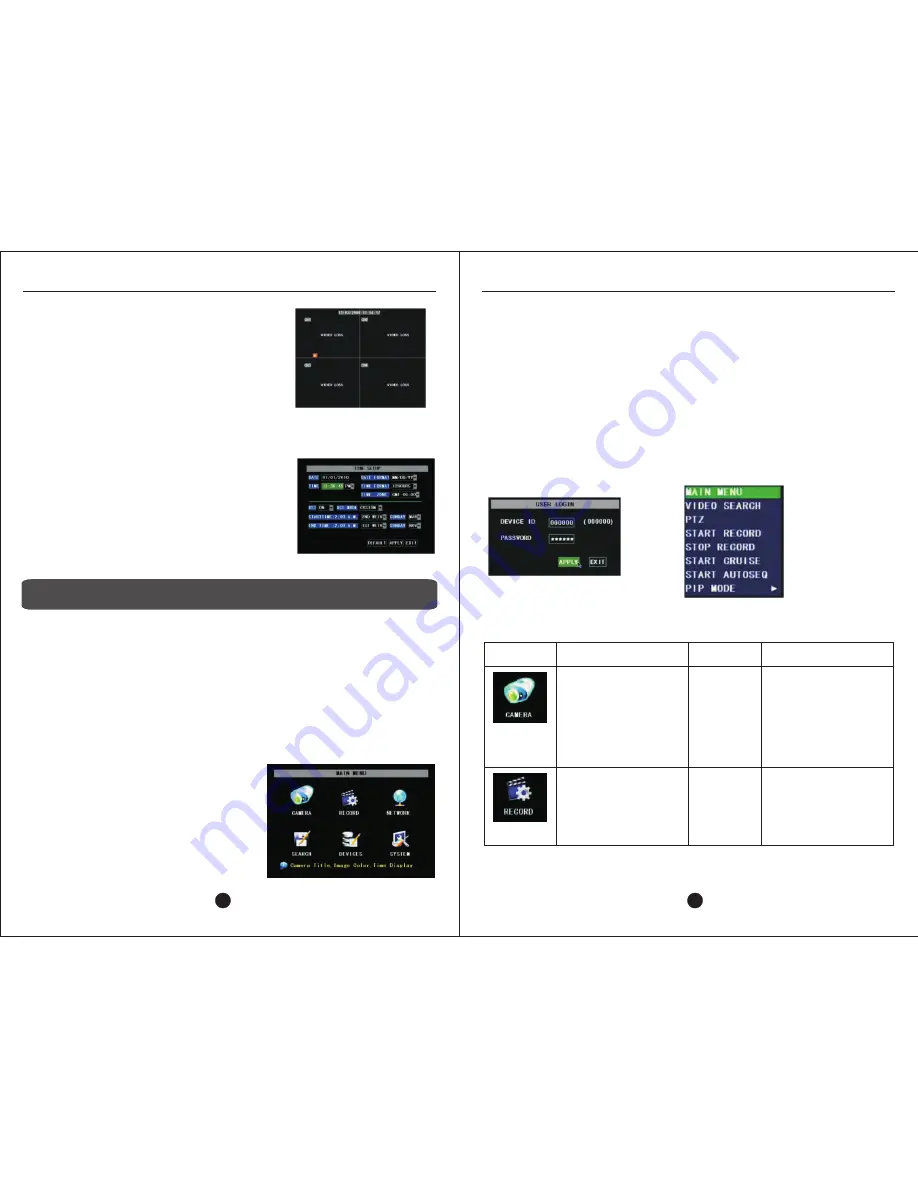
5.3–MAIN MENU FUNCTIONS TABLE
5.1.1 - Menu Function Buttons
The following buttons are common to most
menus and submenus:
DEFAULT – Clicking this button resets
current menu options to factory defaults.
APPLY – Saves changes made to Display
Setup options.
EXIT – Exits Display Setup menu. Changes
will be discarded if not applied first.
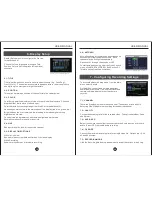
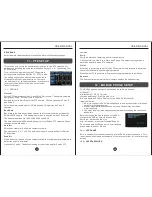
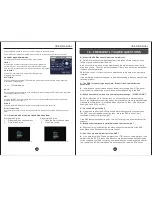
5.2 – Quick Launch Menu
In order to access the Quick Launch menu, from the main video feed, right-click the mouse.
MAIN MENU
– Accesses Main Menu
VIDEO SEARCH
– Accesses Video Search menu for locating recorded video files
PTZ
– Accesses Pan/Tilt/Zoom control panel. See Section 15 – PTZ Control Panel.
START RECORD
– Starts manual recording
STOP RECORD
– Stops manual recording
START/STOP CRUISE
– Executes/Aborts PTZ program
START/STOP AUTOSEQ
– Executes/Aborts Auto sequencing
PIP MODE
– Selects Picure-in-Picture mode. Options are 1X1 and 1X2.
MENU LOCK
– User must enter password in order to access Main Menu and Quick Launch
options.
This feature is available after the admin and user passwords are configured.
Figure 5-15: The Quick Launch is
activated by a right-click on the main
video display.
Menu Option
Sub-Menus
Function
Function
Display Setup
Display Setup configures the
live view for each channel.
Color Setup permits
adjustment of video for each
individual camera
Scrolls through each
channel in succession for a
given amount of time
Color Setup
Auto Sequence
Record Setup
Display Setup configures the
live view for each channel.
Display Setup configures the
live view for each channel.
Time Schedule
11
12
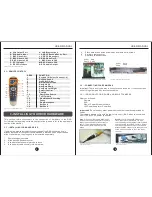
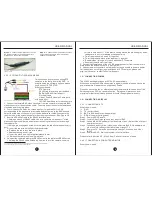
Figure 4-11: Main Video Display when no cameras
are connected.
Содержание H9104V
Страница 1: ...H9104V...


