Tips
104
Owner’s Manual
Quic
k Guide
Tips
This section explains the useful features included on your S90 ES.
Tips
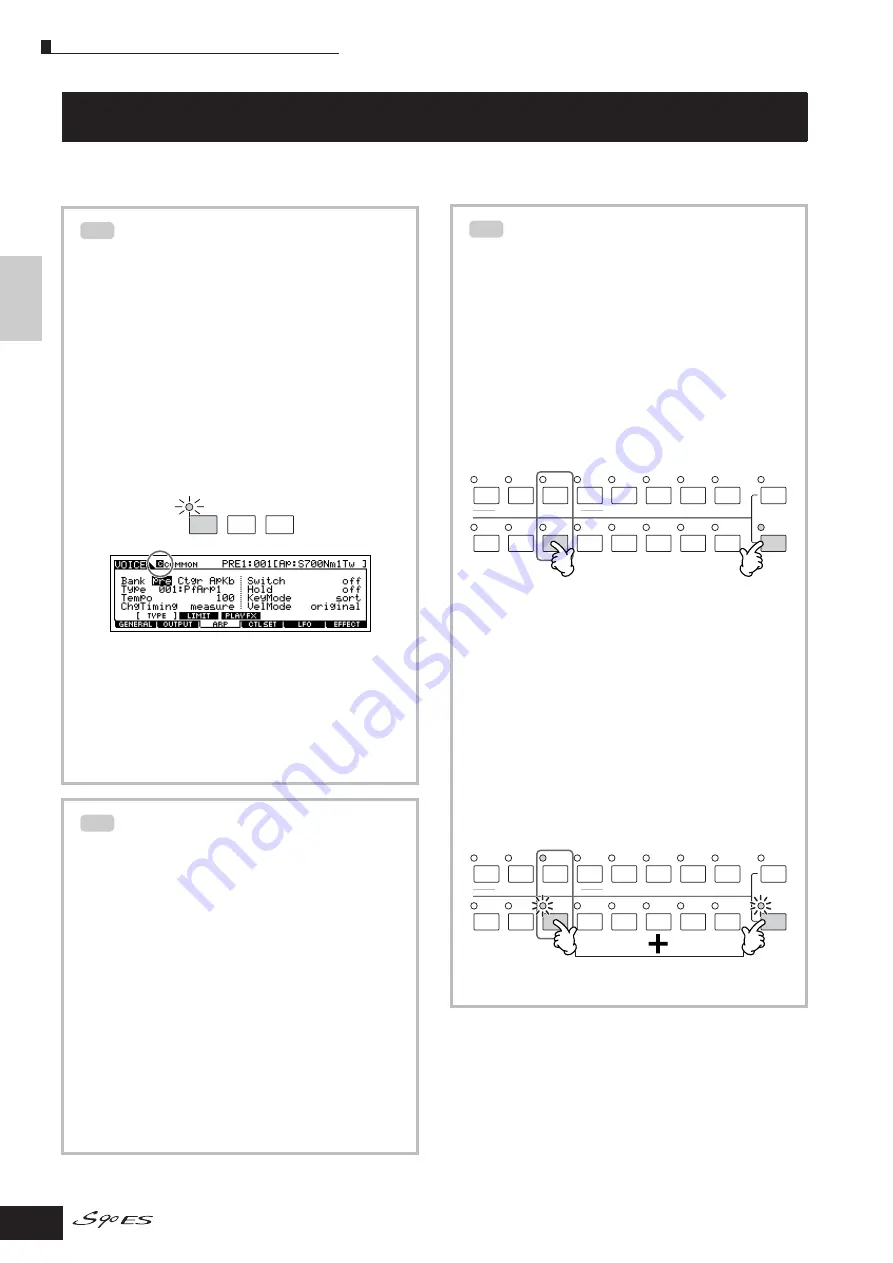
Comparing the sound before editing
with the just-edited one (Compare
function)
This convenient function lets you switch between the
edited Voice and its original, unedited condition—
allowing you to listen to the difference between the
two and better hear how your edits affect the sound.
You can use the function in each Edit mode (Voice/
Performance/Multi).
1
In the Edit mode (the [EDIT] indicator lighting),
press the [EDIT] button so that its indicator
flashes.
The [C] indicator is shown at the top of the display
(in place of the [E] indicator), and the original,
unedited Performance is restored for monitoring.
2
Press the [EDIT] button again to disable the
“Compare” function and restore the settings
for your edited program.
Compare the edited sound with the unedited
sound by repeating steps 1 and 2.
n
While Compare is active, you cannot edit.
Edit Recall Function
If you are editing a program and select a different
program without storing your edited one, all the edits
you've made will be erased.
If this happens, you can use Edit Recall to restore the
program with your latest edits intact.
1
Press the [JOB] button in each mode to enter
the Job mode.
2
Press the [F2] RECALL button to call up the
Recall display.
3
Press the [ENTER] button. (The display
prompts you for confirmation.)
If you wish to cancel the operation, press the
[DEC/NO] button.
4
Press the [INC/YES] button to execute the Edit
Recall to restore the program.
TIP
EDIT
JOB
STORE
COMPARE
TIP
Voice Element mute/solo (in the Normal
Voice Edit mode only)
■
Muting an Element
1
Make sure that the [MUTE] button's lamp is
turned on in the Normal Voice Edit mode.
If the indicator is flashing, press the [MUTE]
button.
2
Press one of the [9] - [12] buttons that you want
to mute and turned the indicator off.
Pressing the button alternates on and off.
■
Soloing an Element
1
In the Normal Voice Edit mode, simultaneously
hold down the [SOLO] button and press one of
the Number buttons [9] to [12] to solo the
corresponding Element.
Once you’ve selected an Element for soloing, the
[SOLO] button's lamp flashes, indicating the Solo
function is active and only the selected Element
can be played.
2
To exit from the Solo function, press the
[SOLO] button again.
TIP
ELEMENT/PERF. PART/ZONE
8
7
6
5
4
3
2
1
16
15
14
12
13
11
10
9
MUTE
TRACK
SELECT
SOLO
The example below shows that the Element 3 is muted.
ELEMENT/PERF. PART/ZONE
8
7
6
5
4
3
2
1
16
15
14
12
13
11
10
9
MUTE
TRACK
SELECT
SOLO
Press the buttons simultaneously
The example below shows that the Element 3 is muted.


