Setup
Reference Manual
207
• SETUP tab
The following table lists the items that you can select.
NOTE
When the output port items are saved individually, channel assignments for the port will not be
saved. To prevent this, save the scene that contains input/output patching for the channel
assignment as well.
2
SOURCE field
Indicates the internal data of the QL series console.
3
DESTINATION field
Indicates the save destination.
4
Data selection knob
This knob selects the data shown in the field.
5
MULTI SELECT button
Press this button to make a selection containing multiple items of data.
6
SELECT ALL button
Press this button to select all items.
7
CLEAR ALL button
Press this button to clear all selections.
NOTE
• To select a different directory as a save destination, in the SAVE/LOAD window, press a directory
icon or press the arrow button in the PATH field.
• If you are going to overwrite a file or save a file with the same name in the same folder, a dialog
will ask you to confirm the overwrite.
• You can enter a comment of up to 32 characters.
• You may enter a file name of more than eight characters. However, the drive name, path name,
and file name are limited to a total of 256 characters. If you exceed this limit, you may be unable
to save the file, depending on the length of the file name. If this error indication appears at the
bottom of the screen, shorten the file name and try saving the file again.
Loading a file from a USB flash drive
Follow the steps below to load a QL settings file (extension .CLF) from the USB flash drive
into the QL series console.
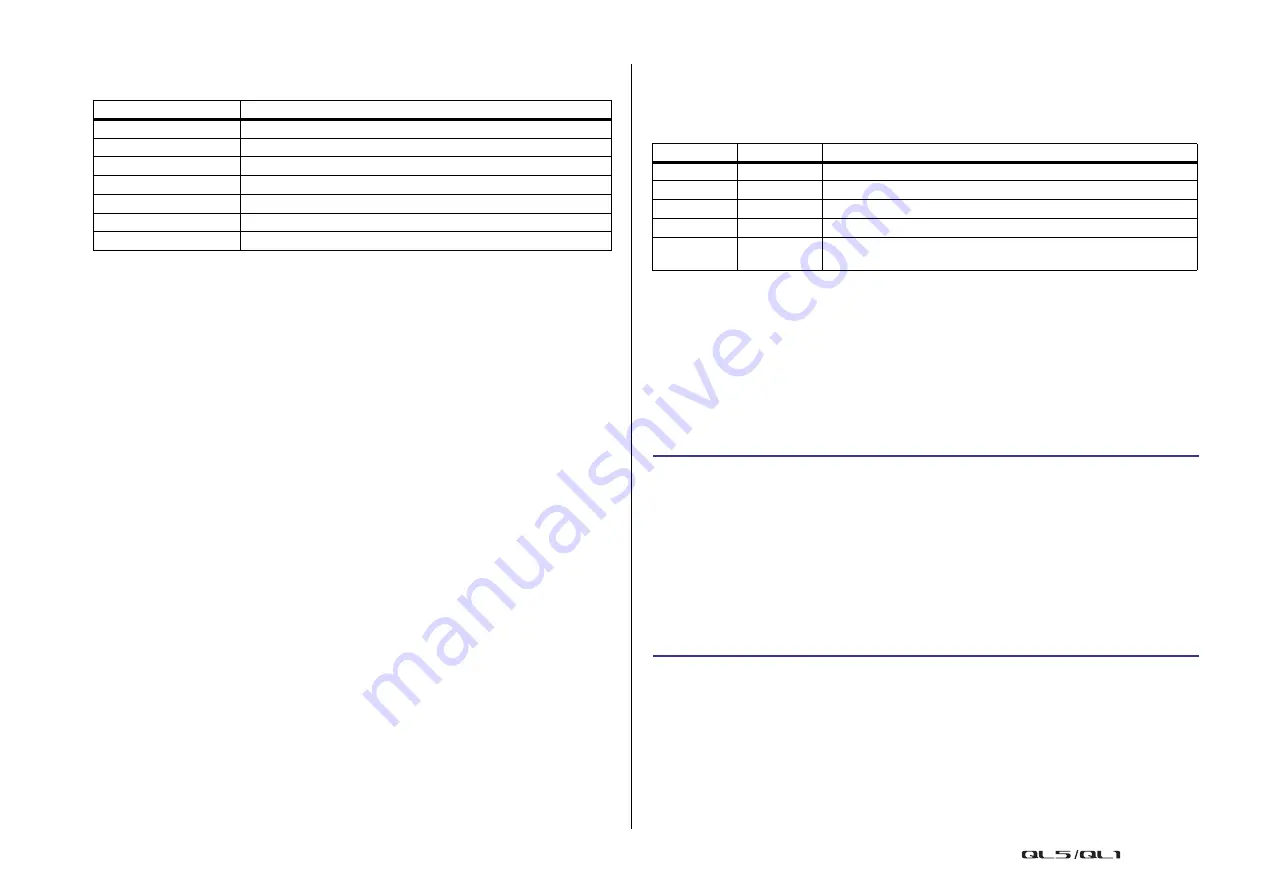
You can use the same procedure to load the following files as well as settings files.
NOTICE
Some data may contain settings that will cause the console to output signals immediately after
the data is loaded. Before you load, turn off the power of the equipment connected to the QL
series console and/or lower the volume of such equipment so that there will not be a problem
even if a signal is output from the QL console.
NOTE
• When the file has finished being loaded, the window that shows the progress of the loading
operation and the type of data will close. If you cancel this procedure while it is in progress, data
up to the cancellation point will still be loaded.
• Some setting data may not be loaded, depending on the USER LEVEL setting during the load
operation.
Button
Data content
MIXER SETUP
Mixer setup
OUTPUT PORT
Output port
MONITOR
CUE/MONITOR/OSCILLATOR/TALKBACK
MIDI SETUP
MIDI setup
MIDI PGM
MIDI program changes
MIDI CTL
MIDI control changes
Dante In Patch
Dante input patch library
Extension
Type
Contents of file
.CLF
ALL
QL console internal setting file
.CLU
KEY
QL console user authentication key
.XML
XML
XML file for displaying Help
.TXT
TEXT
Text file for displaying Help
.BMP
BMP
Image file for display in the CONSOLE LOCK screen (256 or more
colors, uncompressed bitmap format)
STEP
1.
To select the file that you want to load, press the name of the desired file in the file
list in the SAVE/LOAD window, or rotate the [TOUCH AND TURN] knob.
2.
If you want the DANTE SETUP and I/O device-related settings saved in the QL
settings file (file name extension .CLF) and the word clock settings to be applied to
the QL console, press the [WITH DANTE SETUP AND I/O DEVICE] button to turn it
on.
3.
In the SAVE/LOAD window, press the LOAD button.
4.
In the LOAD SELECT screen, select the data to load, the data type, and the load
destination.
5.
Press the LOAD button to load the selected file.


