


69
S
c
a
n
n
in
g
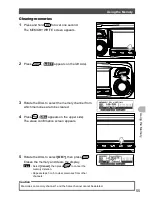
Searching for signals
7
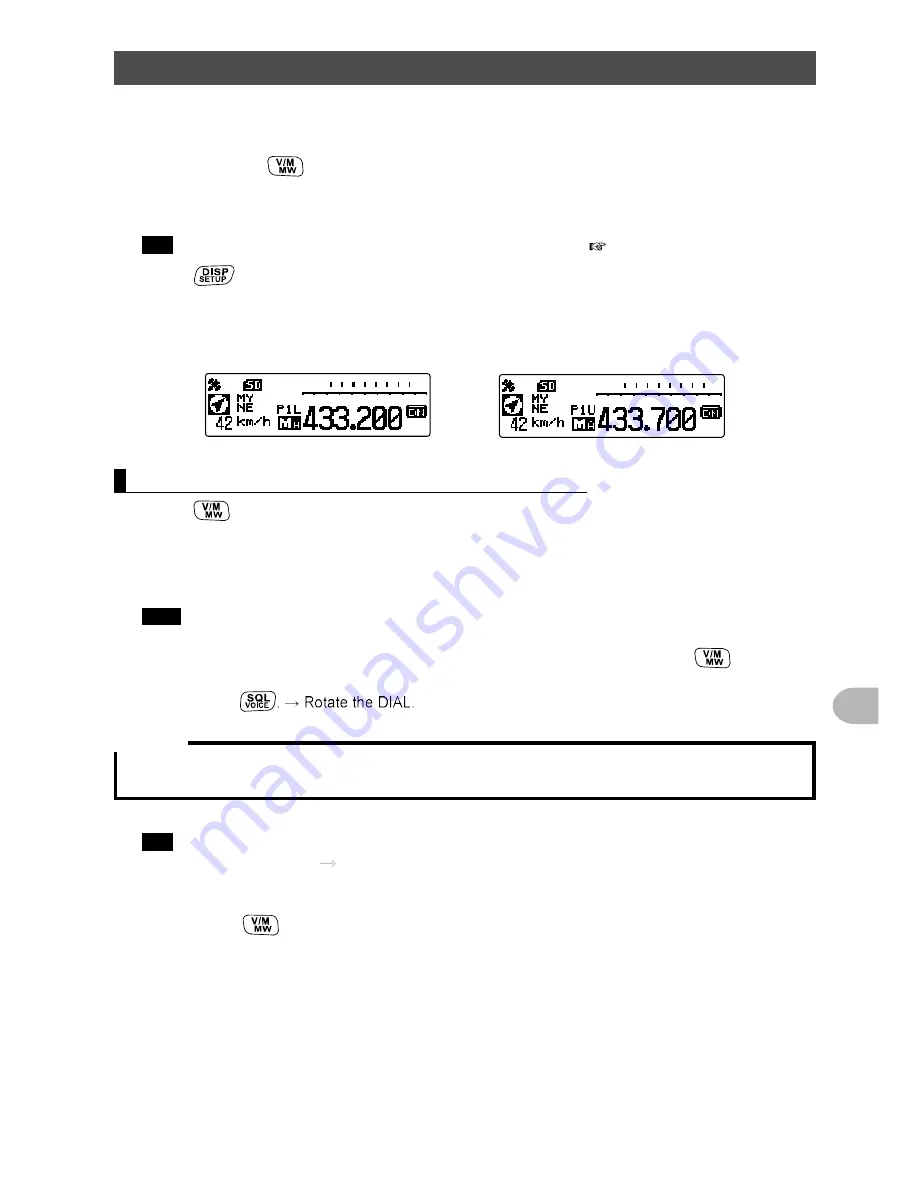
Rotate the DIAL to tune to the desired upper scanning limit frequency.
Tune in to the frequency to set for the upper limit (433.700 MHz).
8
Press and hold
for over one second.
The MEMORY WRITE screen appears.
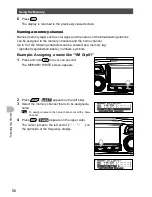
9
Rotate the DIAL to select
[UP1]
.
Tip
A name tag may also be assigned to each memory channel (
page 56).
10
Press
.
The display returns to the previous operating screen, and shows the registered
frequency and memory channel number.
Lower limit frequency LP1
Upper limit frequency UP1
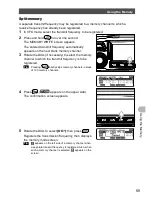
Scanning the programmable memory channels
1
Press
to switch to memory mode.
2
Recall the upper or lower frequency PMS memory channel.
3
Press and hold
[UP]
or
[DWN]
on the microphone for over one second.
Programmable memory scanning will begin.
Tips
• To cancel programmable memory scanning, press
[PTT]
on the microphone (this does not
cancel PMS mode).
• To cancel PMS mode, when programmable memory scanning stops, press
.
• The squelch level can be adjusted using the following procedure even while scanning.
Press
Caution
If the upper and lower PMS frequencies are not set correctly, the programmable memory scan will not
function.
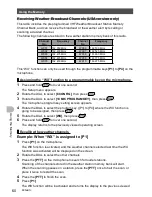
Tip
You can assign
[SCAN]
to one of the
[P1]
to
[P4]
keys on the microphone using the Setup
MENU
[8 CONFIG]
[10 MIC PROGRAM KEY]
. For details on assigning a function to the
[P1]
to
[P4]
keys, see “Setting the program keys on the microphone (10 MIC PROGRAM
KEY)” on page 138. For operations using
[P1]
to
[P4]
, refer to the following.
1 Press
to switch to memory mode.
2 Recall the upper or lower frequency PMS memory channel.
3 Press one of the
[P1]
to
[P4]
keys on the microphone to which [SCAN] is assigned.


