66
3 Printing
8.
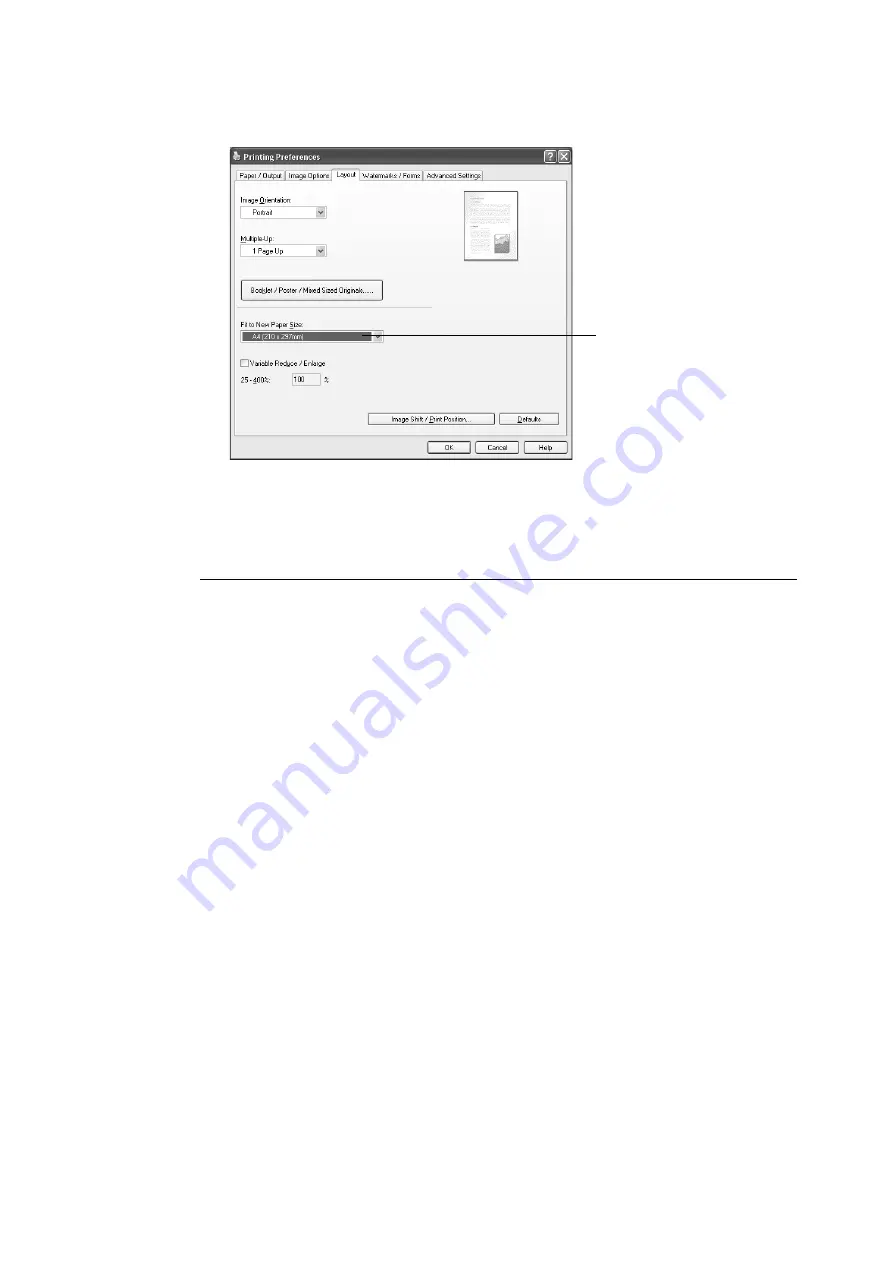
Click the [Layout] tab, and select the size of the output paper from [Fit to New Paper
Size].
9.
Click [OK] to close the dialog box.
10. Click [Print] on the [Print] dialog box to start printing.
Automatic Printing after Changing the Paper Type
When the paper types of trays 1 - 4 are configured correctly on the control panel, the printer
will select the appropriate tray from among the paper type settings, even if you do not
specify a paper tray with the print driver.
This method makes it possible to request a print job without worrying about the type of paper
loaded in each paper tray.
In order to use this feature, use the control panel to configure paper type settings for the
printer trays.
Refer to
• For information on how to set the paper type setting on the control panel, refer to “Paper Sizes/Paper
Types for Trays 1 through 4” (P. 99), “[Paper Type]” (P. 155).
1.
On the [File] menu, select [Print].
2.
Select the printer from the [Select Printer] list, and then click [Preferences].
8
Содержание DocuPrint C2255
Страница 1: ...DocuPrint C2255 User Guide ...
Страница 176: ...176 6 Troubleshooting 2 Remove the jammed paper 3 Gently close cover C ...
Страница 210: ...210 7 Maintenance 12 Close the front cover ...
Страница 266: ...266 7 Maintenance 7 Rotate the lever to the right to lock it 8 Close the front cover ...
Страница 313: ...Index 313 WSD 26 129 X XeroxStdAccounting 147 XPS 113 XPS file 309 ...
Страница 322: ...DocuPrint C2255 User Guide Fuji Xerox Co Ltd ME4197E2 1 Edition1 March 2008 Copyright 2008 by Fuji Xerox Co Ltd ...


