4.2 Loading Paper
101
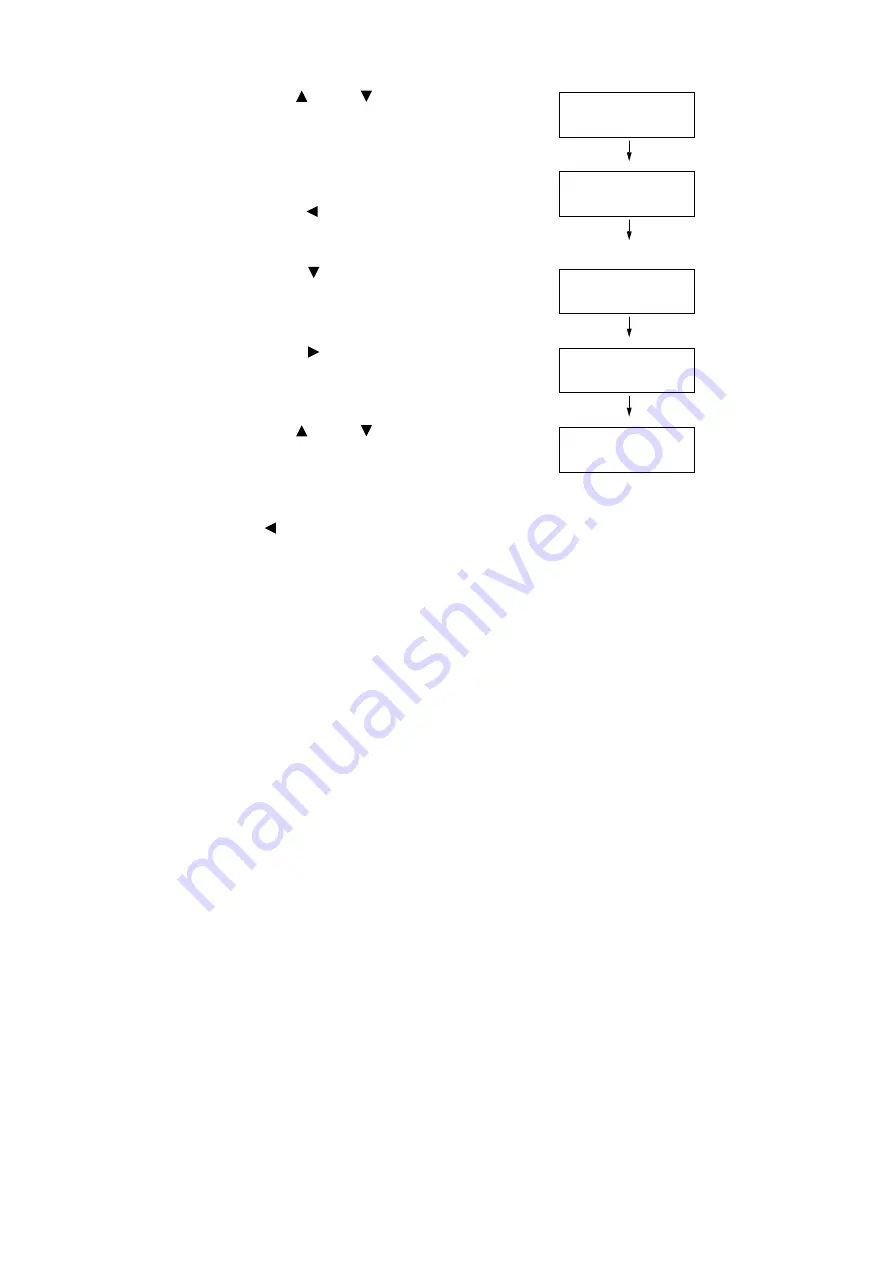
12. Use the < > and < > buttons to enter the
Portrait (Y) size and then press the <OK>
button to apply it.
(Example: 297 mm)
13. After setting the Portrait (Y) Size, set the
Landscape (X) Size.
Press the < > or <Return> button to return
to [Portrait (Y) Size].
14. Press the < > button.
[Landscape (X) Size] is displayed.
15. Press the < > or <OK> button to select.
The current set value is displayed.
16. Use the < > and < > buttons to enter the
Landscape (X) Size and then press the
<OK> button to apply it.
(Example: 432 mm)
17. To configure settings for other trays, press
the < > button or <Return> button until the
screen in step 8 is displayed. Then repeat
the steps that follow.
To exit the setting operation, press the
<Menu> button to return to the [Ready to
print] screen.
Portrait (Y) Size
•
297 mm
Tray 1 Custom
Portrait (Y) Size
Tray 1 Custom
Landscape (X) Size
Landscape (X) Size
•
182 mm
Landscape (X) Size
•
432 mm
Содержание DocuPrint C2255
Страница 1: ...DocuPrint C2255 User Guide ...
Страница 176: ...176 6 Troubleshooting 2 Remove the jammed paper 3 Gently close cover C ...
Страница 210: ...210 7 Maintenance 12 Close the front cover ...
Страница 266: ...266 7 Maintenance 7 Rotate the lever to the right to lock it 8 Close the front cover ...
Страница 313: ...Index 313 WSD 26 129 X XeroxStdAccounting 147 XPS 113 XPS file 309 ...
Страница 322: ...DocuPrint C2255 User Guide Fuji Xerox Co Ltd ME4197E2 1 Edition1 March 2008 Copyright 2008 by Fuji Xerox Co Ltd ...


