34_
search
search
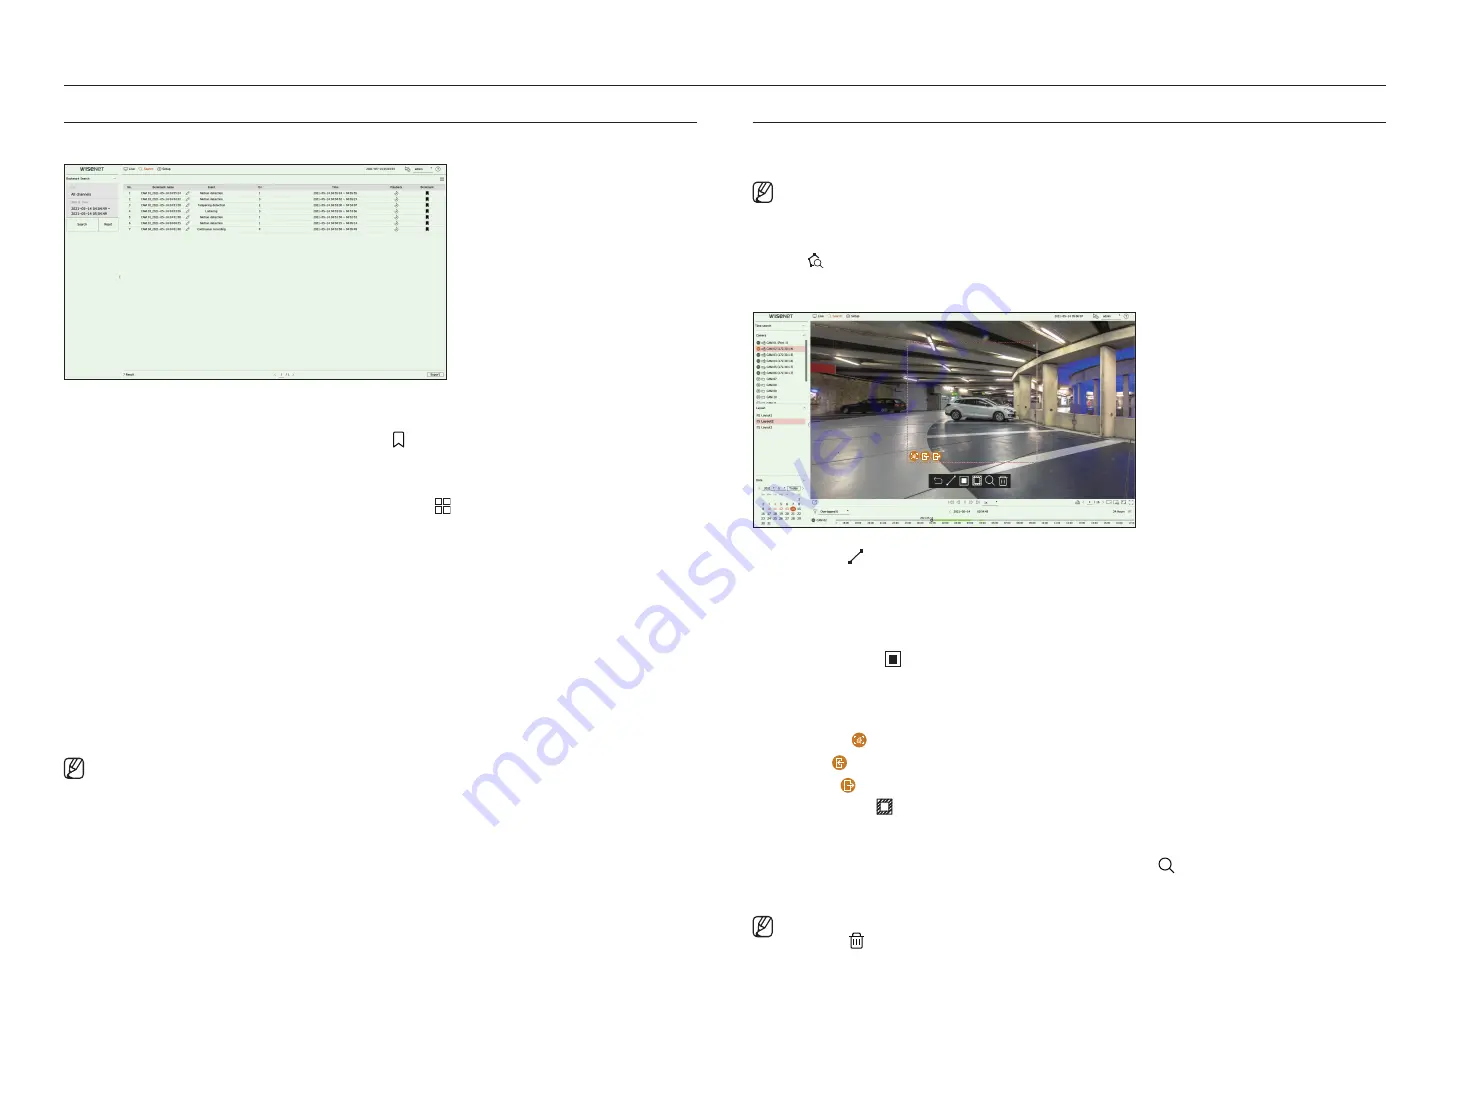
Bookmark Search
You can search for bookmarked data.
1.
Select <
Bookmark search
> in the <
Search
> menu.
■
To search for bookmarks, you need to specify them by clicking the bookmark ( ) in the instant viewer or search results. If no bookmark is specified, search
results will not be displayed.
2.
Select a channel to search.
■
If you select a channel to search, you can change the channel display mode by clicking < >. You can select a desired channel by clicking or dragging it
from the channel table, and clicking the channel in the channel list.
3.
Select a date and time to search.
4.
Click <
Search
>.
●
Bookmark name : Displays the bookmark name you set.
●
Event : Displays the event type of the recorded video.
●
CH : Displays the recorded channel.
●
Time : Displays the start time and end time of the recorded video.
●
Playback : Plays the recorded video with an instant viewer.
●
Bookmark : Displays whether bookmarks are specified.
5.
If you double-click an item to play in the search list, the recorded video will be played.
■
Bookmarked images will be stored without being overwritten during repeated recording. However, when the automatic deletion is set, it will be deleted
according to the set period.
■
When the bookmark is released, the video will not be saved. If necessary, before releasing the bookmark, export the video.
■
Up to 100 bookmarks can be specified.
Smart Search
You can search for events by selecting a region of interest, an exclusive region, or a virtual line from a recorded video at
a specific time.
■
To use smart search, you need to set the area of the camera's “
Motion Detection
" or “
IVA
” to the entire area. However, if you want to search for cameras
after Wisenet X series, you must select “
Enable
" in "
Event setup
>
IVA
” of the camera. For details, refer to the "
Setup
>
Setting the Event
>
Event
setup
" page in the Table of Contents.
1.
Click < > on the video window menu.
2.
Set the smart search area in the video window.
●
Virtual line ( ) : Detects the passing of an object based on the virtual line and direction set on the image. Click
and drag the start and end points of the virtual line to the desired location with the mouse.
– The virtual line can be set in one direction or both directions. If you select the option of the direction of the
virtual line on both sides, it will detect all objects passing in both directions on one virtual line.
■
The network camera which does not support the analog camera and IVA function cannot use the Virtual Line search.
●
Region of interest ( ) : Uses the entire screen as a non-detection area and specifies a specific area as a motion
detection area. Drag the mouse over the image or take a vertex to set the detection area at the desired location.
– When you set a zone, an event/object option icon will be displayed at the bottom of the zone. Click the icon to
exclude the event/object from the search.
– Intrusion ( ) : Detects and searches for moving objects within the area set by the user.
– Enter ( ) : Searches by detecting movement from the outside to the inside of the area set by the user.
– Exiting ( ) : Searches by detecting the movement from the inside to the outside of the area set by the user.
●
Exclusive region ( ) : Uses the entire screen as a detection area and specifies a non-detection area to exclude
detection of a specific area.
Drag the mouse over the image or take a vertex to specify the non-detection area at the desired location.
3.
Set the date and time range to perform the virtual area search and click < >.
4.
When you click an item to play on the time line, the corresponding recorded video will be played.
■
You can set up to 3 areas of interest, exclusion and virtual line.
■
Click Delete ( ) to delete all the set areas.
Содержание HRX Series
Страница 1: ...DIGITALVIDEO RECORDER User Manual HRX Series ...
Страница 109: ......


