56_
setup
setup
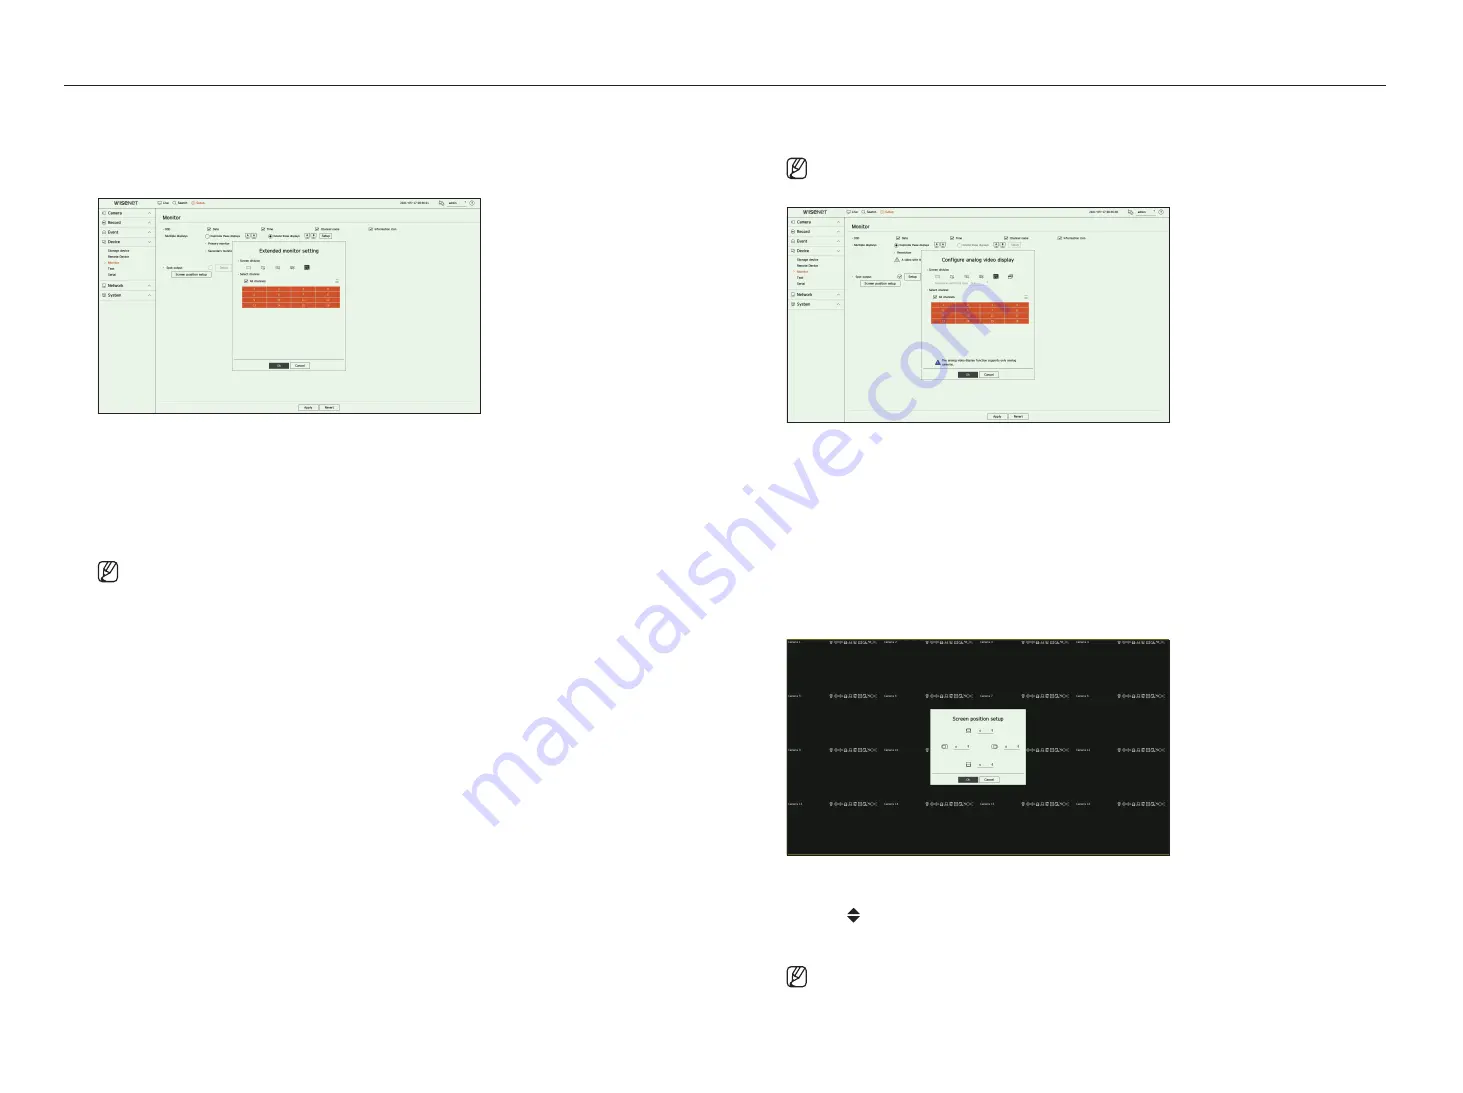
extended monitor setting
This function is only available for products that support the use of an extended monitor.
For products that support extended monitor, see "
products supporting each feature
" (Page 4) in the Product
Specification Manual.
1.
Select <
extend these displays
> for video display and click <
Setup
>. You can change the layout of the
extended monitor.
2.
Select the Screen division you want.
3.
Select as many channels from the channel table as the selected number of Screen division channels to view
the videos on the monitor screen.
■
When extended mode is selected, the maximum resolution of the image output on the primary monitor (HDMI) is limited to 1920 x 1080.
■
If the newly selected resolution does not fit with the monitor, the display won’t function properly. In this case, wait until the native
resolution is restored and then switch to another resolution of your choice.
■
Set up Event Display and Sequence Switching Time in consideration of the network environment time.
■
The profile used in the live output of the expanded monitor uses a remote profile. If the user changes the remote profile, the video output
of the expanded monitor may be affected.
■
If the monitor is in clone mode, you can specify up to the split mode supported by the recorder. When the monitor is set to Extended mode,
you can split the screen of the Secondary monitor up to 16-split mode depending on the recorder model.
■
The Extended mode only displays the videos of the analog camera. As for the 8 channel model, up to 8 channels can be registered for the
9-split screen.
configure analog video display
You can access the setting regarding the video display of the analog camera.
■
If the monitor is set to Extended mode, spot output cannot be set.
1.
Check the <
Spot output
> box and click <
Setup
>.
2.
Select the Screen division you want.
If the auto-switch mode is selected, you can select <
Sequence switching time
>.
3.
From the channel table, select the channel to display the spot output.
Screen position setup
Some monitors many not display information (camera name, icon, time information, etc.) about the Recording,
depending on the condition. Then, you can change the display position of the data.
1.
From the monitor setup menu, select <
Screen position setup
>.
2.
Using < > button to adjust the screen that is cut off.
3.
Click <
oK
>.
■
This product only supports 30Hz at 4K resolution.
Содержание HRX Series
Страница 1: ...DIGITALVIDEO RECORDER User Manual HRX Series ...
Страница 109: ......


