42_
setup
setup
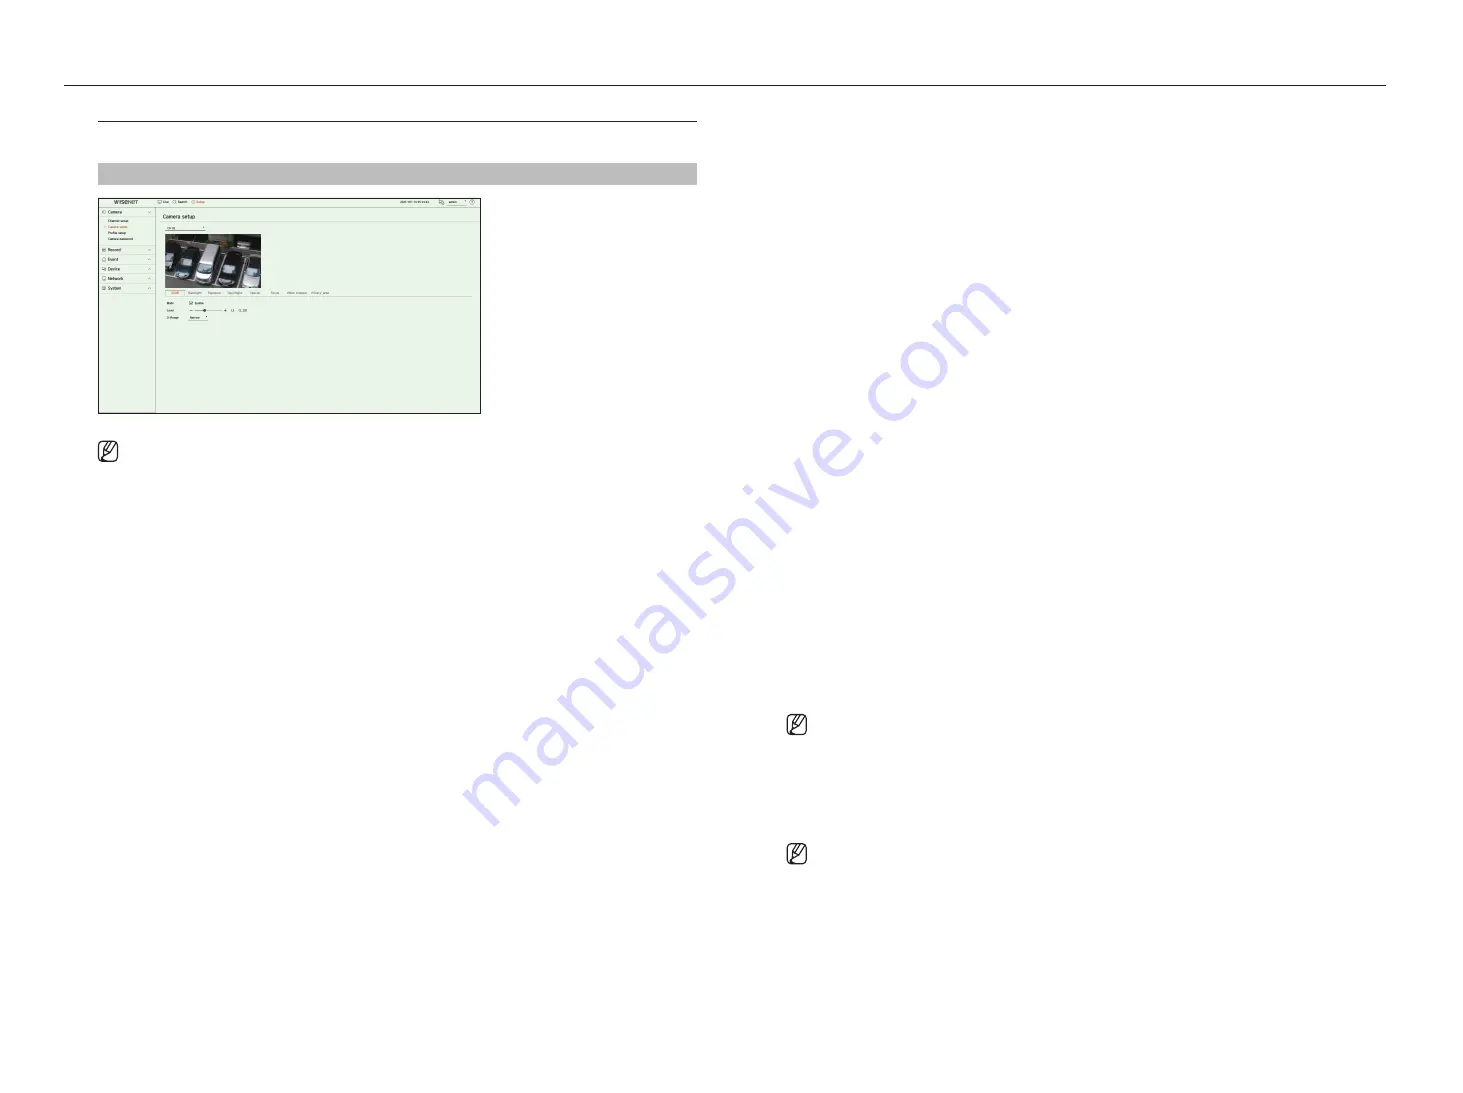
Setting the camera functions
You can set the camera while viewing the live video of the selected camera.
Setup > camera > camera setup
■
You can use this feature in the following cases :
1. A camera connected to Wisenet protocols.
2. A camera connected with admin privileges.
■
For more details on camera settings, refer to the camera user manual.
Settings and operational spec vary depending on each camera.
■
This function is not supported in some models.
SSDr
If there is a significant difference between the dark and the bright areas, increase the brightness of the dark areas
to maintain the level of brightness of the entire area.
You can set Mode, Level, and D-Range.
Backlight
You can view both bright and dark areas.
You can set Mode, WDR level, WDR black level, and WDR white level.
exposure
You can adjust the exposure of your camera.
You can set brightness, shutter, SSNR, Sens-up, iris/lens, and AGC.
●
Brightness : Adjusts the brightness by setting the exposure value.
●
Shutter : Adjusts the brightness by controlling the camera shutter speed. If you select shutter, you can set
among the items below.
– Auto : Adjusts the brightness automatically, controlling the shutter speed of the camera.
– ESC (Electronic Shutter Control) : Adjusts the brightness automatically, controlling the shutter speed
according to the surrounding brightness.
– Manual : Adjust the brightness by manually selecting the maximum/minimum shutter speed of the camera.
– Anti-flicker : Reduces flickering in video when screen blur occurs due to different lighting and frequency of
attention. The shutter speed cannot be set when the anti-flicker frequency is selected.
●
SSNR : Adjusts the brightness by reducing noise and minimizing afterimages even in dark places.
●
Sens-up : Automatically adjusts the shutter speed according to the brightness of the current light.
●
IRIS/Lens : Adjusts the brightness by automatically or manually adjusting the camera IRIS and lens.
●
AGC : Adjust the brightness by amplifying the camera's electrical signal when images are shot in the dark.
Day/night
You can change the mode to adjust the color and contrast.
You can set Mode, Dwell time, Negative color, Duration, Alarm input, Switching brightness, Simple focus after
Day/Night, and Activation time (color).
●
You can select the day/night video display mode in <
mode
>.
– Color : Images are always displayed in color.
– B/W : Images are always displayed in B/W
– Auto : The video will be displayed in color in normal environments and in B/W at night.
– External : Displays a color or B/W video by linking an external infrared camera to the alarm in terminal. Set
the alarm in item when selecting the <
external
>.
– Schedule : Controls the video output mode by directly inputting the color video activation time. Click
<
Setup
> and enter the activation time.
Special
You can set DIS (Digital Image Stabilization), Defog, and Defog level.
focus
You can adjust the focus of you camera's video.
You can set Focus, Zoom, Simple focus, and Initialize focus.
Video rotation
You can set flip/mirror modes and hallway view.
Screen
(analog camera)
Allows you to adjust the screen settings (Contrast, Brightness, Saturation, Color, Sharpness) as well as Noise
reduction, H-Position, V-Position, H-Scale, and V-Scale.
■
If another analog camera is connected to the port, all previous set values are reset. You should set the screen again after connecting a new
analog camera.
privacy area
You can set an area to be hidden in the camera image range to protect privacy. You can select whether or not to
use the privacy setting and set up to 32 new privacy areas.
■
With a PTZ camera, it is not possible to configure settings, and when it is permitted, the setting area may be incorrect.
Содержание HRX Series
Страница 1: ...DIGITALVIDEO RECORDER User Manual HRX Series ...
Страница 109: ......


