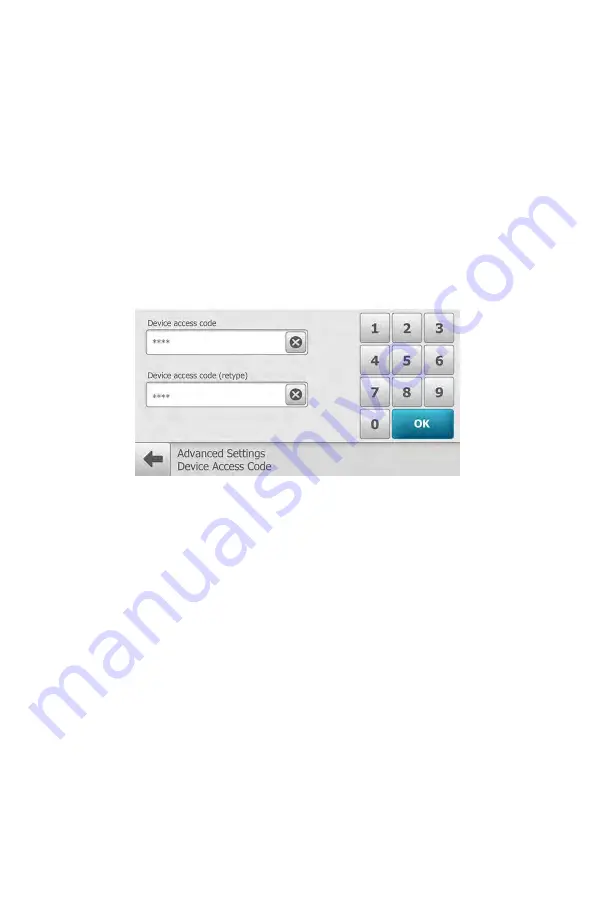
13. (Optional) If a Device Access Code was selected at the RetinaVue Network
Customer Portal, touch
OK
at the dialogue:
A new device access code has
been downloaded. The camera will require this code on next encounter
.
14. (Optional) If multiple clinics were selected at the RetinaVue Network
Customer Portal, use the drop-down menu to select the primary clinic where
exams will be performed and then touch
Next
.
15. Touch
OK
at the
Setup completed
screen.
16. (Optional) If a Device Access Code was set at the RetinaVue Network
Customer Portal, enter the Device access code on the RetinaVue 700 Imager
and touch
OK
.
Note
To change the connectivity workflow settings after the
initial set up, touch
Settings
>
Advanced settings
>
Reset
factory defaults
. Touch
All device and radio settings
at
the dialog:
"Select the settings to reset to factory
defaults.
" and then touch
OK
at the dialog
"Reset all
settings to defaults? All exams stored on this camera
will be deleted."
36 First time set up of the RetinaVue 700 Imager
Welch Allyn RetinaVue™ 700 Imager
Содержание RetinaVue 700
Страница 1: ...Welch Allyn RetinaVue 700 Imager Directions for use Software version 1 XX...
Страница 21: ...Directions for use First time set up of the RetinaVue 700 Imager 17...
Страница 26: ...22 First time set up of the RetinaVue 700 Imager Welch Allyn RetinaVue 700 Imager...
Страница 102: ...98 Using the RetinaVue 700 Imager Welch Allyn RetinaVue 700 Imager...
Страница 120: ...116 Controls Welch Allyn RetinaVue 700 Imager...
Страница 140: ...136 Device radio Welch Allyn RetinaVue 700 Imager...
Страница 152: ...148 General compliance and standards Welch Allyn RetinaVue 700 Imager...
Страница 156: ...152 RetinaVue 700 Imager Accessories Welch Allyn RetinaVue 700 Imager...
Страница 158: ...Material No 729216...


