30
4.6
Communicating with the WebMasterONE
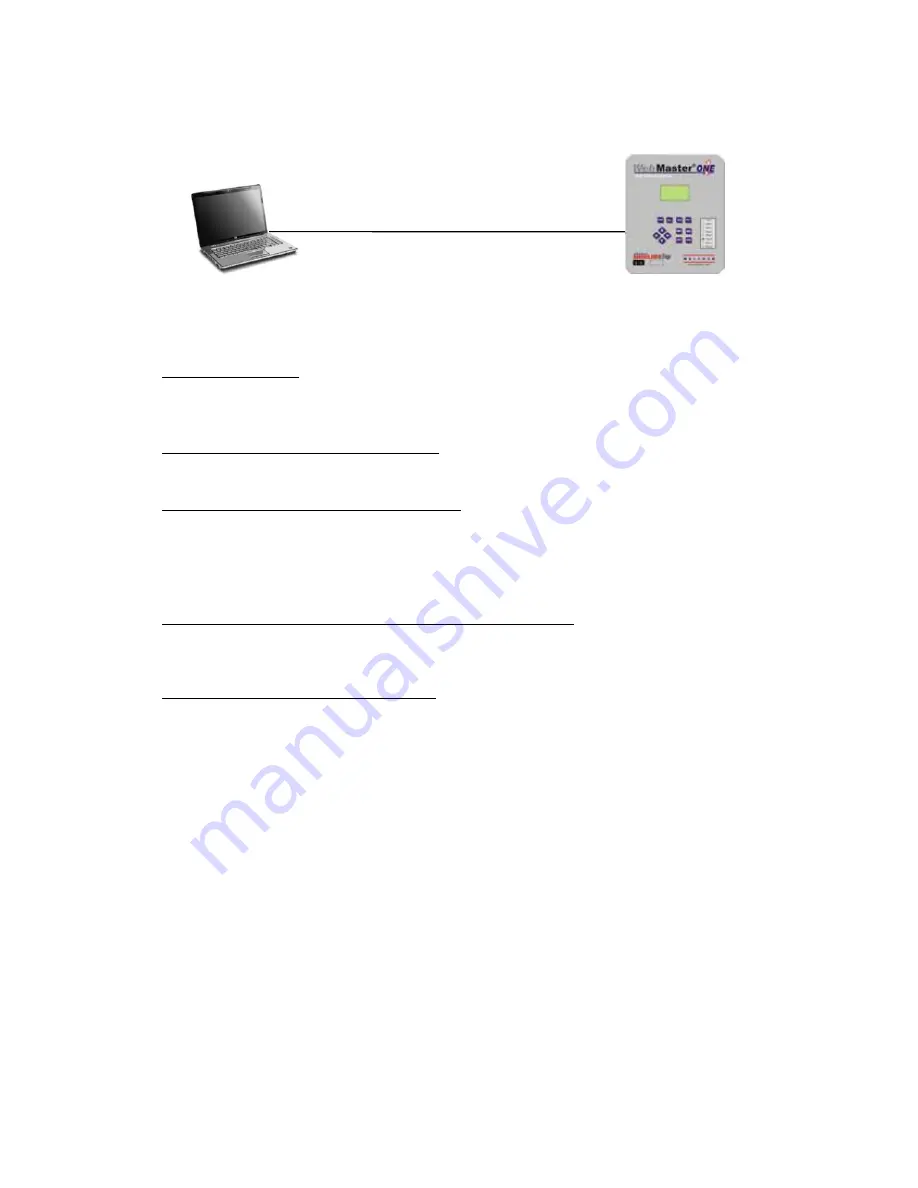
4.6.1 Connection via the USB Port
A USB connection to the WebMasterONE can be made via a temporary cable between a laptop
and the front panel of the controller.
Equipment Required
An USB cable with the appropriate connectors to connect your computer to the
WebMasterONE.
Features Required in the WebMasterONE
Any WebMasterONE controller is capable of an USB connection.
Utilities you need to set up on your computer
You will need the USB driver, which comes with the WebMasterONE. It’s also available on
our Web site under Tech Support > WebMaster/WIND > Downloads and Upgrades. You will
also need the Quick Start Guide which comes with the WebMasterONE, or you can download
it from our Web site under Literature > WebMaster.
Parameters that need to programmed into the WebMasterONE
The WebMasterONE is capable of this type of communication without any programming by
the user prior to attempting the communication.
Steps Required to Establish a Connection
Connect the supplied USB cable between the WebMasterONE and your computer.
Install the driver on your PC by inserting the disc supplied and following the instructions in
the Quick Start Guide. This needs to done only once for each PC that will be used to
communicate with a WebMasterONE controller.
Go to Control Panel, Network Connections, and locate the new Local Area Connection 2 that
has been created. Click on the Properties button. Highlight Internet Protocol (TCP/IP) then
click Properties. Click Use the following IP address and enter 199.199.199.1. Click OK to
exit. This needs to done only once for each PC that will be used to communicate with a
WebMasterONE controller.
Open Internet Explorer and type in the address 199.199.199.2. The sign-on screen for the
WebMasterONE will come up.
The sign-on screen of the WebMasterONE will come up. Type the User Name and Password
(Access Code) in the text boxes and click the Submit button. The default user name is
"webmaster" and the default passwords are "2001" for full access, "2002" for calibration only,
and "2003" for read only. These defaults can and should be changed in the Access Code page.
USB
Hard coded Fixed
IP Address:
199.199.199.2
Web Browser
(Client)
Содержание WebMaster
Страница 19: ...15 Figure 1a Typical Installation Cooling Tower ...
Страница 20: ...16 Figure 1b Typical Installation Boiler Intermittent Sampling ...
Страница 21: ...17 Figure 1c Typical Installation Boiler Continuous Sampling ...
Страница 30: ...26 Figure 7 Wiring Diagram for Optional Digital Communications ...


