28
Changes can be made without prior noticy. All rights reserved.
© Viscoo Enterprises Ltd. –
www.viscoo.nl
Do not make changes to the firmware, not the name of the firmware, otherwise we take no
responsibility for the product and further upgrades are going to be charged.
Make sure that when you update with the PC client, that the above procedure has been followed
correctly. The procedure for using the PC application to update is as follows:
1.
Just connect the DVR to a PC using a network cable or connect via the LAN (watch out for any
IP address conflicts).
2.
Before you update, you need to confirm the IP address of the host computer and enter this
in the client software, if asked.
3.
After logging in click on "System" -> "Remote Update".
4.
Select "Browse", choose the file you want to use for the upgrade.
5.
Then you will see the upgrade bar fill with orange / yellow cubes.
6.
Wait for 3 seconds, the DVR displays "Finished Transmitting Data. Updating software ... ".
This takes about 2 to 3 minutes before the update is complete.
7.
If at the end of the message that the update was successful, the recorder will restart.
8.
After the system is restored, the password again is as before.
4.11.2 USB Upgrade
The USB upgrade is as follows:
1.
Copy the upgrade.bin to the USB stick.
2.
Insert the USB stick into the USB port on the back of the recorder, it will automatically be
recognized and notifide. Then go to system information and click interface USB upgrade.
Then press to confirm the update process.
3.
The system now states “ the system is
updating…”
4.
When the upgrade is complete there will be
"updated successfully" will appear on your
interface, then press restart to restart the
system. This can be done automatically in some
cases, this idepends on the software version of
the recorder.
5.
After the system is restored, the password again
is as before.
4.12 Restore after power failure
When a power outtage has occured, the system will automaticly resume its former state.
Appendix 1: Internet Explorer Operating Instructions
Note: Enable the firewall on low or turn it off. Please turn all ActiveX security settings in Internet
Explorer on, otherwise the component blocked DirectX 9.0 on your PC and can not view the images
on the recorder.
1. LAN Configuration for IE Browser
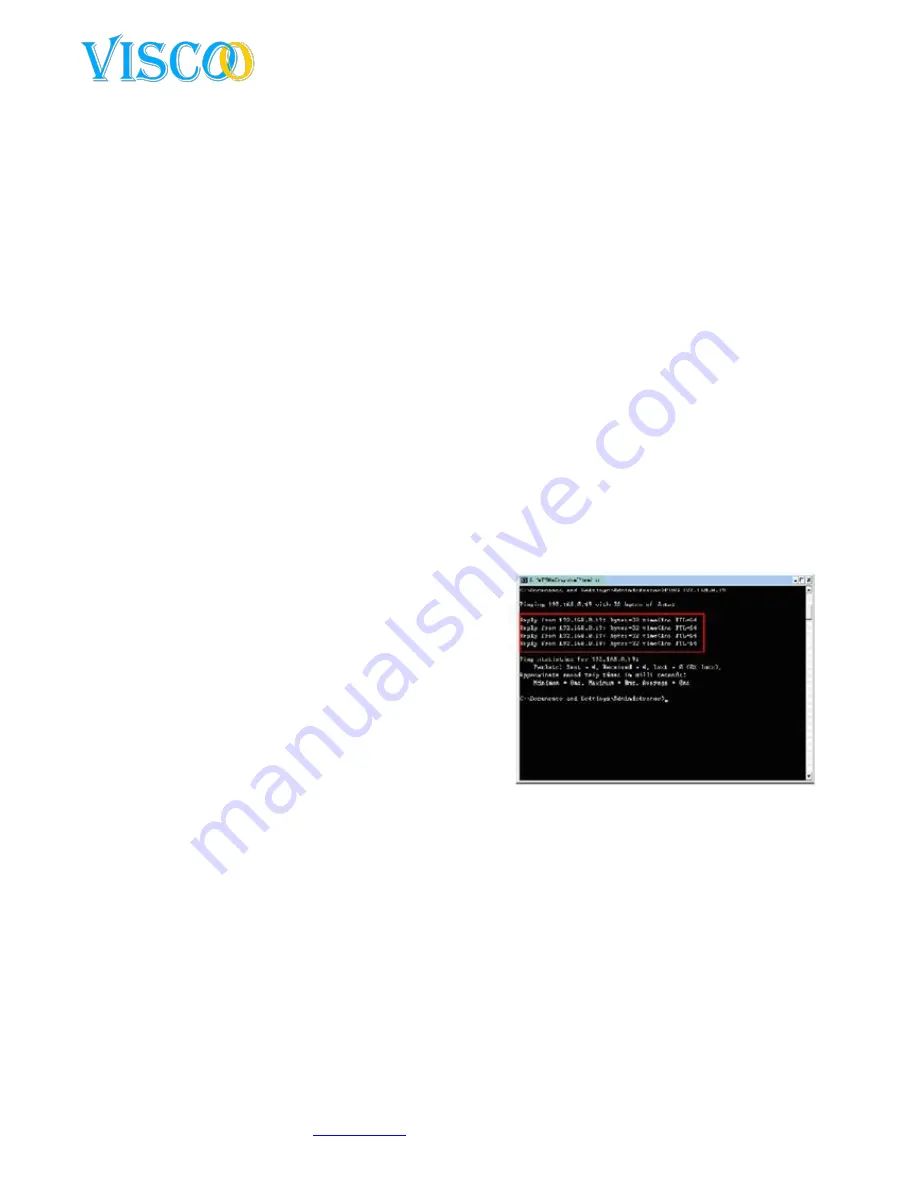
1. “Ping” the host first to confirm that the device is in the network and working.
2. Type the host IP in Internet Explorer and connect to the recorder. Please give in username and
password, if Loggins is successful, you will see the following interface:


