17
Changes can be made without prior noticy. All rights reserved.
© Viscoo Enterprises Ltd. –
www.viscoo.nl
4.4 Output settings
4.4.1 Screen settings
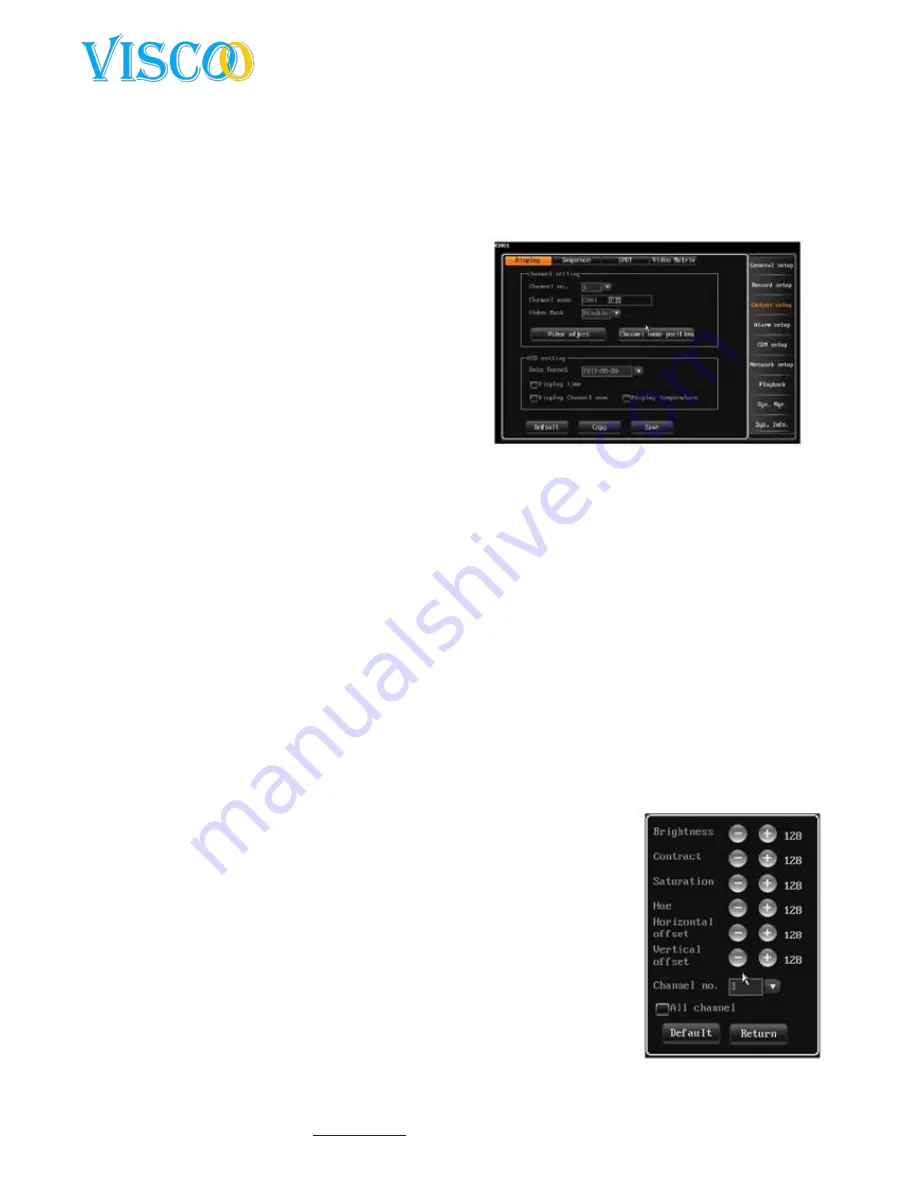
After logging in one chooses “main menu” and then”output setup” -> “display setup”, use the screen
as follows:
These settings are used to channel parameters such
as name, mask video, video settings, v=channel
name, position and OSD settings.
1.
Channel name:
The channel name can be up to 16
chinese characters and up to 32 english
characters and numbers.
Customize the Mouse: double-click to
open the keyboard. Click on AND to show
the english entry.
Change the remote control: press # to change the input method.
Channel name is fixed to the upper left side of the channel, the channel name position
can be changed by dragging it to the position that is prefered.
When the channel settings are beeing copied the channel name will be left out.
Mask area settings:
In some cases of recordings, user sensitive or private areas of the camera screen can be masked, for
example the position of the pincode input on a ATM.
Each channel support up to 4 masked areas.
Turn on the video mask setting to use this feature. Click on the video area to highlight mask
settings and adjust.
Click the left button to the left corner and then to the right corner.
Set with remote controler; press the direction key to move the cursor, press “ok” to give in
the start position. Then move the cursor to the end position and press”ok”again. Press
“clear” to remove the selected area.
Back to the interface channel settings and press save to store
changed data.
The selected area is active in the live and manual recording modes.
2.
Video settings
After logging in one chooses “display setup” and then ‘video para”or use
right click Mouse and then click on “image”.
Standard video parameters: brightness(128), contrast(128),
saturation(128) and hue(128).
Channel nr: used to switch channels, all channel scan be usede
directly.
Adjustment method:


