Safety precautions should be observed during all phases of operation of this instrument. The instrument has been designed to
ensure safe operation however please observe all safety markings and instructions. Do not operate the instrument in the presence
of flammable gases or fumes or any other combustible environment. VeEX Inc. assumes no liability for the customer's failure to
comply with safety precautions and requirements.
4.0 Basic Operations
Keypad
Touch Screen Display
Battery
Connectors and Panels
LEDs
Software Upgrade
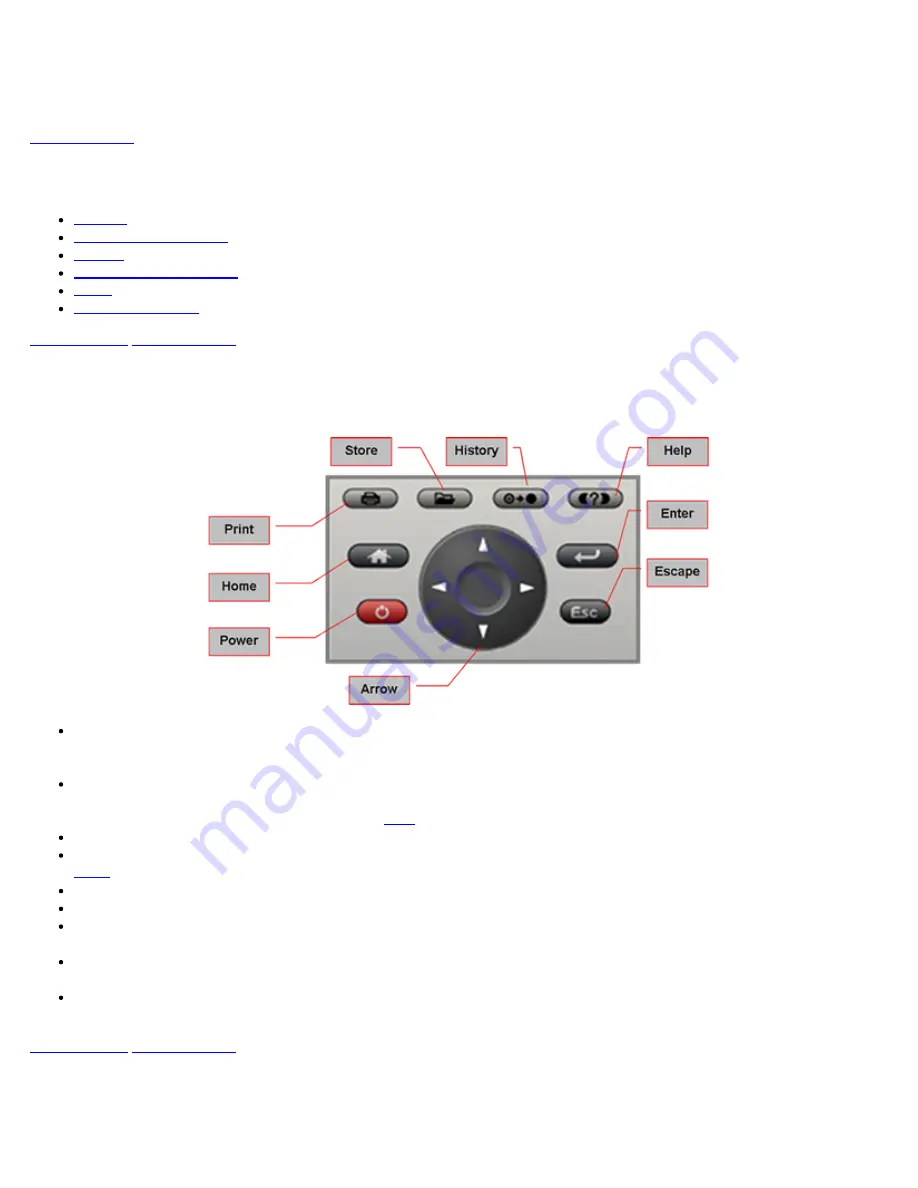
4.1 Keypad
The keypad comprises the following keys:
Power
key: The unit is powered on and off from the red key on the keypad. The button is recessed to prevent accidental
power on. Press the key for 3-5 seconds to turn the unit on. To turn off the unit, press the Power key for at least 2
seconds. If the unit does not respond, holding the Power key down by more than 10 seconds will force the unit to switch off.
Save/Store
key: Saves test results in the unit's memory. If the measurement is still running, it will provide a snapshot the
moment the key is pressed. The Save function provides automatic storage with automatic naming and time stamping
function. To process a stored file, please go to
key: For future use.
History
key: The History key resets any blinking LED due to a history condition. For more details on the LED, please go to
Help
key: The Help key brings the user to the online help, regardless of the current user interface location of the unit.
Home
key: Brings the unit to its home menu regardless of its location on the user interface.
Arrow
key: The Arrow key moves the cursor in any of the four supported directions (left, right, up, down). The Arrow key
works in conjunction with the Enter and Escape keys.
Enter
key: The Enter key provides an enter sequence to the user interface. It is used in non touch screen operation mode
to enter menus and functions.
Escape
key: The Escape key provides an escape sequence to the user interface. It is used in non touch screen operation
mode to escape menus and functions.
4.2 Touch Screen Display
The LCD supports touch-screen operation. To operate the touch-screen, use the stylus located in the top cover to navigate the
menus and tabs. The unit can also be used in a non touch-screen mode (i.e., use the arrow, enter, and escape keys to navigate).
/ e_Manual D07-00-050P RevD00
Page 9 of 115


