5-36
Operation on the Machine > Using a Custom Box
4
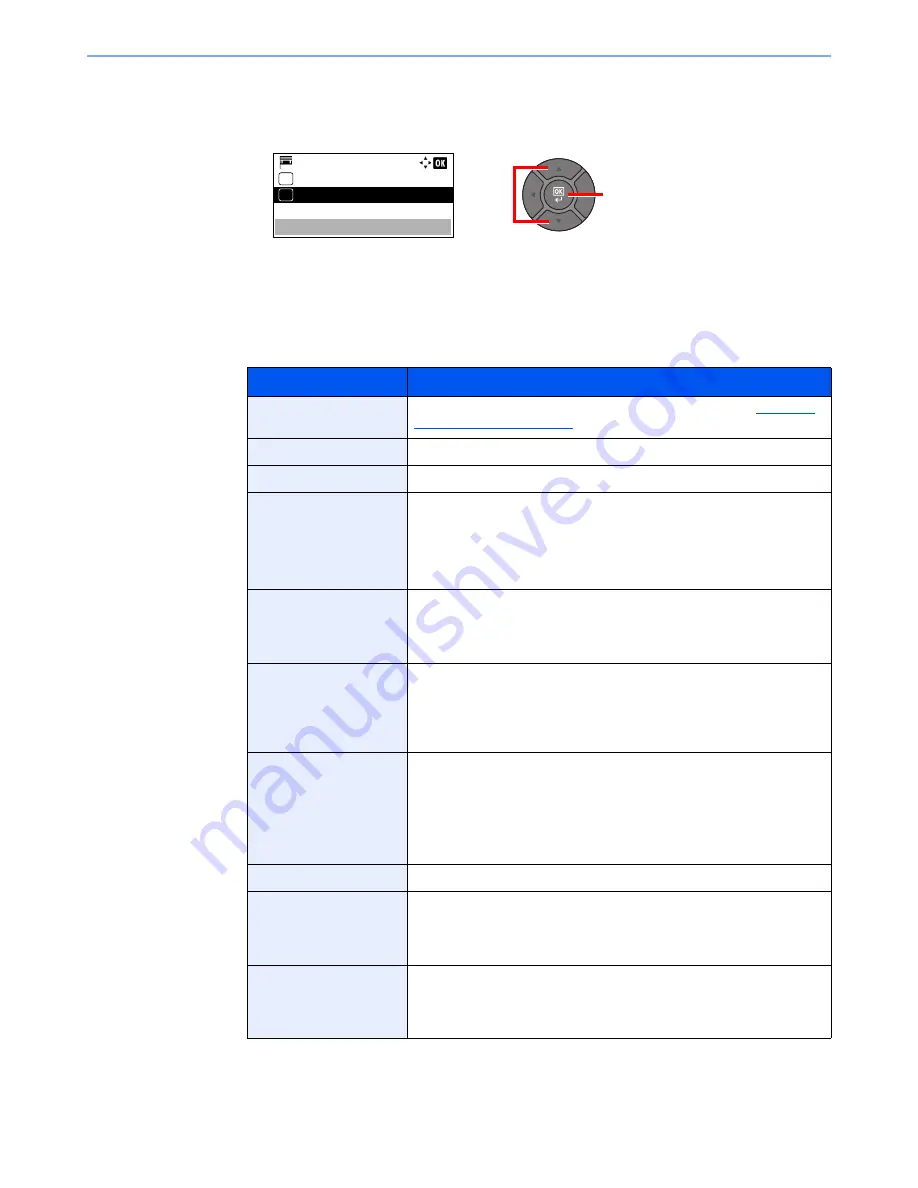
To complete the box registration, press the [
▲
] or [
▼
] key to select [Exit] and then press
the [
OK
] key. The Custom Box is created.
To register further Box information, press the [
▲
] or [
▼
] key to select [Detail] and then
press the [
OK
] key. Proceed to next step.
3
Enter the box information.
Press [Edit] or [Change] on each item and enter the information then press the [
OK
] key.
Press the [
►
] key to view the next screen. Press the [
◄
] key to return to the previous screen.
The table below lists the items to be set.
Item
Description
Box Name
Enter a box name consisting of up to 32 characters. Refer to
Character
Entry Method on page 11-11
for details on entering characters.
Owner
*1
*2
*1 Displayed when the user login administration is enabled.
*2 Displayed when the user has logged in as administrator.
Set the owner of the box. Select the owner from the user list that appears.
Permission
*1
Select whether to share the box.
Box Password
User access to the box can be restricted by specifying a password to
protect the box. Entering a password is not mandatory.
Enter a password of up to 16 characters and press the [
OK
] key. Reenter
the same password for confirmation and press the [
OK
] key.
This can be set if [Shared] is selected in “Permission”.
Box Number
Enter the box number by using the numeric keys or pressing the [
▲
] or
[
▼
] key. The box number can be from 0001 to 1000. A Custom Box
should have a unique number. If you enter 0000, the smallest number
available will be automatically assigned.
Usage Restrict.
To preserve the SSD capacity, the storage capacity for a box can be
restricted. To enable a capacity restriction enter a value for the storage
capacity of the Custom Box in megabytes by using the numeric keys or
pressing the [
▲
] or [
▼
] key. You can enter a limit between 1 and 30,000
(MB).
Auto File Del.
Automatically deletes stored documents after a set period of time.
To enable automatic deletion, press the [
▲
] or [
▼
] key to select [On] and
press the [
OK
] key. Use the numeric keys or press the [
▲
] or [
▼
] key to
enter the number of days for which documents are stored. You can enter
any number between 1 and 31 (day(s)).
To disable automatic file deletion, select [Off] and press the [
OK
] key.
Free Space
Displays the free space on the box.
OverwriteSetting
Specifies whether or not old stored documents are overwritten when new
documents are stored. To overwrite old documents, press the [
▲
] or [
▼
]
key to select [Permit] and press the [
OK
] key. To retain old documents,
press the [
▲
] or [
▼
] key to select [Prohibit] and press the [
OK
] key.
Del. afterPrint
Automatically delete a document from the box once printing is complete.
To delete the document, press the [
▲
] or [
▼
] key to select [On] and press
the [
OK
] key. To retain the document, press the [
▲
] or [
▼
] key to select
[Off] and press the [
OK
] key.
2
1
Menu:
Exit
01
Detail
02
Содержание P-4030
Страница 1: ...USER MANUAL P 4030 MFP P 4035 MFP Copy Print Scan Fax A4 DIGITAL MULTIFUNCTIONAL SYSTEM ...
Страница 329: ...10 4 Troubleshooting Regular Maintenance 4 5 Vents Use a lint free cloth to clean dust and dirt away from the vents ...
Страница 353: ...10 28 Troubleshooting Troubleshooting Duplex Unit 1 2 3 ...
Страница 356: ...10 31 Troubleshooting Troubleshooting Document Processor 1 2 3 4 ...
Страница 357: ...10 32 Troubleshooting Troubleshooting 5 ...
Страница 396: ......


