1-4-20
2GM
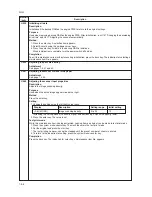
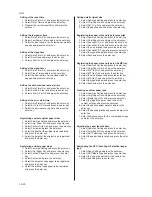
Setting of the reset time
1. Select Date/Timer Set. and press the enter key.
2. Select Reset Timer and press the enter key.
3. Register the current reset timer and press the
enter key.
Setting the low power time
1. Select Date/Timer Set. and press the enter key.
2. Select Low Power Timer and press the enter key.
3. Select the desired time for the low power mode to
engage and press the enter key.
Setting of the sleep time
1. Select Date/Timer Set. and press the enter key.
2. Select Auto sleep and press the enter key.
3. Select either On or Off and press the enter key.
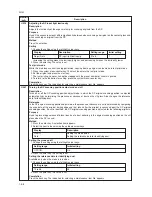
Setting of the sleep timer
1. Select Date/Timer Set. and press the enter key.
2. Select Sleep Timer and press the enter key.
3. Select the desired time for the sleep mode to
engage and press the enter key.
Setting the auto continue recovery time
1. Select Date/Timer Set. and press the enter key.
2. Select Auto Err. Clear and press the enter key.
3. Select either On or Off and press the enter key.
Setting of the error clear time
1. Select Date/Timer Set. and press the enter key.
2. Select Err. Clear Timer and press the enter key.
3. Select the desired recovery time and press the
enter key.
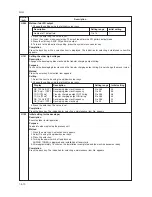
Registering custom original paper sizes
1. Select Common Setting and press the enter key.
2. Select Orig./Paper Set. and press the enter key.
3. Select Custom Orig. Size and press the enter key.
4. Select Custom and press the enter key.
5. Select the width of the original to be registered,
and press the enter key.
6. Select the height of the original to be registered,
and press the enter key.
Registering custom paper sizes
1. Select Common Setting and press the enter key.
2. Select Orig./Paper Set. and press the enter key.
3. Select Custom PaperSize, and press the enter
key.
4. Select Custom and press the enter key.
5. Select the height of copy paper to be registered
and press the enter key.
6. Select the width of copy paper to be registered
and press the enter key.
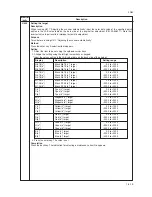
Setting defalt original size
1. Select Common Setting and press the enter key.
2. Select Orig./Paper Set. and press the enter key.
3. Select Def. Org. Size and press the enter key.
4. Select the desired size and press the enter key.
Registering the paper size and type for cassettes
1. Select Common Setting and press the enter key.
2. Select Orig./Paper Set. and press the enter key.
3. Select Cassette1(2) Set. and press the enter key.
4. Select Cassette1(2) Size and press the enter key.
5. Select the size of paper and press the enter key.
6. Select Cassette1(2) Type and press the enter key.
7. Select the type of paper and press the enter key.
8. Select Back and press the enter key.
Registering the paper size and type for the MP tray
1. Select Common Setting and press the enter key.
2. Select Orig./Paper Set. and press the enter key.
3. Select MP Tray Set. and press the enter key.
4. Select MP Tray Size and press the enter key.
5. Select the size of paper and press the enter key.
6. Select MP Tray Type and press the enter key.
7. Select the type of paper and press the enter key.
8. Select Back and press the enter key.
Creating a custom paper type
1. Select Common Setting and press the enter key.
2. Select Orig./Paper Set. and press the enter key.
3. Select Media Type Adj. and press the enter key.
4. Select the type of paper or select one of the
custom settings and press the enter key.
5. Select the desired paper weight and press the
enter key.
6. Select the desired printing exposure and press the
enter key.
7. Enter the desired name for this custom paper type
and press the enter key.
Selecting the paper feed location
1. Select Common Setting and press the enter key.
2. Select Orig./Paper Set. and press the enter key.
3. Select Def. Paper Input and press the enter key.
4. Select the paper feed location and press the enter
key.
Designating the APS (Auto Paper Selection) paper
type
1. Select Copy Setting and press the enter key.
2. Select APS Media Type and press the enter key.
3. Select the type of paper that will be used in the
APS mode and press the enter key.
Содержание CD 1018
Страница 1: ...Service Manual MFP Copy CD 1018 Date 17 03 2005 ...
Страница 2: ...Service Manual MFP Copy DC 2018 Date 17 03 2005 ...
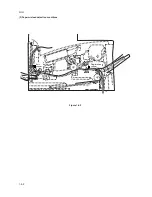
Страница 70: ...2GM 1 5 2 2 Paper misfeed detection conditions Registration sensor Exit sensor Figure 1 5 2 ...
Страница 110: ...2GM 1 6 17 15 Remove four screws 16 Remove the drive unit Figure 1 6 20 Removing the drive unit Screws Drive unit ...
Страница 124: ...2GM 1 6 31 Eraser lamp 9 Remove the eraser lamp Figure 1 6 35 Removing the eraser lamp ...

