


ZenCut Black User Manual
Accu-Aligning System
5-1
Chapter 5 Accu-Aligning System
5.1 Introduction
The ZenCut Black series cutting plotters feature a standard Accu-Aligning System (AAS II) to
guarantee precise contour cutting quality by detecting the registration marks printed around the
graphic.
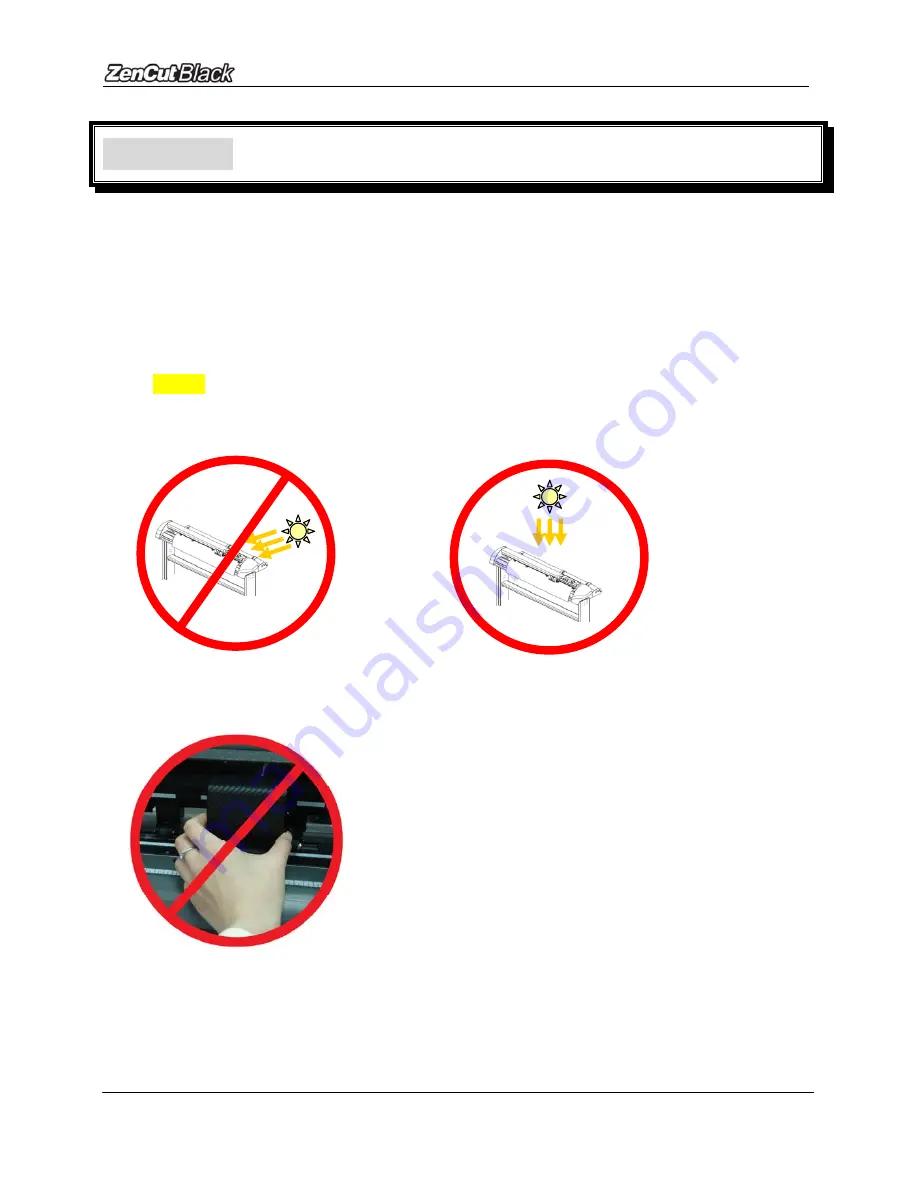
Notice
Eliminate light sources from the side of the AAS module, as this may interfere with
operation.
-
PROHIBITED
-
ACCEPTABLE
DO NOT take off the cover of AAS module while in operation.
-
PROHIBITED


