


ZenCut Black User Manual
Installation
2-9
2.5.1 USB
Interface
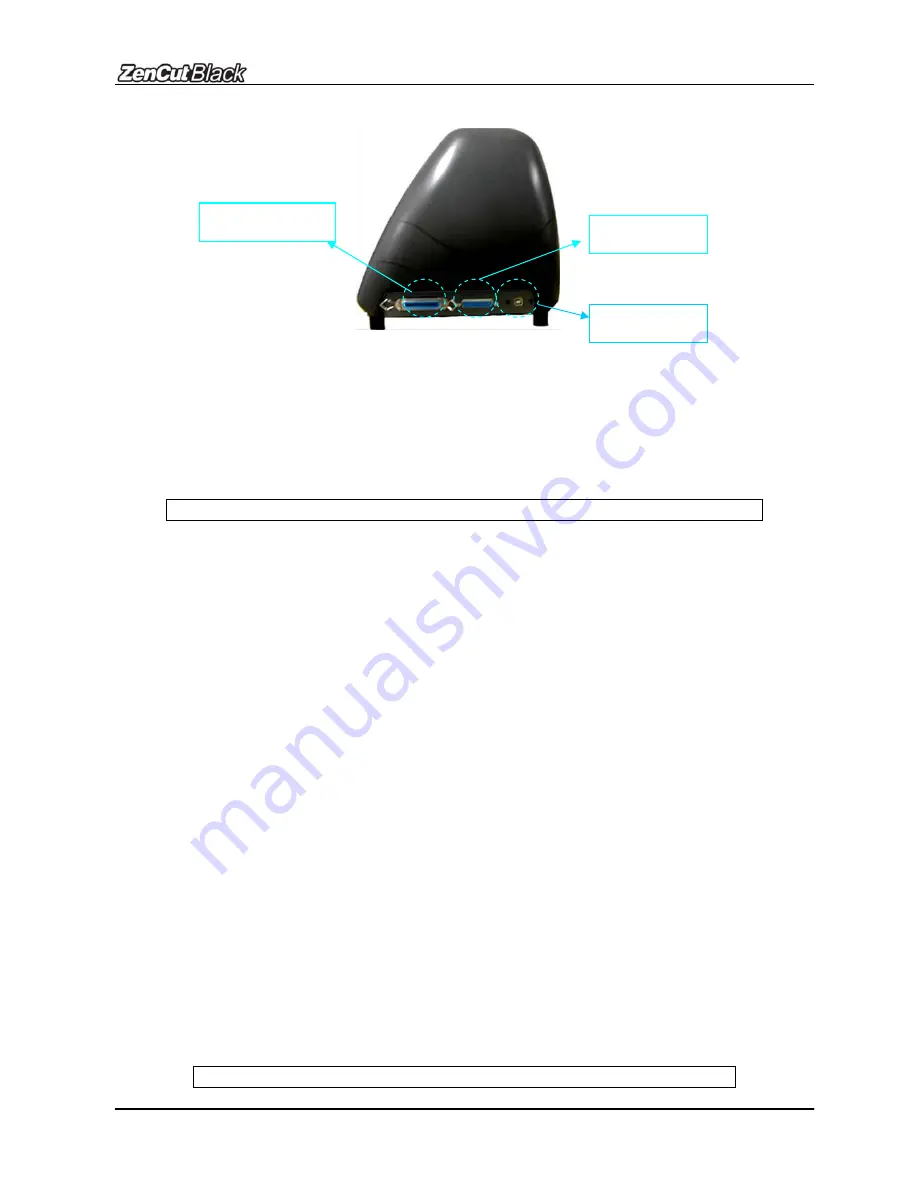
Figure 2-18
USB port
Serial port
Parallel port
ZenCut Black’s built-in USB interface are based on the Universal Serial Bus Specifications
Revision 1.1. (Operation systems Windows 95 and Windows NT do not support USB).
USB driver installation
Caution!! Do not plug USB cable into plotter before you install USB driver.
a. Put USB cable aside (don’t plug it into ZenCut Green).
b. Insert “User CD”, and then click on “USB driver” to install USB driver. USB driver will
remove drivers which occupy USB port first, then install ZenCut Green USB driver. The
USB driver was installed successful when a popup window shows “USB Driver installed”.
Connection
Plug the USB cable into the ZenCut Black USB interface connector. Plug the other end of
the cable into the PC’s USB interface connector.
Cutting driver or sign cutting software installation
Insert “User CD”, and then click on “Driver” to install driver working with CorelDraw or
your own sign-making software.
2.5.2 Parallel
Interface
z
Connecting to the Parallel (Centronics) Port
1. Connect a parallel cable to the cutting plotter and the host computer.
2. Set up the output port
LPT1
or
LPT2
from your software package.
3. Send the data to your cutting plotter directly. Or, use DOS commands like
TYPE
or
to output data.
Caution!! Please turn off the plotter before plugging the print cable.


