44
4.6
USING THE OPTIONAL ROTARY FIXTURE
The Rotary Fixture controls in the ULS Windows printer driver are used along with the optional Rotary
Fixture to engrave onto round or cylindrical objects. In order to compensate for different diameter
objects, the image must be adjusted. This is done automatically by the ULS Windows printer driver
when selecting Rotary Fixture and entering in the diameter of the object being engraved.
The rotary fixture allows the engraving of cylindrical work pieces up to 4.75 inches in diameter (5.75
inches with the high resolution lens attached) and up to 12.5 inches long. Two attachments come with
the fixture, a cone shaped disk attached to the motorized end of the fixture and a flat disk with foam
padding attached to the adjustable end of the fixture. These attachments are designed to hold wine
glasses, mugs, cups, etc. The following is a step by step procedure in the installation and operation of
the Rotary Fixture. We are going to use a glass as an example.
Installation of the Rotary Fixture
1.
Turn the laser system
OFF
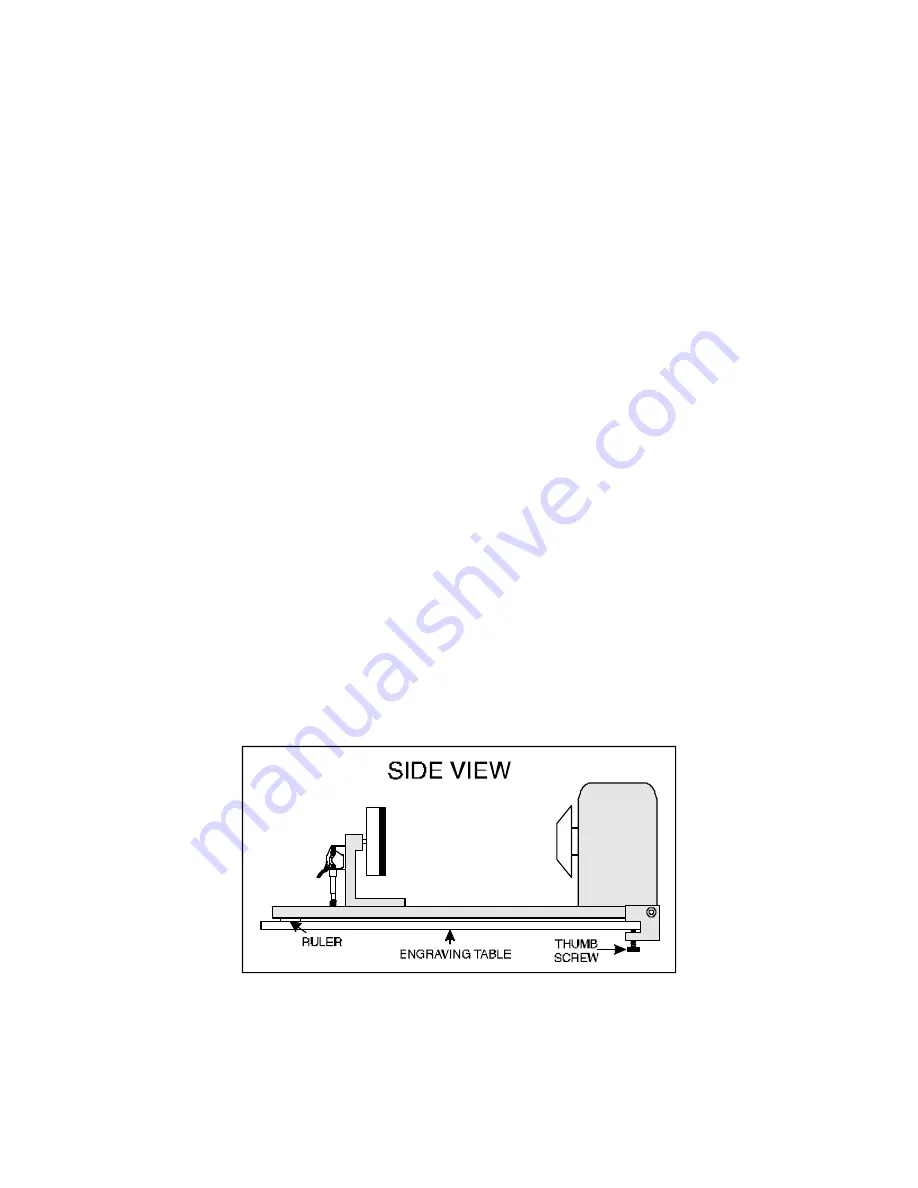
. Open the top door of the laser engraving system and place the
Rotary Fixture on the engraving table with the black box on the Rotary Fixture to the right.
2.
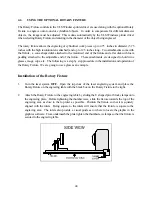
Attach the Rotary Fixture to the engraving table by sliding the U shaped pivot block clamps onto
the engraving plate. Before tightening the thumbscrews, slide the fixture towards the top of the
engraving area as close to the top ruler as possible. Position the fixture so that it is squarely
aligned with the rulers. Being square to the rulers will ensure that the fixture is square to the
engraving area. The rulers also provide a visual guide as to where to locate the graphic in the
graphics software. From underneath the plate tighten the thumbscrew clamps so that the fixture is
secured to the engraving table.
Содержание ULS-25
Страница 3: ...3 APPENDIX E SOFTWARE ANOMALIES E...
Страница 14: ...14 Sample Exhaust System Layouts...
Страница 62: ...62...
Страница 82: ...A APPENDIX A WARRANTY...


