ACCESSORIES
Section
6-16
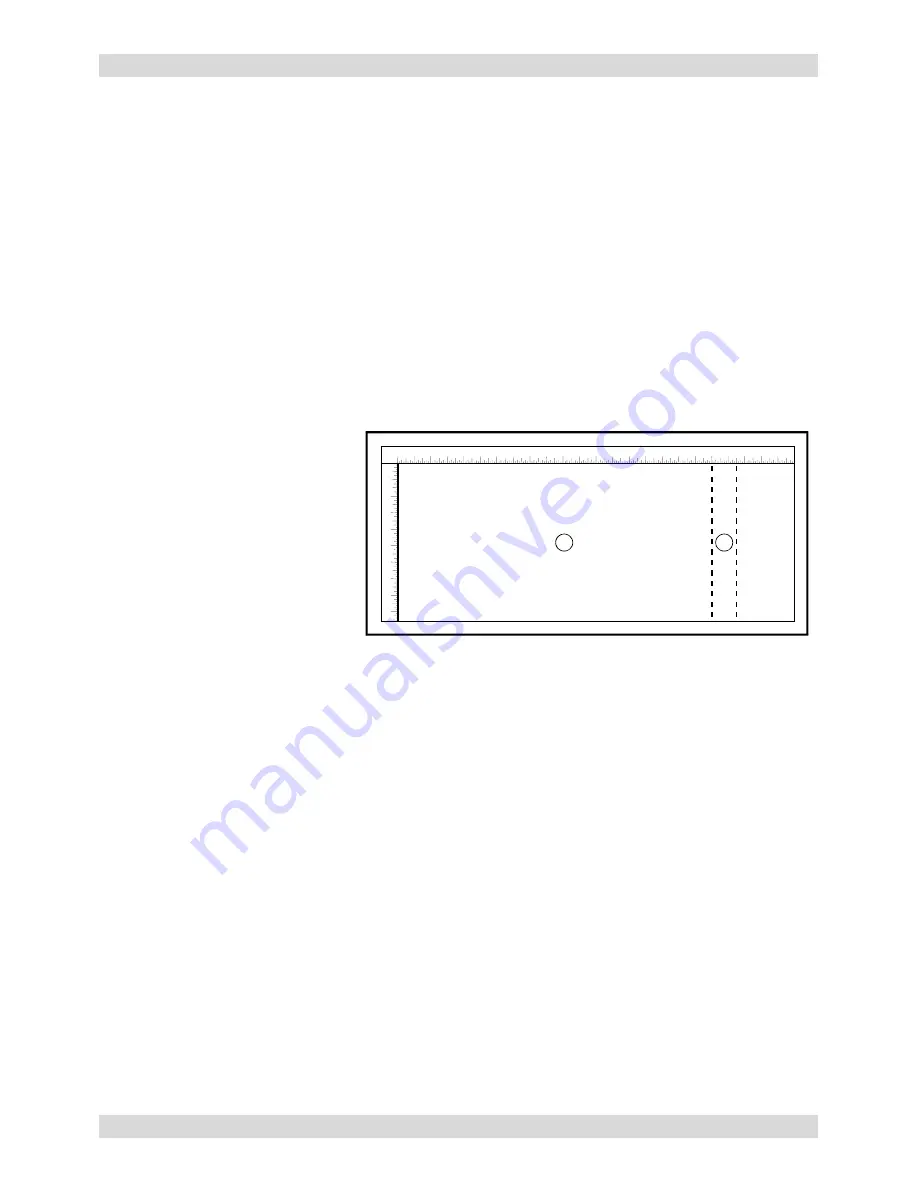
In this example our upper limit is about 20500X and the lower limit is 19000X. This translates to 20.5
inches and 19.0 inches respectively because the coordinates are in 1/1000 inch units.
We have now set up the glass to be engraved. Close all doors of the laser system, go to your computer,
and open your graphics software.
Printer Driver Settings
With your graphics software open, proceed immediately to “Printer Setup” and open the printer driver. In
the printer driver, click on the “Engraving Field” tab, is set to page orientation to ”Landscape” and the size
set to the maximum field size of the laser system. In this example, we will set it to 24 x 12 inches. Then,
click on the “Rotary Installed” selection box and type in the diameter of the glass that was measured.
Notice that while typing in the diameter, the size of the height dimension changes automatically.
Remember or write down this new page size. In this example, the diameter of the glass is 3.075 inches.
After typing in this number, observe that the new page height is now 9.66 inches. Click on “OK” and go
back to the graphics software’s page setup and change it to
EXACTLY
match the new page size that the
Printer Driver established when the diameter of the object was typed in.
This new vertical page size is now
the actual circumference of the
object that is going to be engraved.
From the top of the page (on
screen) to the bottom represents
one complete revolution of the
Rotary Fixture. For example, if
engraving a glass that has a
diameter of 3.075 inches (78.1 mm),
the driver calculates that the
circumference of the glass (and
vertical page size) is 9.66 inches
(245.4 mm).
1
2
3
4
5
6
7
8
9
10
11
12
13
14
15
16
17
18
19
20
21
22
23
24
1
2
3
4
5
6
7
8
9
1
2
Position the graphic, on screen, so that it will fit vertically within the new vertical page height
(circumference) and horizontally within the upper and lower engraving limits that we earlier determined
with the Red Diode Laser Pointer. If the graphic does not fit within the vertical page size limits, the
portion that is outside the page limit will not engrave. Remember, the new page size that the driver
calculates from the diameter of the glass is it’s actual circumference. From the top of the page down to
the bottom is one complete revolution of the glass. Since the Rotary Fixture will not turn more than 360
degrees, make sure that the graphic lies between the page limits.
You are now ready to print to the laser system. Make sure that you system is ready to engrave and then
begin the process.
Rotary Fixture Removal
Turn the laser system
OFF
. Unplug the fixture’s power cable. Remove fixture from laser system by lifting
it off the bracket. If you plan on using your fixture daily, you might want to leave the bracket attached to
the table so that you can easily load and unload the fixture. If you seldom use the fixture, you might want
to remove the bracket from the engraving table because the bracket may interfere with using “Autofocus”.
If you use “Autofocus” and leave the bracket attached to the table, the thinnest piece of material that you
can “Autofocus” on would be the thickness of the bracket because the “Autofocus” sensor can only detect
materials taller than the bracket unless the bracket is removed. If you do not use “Autofocus”, then you
can leave the bracket attached to the table, it is your choice.
Содержание SuperSpeed-660
Страница 6: ......
Страница 20: ...INSTALLATION Section 2 8...
Страница 34: ...SYSTEM OPERATION Section 3 14...
Страница 44: ...BASIC MAINTENANCE Section 4 10...
Страница 68: ...MATERIAL SETTINGS GUIDE Section 5 24...


