iColor
LF700
Manual Version 3.6
Uninet
Copyright 2014
Page 50
Selecting the Layers for Sending to the
LF700
.
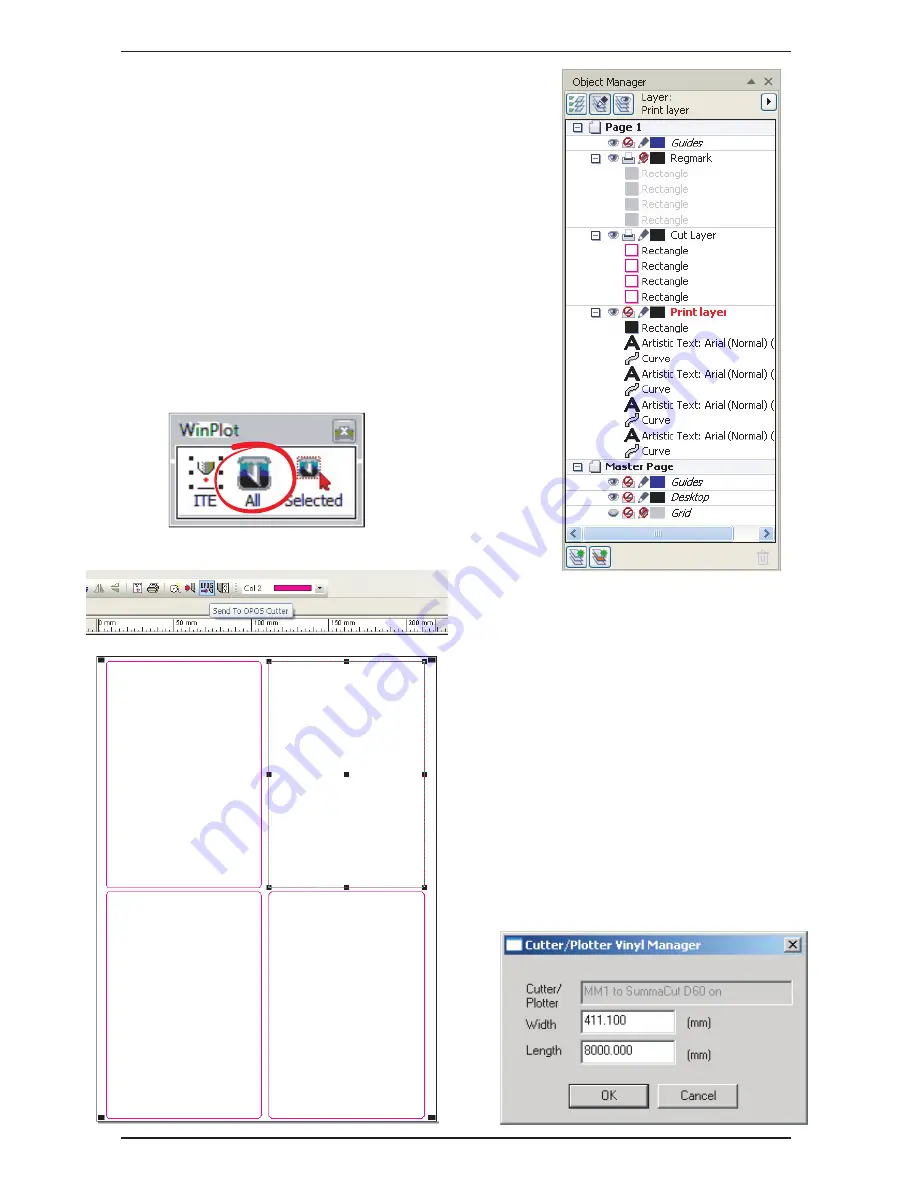
Now that all the data is set correctly the relevant lay-
ers need to be selected to send to the printer. On the right you
will see the layer that need to be ‘Printable’ and those that
don’t.
Reg mark layer:
Printable.
Cut layer:
Printable.
Printable layers:
None-printable.
The design is ready to send to WinPlot, do this by clicking on the
‘All’ icon on the WinPlot plug-in and WinPlot will automatically
start.
Sending Cut Data from WinPlot to the
LF700
.
WinPlot will display the label cut pro-
files with the OPOS reg marks at the corner.
To send just the cut profiles to the
LF700
they
need to be a different colour to the OPOS
marks, if you forget to do this at the design
stage then simply select all the cut profiles and
change them to different colour from colour
palette on the top menu bar.
Select any one of your profiles, then
click on the ‘Send to OPOS Cutter’ icon on the
top menu bar.
The following box will appear, no settings need
to be changed so click the ‘OK’ button.
Содержание iColor LF700
Страница 1: ...i C o l o r L F 7 0 0 ...


