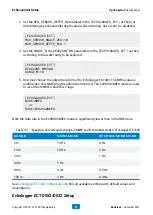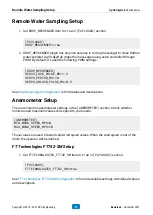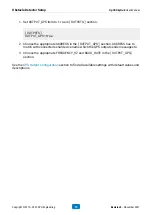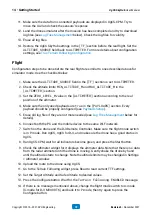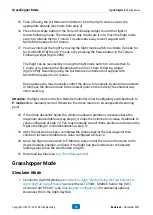
2. Check the altitude limits
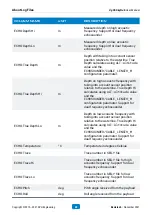
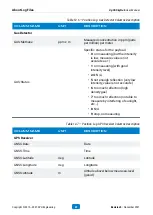
MIN_ALTITUDE_M
and
MAX_ALTITUDE_M
in the
[ALTIMETER]
section.
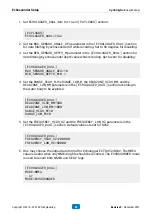
3. Set the
ZERO_LEVEL_M
value in the
[ALTIMETER]
section according to the real
position of the altimeter.
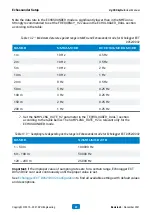
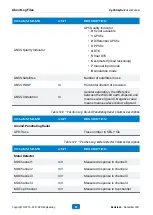
4. Make sure the only used payloads are
true
in the
[PAYLOADS]
section. Every
payload should be properly configured (see
).
5. Erase old log files if they are not more needed (see
details).
6. Connect both the PC and the mobile device to the same Wi-Fi network.
7. Switch on the drone and the DJI Remote Controller. Make sure the flight mode switch
is in
P
-mode. Run UgCS, UgCS for DJI, and make sure the drone has a good status in
UgCS.
8. Run UgCS-CPM, wait for all indicators become green, and press the Start button.
9. Check the Altimeter widget for it displays the altimeter data. Note that there is no data
from the radar altimeter until the drone is moving. Gently shake the drone by hand
until the altitude starts to change. Note the altitude limits may be changed in Settings
> Altimeter window.
10. Upload the route to the drone using UgCS.
11. Go to the Grasshopper widget, press Read to read current GH settings.
12. Set
Target Altitude
in order to follow terrain, set
Descent To
to desired values.
13. Press the Configure button. Wait for the
Grasshopper ENABLED
message.
14. If there is no message mentioned above, change the flight mode switch to
A
-mode
(
S
-mode for DJI M300 RTK) and back it to
P
-Mode, then try again to press the
Configure button.
15. Take off using the DJI Remote Controller or from the UgCS and rise up to the
appropriate altitude (see limits from step 2).
16. Press the Activate button in the Grasshopper widget to start the flight in grasshopper
mode. The alternative way to activate it is to move the flight mode switch to
A
-Mode
then to
F
-mode. The alternative way doesn’t support with M210/M300 series DJI of
drones.
Grasshopper Mode
UgCS SkyHub User Manual
Copyright © 2019—2021, SPH Engineering
81
Revision 5 • November 2021

