


18
TO ADJUST THE FREQUENCY
Look at the meter. The kHz indicator must blink to be able to tune the frequency.
If it is not blinking, “Click” in the Sensitivity Control Dial until the kHz indicator blinks.
When the kHz indicator blinks, change the frequency by rotating the Sensitivity Control Dial up
(clockwise) or down (counter clockwise).
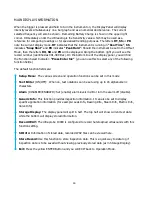
FUNCTION FIELD DESCRIPTION
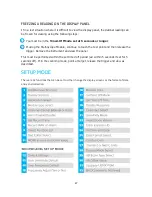
SETUP MENU:
The various screen and operation functions can be set in this mode
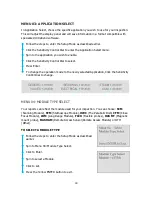
TEXT EDITOR
(ON/OFF): When on, text notations can be set using up to 16 alphanumeric
characters.
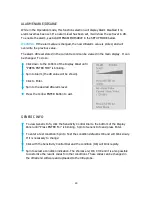
ALARM
(DISABLED/ENABLED): Set (enable) alarm levels in dB or turn the alarm off (disable).
GENERIC INFO:
This function provides inspection information. It can also be set to display
specific application information (for example: Leak Info, Bearing Info, Steam Info, Electric Info,
Valve Info)
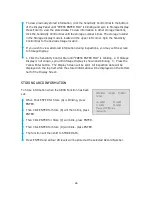
STORAGE DISPLAY:
The display panel will split in half. The top half will show current test
data while the bottom will display stored information and baseline data.
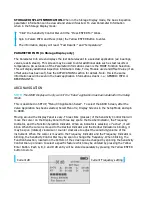
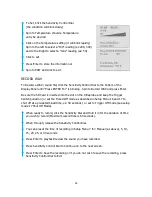
RECORD WAV:
The Ultraprobe 10,000 is configured to record heterodyned ultrasounds with
this function setting.
SD INFO:
Information of stored record and WAV files can be viewed here.
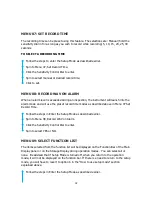
STORE RECORD:
Use this function to store inspection data. This is a quick way to data log if
inspection data is to be saved without viewing previously stored data (as in Storage Display).
EXIT:
Press the yellow ENTER button and you will EXIT back to Operation Mode.
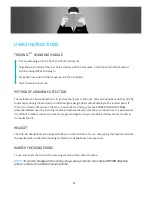
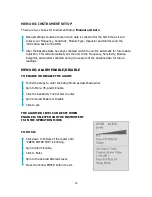
YELLOW ENTER BUTTON
The Yellow Enter Button allows you to enter and exit specific menu operations. A message on the
bottom of the Display Panel will note when to press this button.
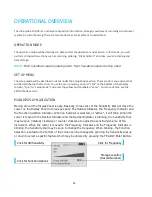
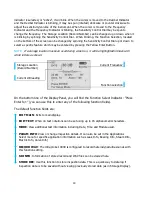
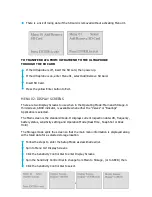
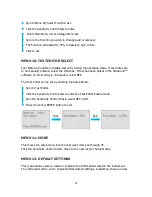
STORAGE DISPLAY NAVIGATION
Moving around the Display Panel is easy. Basically, four clicks (presses) of the Sensitivity Control
Dial will move the cursor on the Display Panel to four key spots: the Decibel Indicator, the
Frequency Indicator, Storage Location Indicator and the Function Selection Indicator. When an