6
Chapter 2: Installation
airFiber
®
AF5/AF5U User Guide
Ubiquiti Networks, Inc.
7. Click the
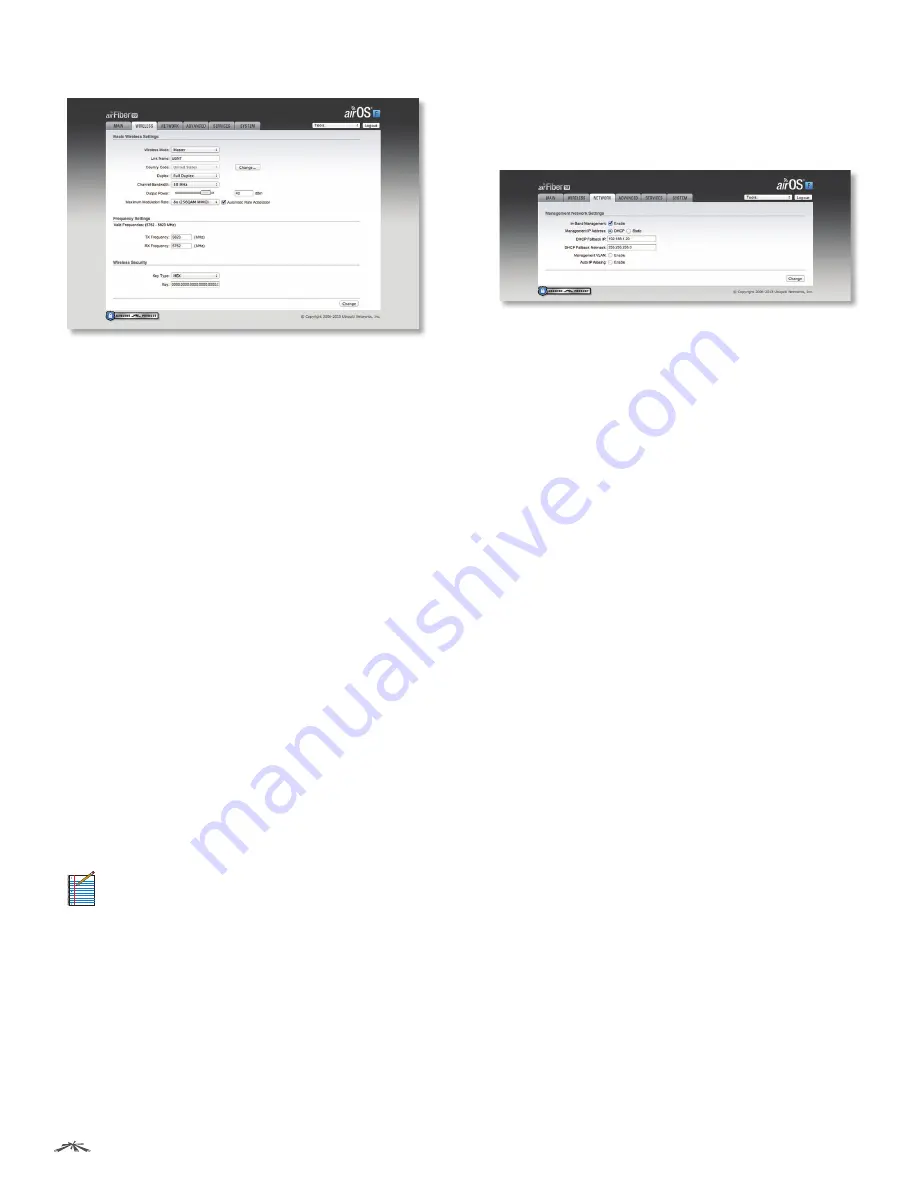
Wireless
tab.
8. Enter the
Basic Wireless Settings
:
a. For one airFiber radio, select
Master
from the
Wireless
Mode
drop-down. For the other airFiber radio, keep the
default,
Slave
.
b. Enter a name in the
Link Name
field. This should be the
same on both the Master and the Slave.
c. For the
Duplex
drop-down:
-
Half Duplex
The default mode. The
TX
and
RX
Frequencies
can be the same or different to suit local
interference.
-
Full Duplex
The
TX
and
RX Frequencies
should be
different.
d. Select a
TX Frequency
. This must match the
RX
Frequency
on your other airFiber radio.
e. Select a
RX Frequency.
This must match the
TX
Frequency
of your other airFiber radio.
f. If needed, change the
Output Power
and/or
Maximum
Modulation Rate
settings.
9. Configure the
Wireless Security
:
a. Select the AES
Key Type
,
HEX
or
ASCII
.
b. For the
Key
field:
-
HEX
Enter 16 bytes (eight, 16-bit HEX values: 0-9, A-F,
or a-f). You can omit zeroes and use colons, similar to
the
IPv6 format.
Note:
The airFiber Configuration Interface
supports IPv6 formats excluding dotted quad and
“::” (double-colon) notation.
-
ASCII
Enter a combination of alphanumeric
characters (0-9, A-Z, or a-z).
10. Click
Change
and then click
Apply
.
11.
In-Band Management
is enabled by default, so each
airFiber radio must have a unique
IP Address
. (If the
airFiber radios use the same
IP Address
, then you may
lose access to the airFiber radios via the Data ports.)
Click the
Network
tab.
a. For the
Management IP Address
option:
-
DHCP
Keep the default,
DHCP
, to use DHCP
reservation on your router to assign a unique
IP
Address
.
-
Static
Change the
IP Address
,
Netmask
, and other
settings to make them compatible with your network.
b. Click
Change
and then click
Apply
.
Repeat the instructions in the
airFiber Configuration
section on your other airFiber radio. After you have
configured the airFiber radios, disconnect them and move
them to your installation site.


