TRUST 1210K POWERC@M OPTICAL ZOOM
Note
:
Keep the glass of the lens clean. Use a lens tissue to clean the lens. If
necessary, use special cleaning liquid for camera lenses. Do not use a
different cleaning product.
Tip
:
The quality of the photograph depends on the surrounding light. More
light will result in a better picture.
Tip
:
The number of photographs that can be taken depends on the number
of details of the object to be photographed. The photograph indicator
on the LCD screen is an approximation.
Tip
:
The image viewed through the viewfinder may be slightly different to
what is recorded through the lens. You can use the LCD for greater
accuracy.
6.2.2
How to record video clips
The camera can be used to record small video clips.
1.
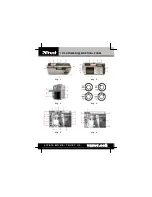
Rotate the Mode Dial to the VIDEO CLIP mode (1, fig. 4).
2.
Turn the camera on using the ON/OFF button (fig. 12). The LCD screen will
be turned on. A preview will be displayed.
3.
Focus the subject you wish to record.
4.
Press the SHUTTER button (2, fig. 1) briefly to start recording video. When
the LCD screen is switched on, there is an indicator to see the recording time.
5.
Press the SHUTTER button again to stop recording. When the memory is full,
the recording stops automatically. When there are no pictures present, you
can record approximately 01:38 seconds of video in the internal memory of
the camera. When using an optional SD/MMC card of 32 MB or larger, you
could record longer (depending on the size of the memory card).
Note
:
The zoom buttons (4 & 5, fig. 2) are not available during recording!
6.3
Reviewing pictures / video clips
One benefit of digital cameras is that you could immediately check whether or not you
like the pictures or video clips you just took.
To view the pictures or video clips that you have stored in internal memory or on the
SD/MMC Memory Card, rotate the Mode Dial to
PLAY mode (2, fig. 4) and turn the
camera on (fig. 12). Use the navigation buttons (7, fig. 2) to browse through the
pictures / video clips.
6.3.1 Full-screen
Review
8
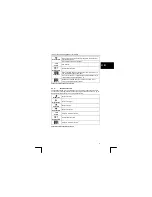
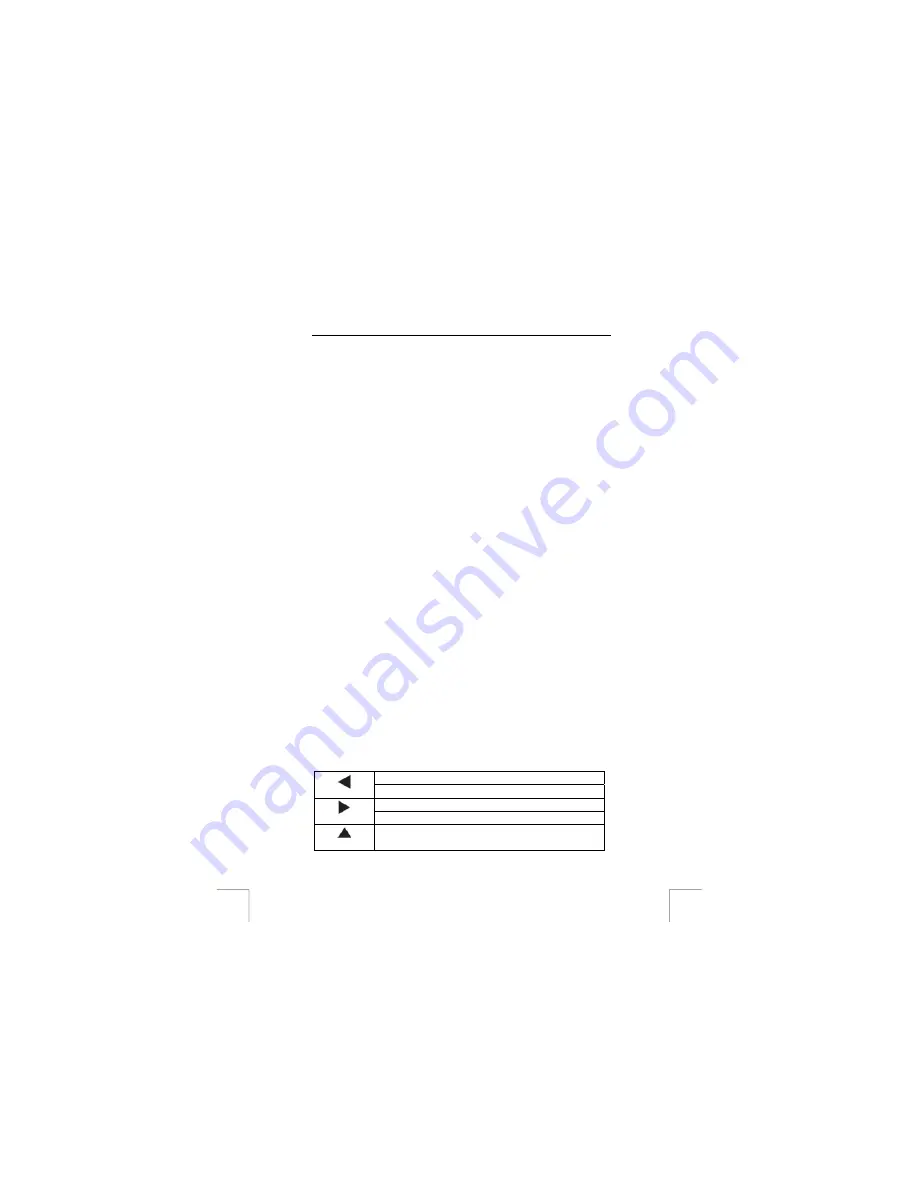
Normal mode: move to the previous photo.
Left Button
When Zoom activated: scroll left.
Normal mode: move to the next photo.
Right Button
When Zoom activated: scroll right.
Up Button
When Zoom activated: scroll right.
The default Playback method is to show each individual picture one at a time at full-
screen size.
See table 7 for the button functions in full-screen review:


