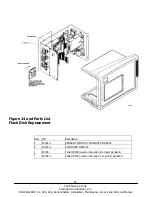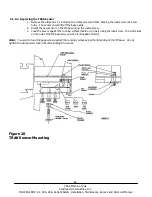
75
TRAK Machine Tools
Southwestern Industries, Inc.
ProtoTRAK SMX, K2, K3 & K4 & Retrofit Safety, Installation, Maintenance, Service and Parts List Manual
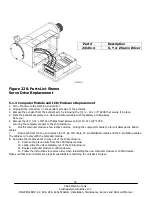
Part #
Description
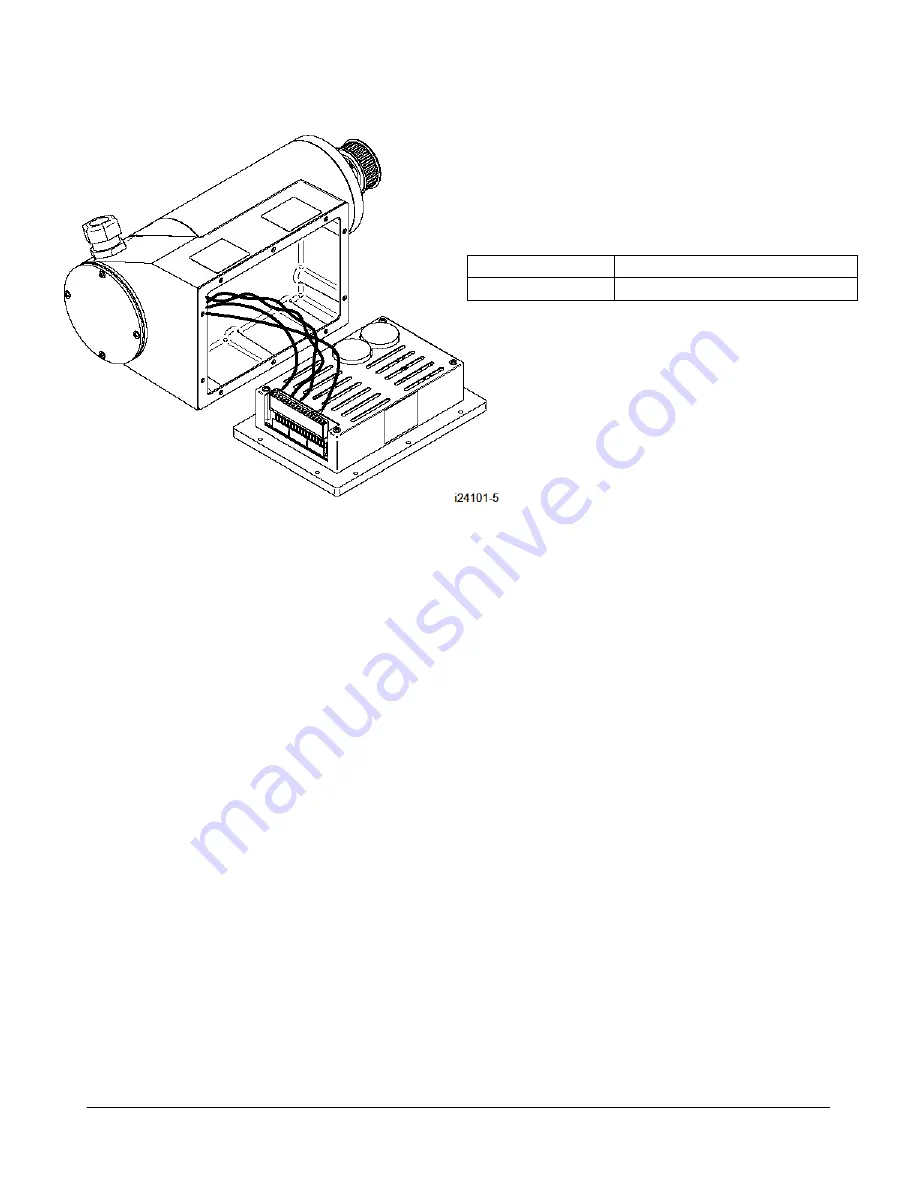
24101-4
X, Y or Z Servo Driver
Figure 22 & Parts List Shown
Servo Drive Replacement
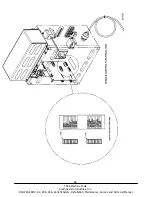
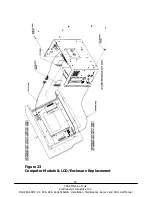
5.1.3 Computer Module and LCD/Enclosure Replacement
1. Turn off power to the machine and control.
2. Unplug all the connectors on the pendant arm side of the pendant.
3. Remove the pendant from the pendant arm by removing the (4) ¼ - 20 x 3/4” SCHS that secure it in place.
4. Place the pendant assembly on a clean and secured table with the display pointing away
from you.
5. Remove the (6) 10-32 x 3/8” Pan Phillips Head Screws and (4) 10-32 x 3/8” FHCS
securing the computer module to the LCD/enclosure.
6.
Pull the computer module a few inches and stop. Pulling the computer module too far will damage the ribbon
cables.
7.
Now reach from the top and remove the 37-pin LCD cable, 37-pin distribution cable and the 9-pin E/Stop cables.
The cables are to stay with the computer module.
8. Now slide the module about ½ way out of the LCD/enclosure.
9.
Remove the ground wire from the LCD/enclosure side.
10.
Lastly, slide the unit completely out of the LCD/enclosure.
11.
Replace computer module or LCD/enclosure.
12.
Follow the instructions in reverse order when reinstalling the new computer module or LCD/enclosure.
Make sure that all connectors are properly seated before fastening the unit back in place.


