© 2018 Thorlabs
3 Operating the ITC4000 Series
25
3.2 Power-up
Warning
Prior to switching on your ITC4000, please read the safety instructions in section
carefully.
Turn on the unit by means of the line switch (F2, see section
Operating elements at the front
).
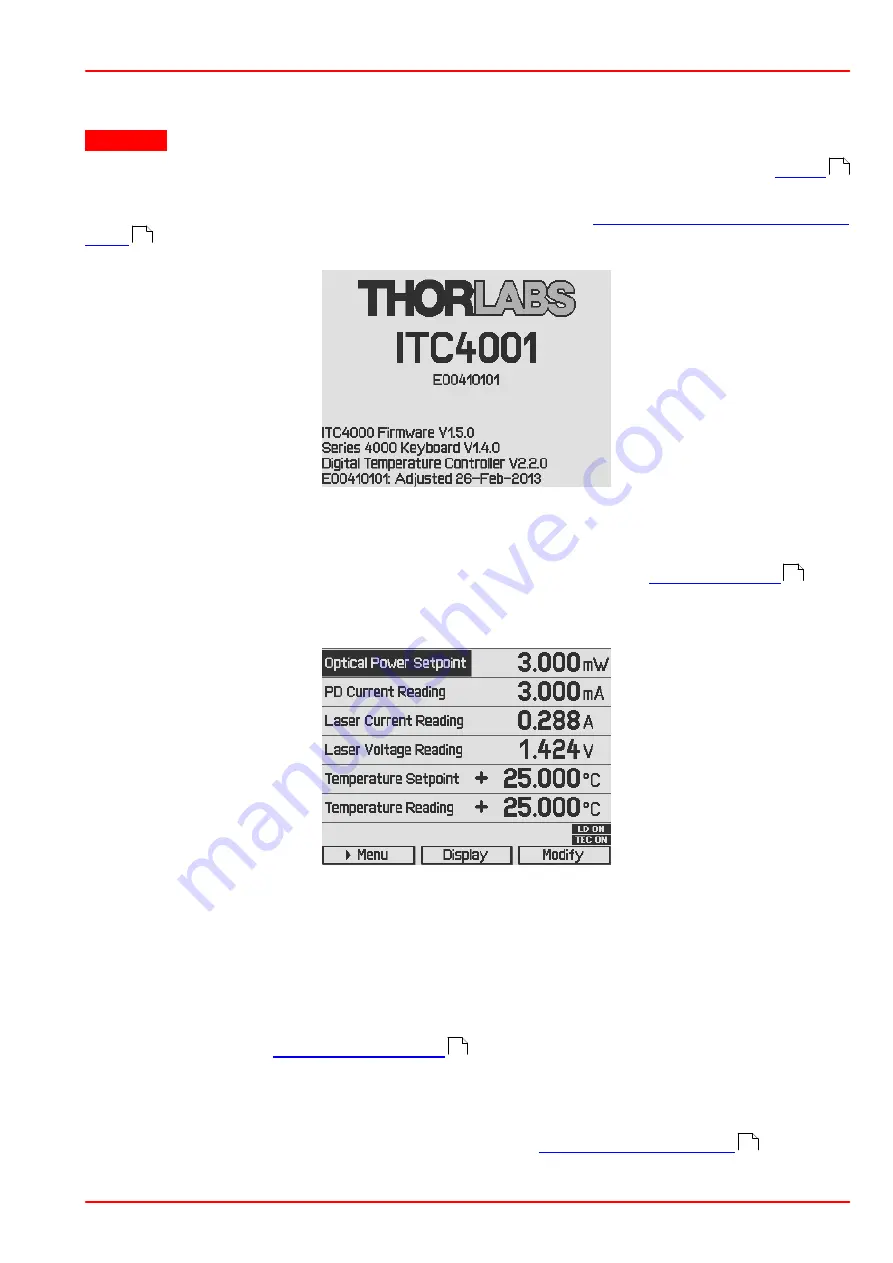
After switching on the unit, the graphics display will show the device status, followed by the
measurement screen shown below. In the device status window, device specific information like
device name, serial number, the installed firmware versions, and the calibration date will be
shown. If any system error has occurred (please refer to section
), the
ITC4000 display will stay in the device status window. You can switch to the measurement
screen window by pressing the ESC key.
In the display configuration menu, the display can be configured to show two, four or six values.
Factory setting is the six value screen.
To change a set point displayed on the screen, select it using the softkeys or turning the adjust-
ment knob. Press the
Modify
button or the adjustment knob to get into the entry mode. Adjust
the value by turning the adjustment knob. The entry position to be changed can be selected by
the
Coarse
or
Fine
buttons. Confirm your entry by pressing the
Done
button or the adjustment
knob again.
Please refer to section
for more information about selecting set points
and measurement readings.
Switch into the menu by pressing the
Menu
button or the ESC key. In the ITC4000 menu you
can change different ITC4000 settings described in the following sections.
For a complete menu item listing, please refer to section
.
6
11
90
48
85
Содержание ITC4000 Series
Страница 1: ...Laser Diode Current and Temperature Controller ITC4000 Series Operation Manual 2018 ...
Страница 2: ...Copyright 2018 Thorlabs Version Date Item No 3 9 10 Jul 2018 M0009 510 312 ...
Страница 91: ... 2018 Thorlabs 6 Appendix 89 Set Value Factory Setting Line Frequency Auto Update Capability Disabled ...
Страница 105: ...www thorlabs com ...


