


Replacing the Imaging Unit
16
Replacing the Imaging Unit
Attention
The OPCs are extremely sensitive to bright light, direct sunlight, and
touch. Always leave the imaging unit in its protective package until
you’re ready to install it. Any exposure to light should be avoided and
limited to less than two minutes, or permanent damage could result.
If you suspect the OPCs are damaged due to exposure to light, put the
entire imaging unit in a dark place to recover. Depending on the amount
of exposure, recovery may take up to two hours. Recovery time is
dependent on the amount of exposure sustained, and recovery is not
guaranteed. Any damage resulting from mishandling of the OPCs will
void the warranty of the OPCs.
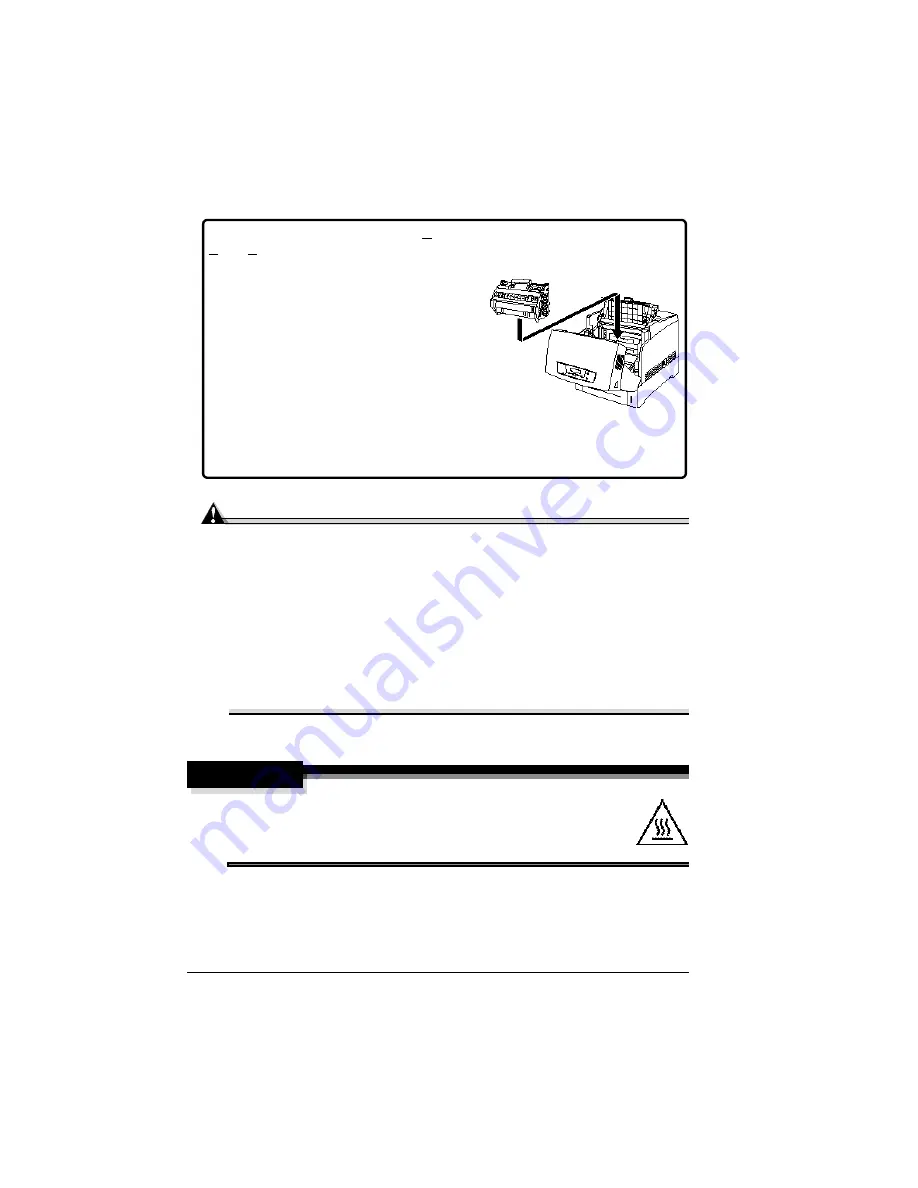
How do I replace the imaging unit?
WARNING!
The fuser can become extremely hot and cause severe burns.
Make sure the printer is cool before handling it.
The imaging unit contains 4 OPCs (Optical
Photo Conductors), 4 developers, and an
imaging unit transfer roller that forms the
image that is developed and transferred to the
media. When the imaging unit is worn out, the
message
REPLACE IMAGING UNIT
appears. After the imaging unit is replaced, the
printer automatically resets the consumables
count. Imaging unit life is directly related to the
number of rotations of the OPCs. Longest unit
life is achieved with continuous printing or
minimum 4-page job size. Intermittent printing
with small job sizes requires a cleaning rotation
after each one-page simplex job, and therefore
impacts OPC life.
Содержание Xpress T8016
Страница 1: ...User Guide Xpress T8016 Color Laser Printer TALLY May 2004 ...
Страница 6: ...Contents iv ...
Страница 7: ...1 Printer Overview ...
Страница 13: ...2 Replacing Consumables ...
Страница 33: ...3 Using Media ...
Страница 62: ...Duplexing 56 ...
Страница 63: ...4 Maintaining the Printer ...
Страница 70: ...Cleaning 64 7 Close the cover 8 Turn on the printer ...
Страница 71: ...5 Troubleshooting ...
Страница 114: ...Additional Assistance 108 ...
Страница 115: ...6 Installing Other Accessories ...
Страница 128: ...Tray Cover 122 4 Attach the tray cover back onto the upper media tray ...
Страница 129: ...7 Color Printing ...
Страница 132: ...Color Registration 126 ...
Страница 133: ...8 Storage Deinstallation Shipping and Packing ...
Страница 146: ...Packing the Printer 140 ...
Страница 147: ...A Technical Specifications ...
Страница 174: ...Index 168 ...


