


Dual In-Line Memory Modules (DIMMs)
115
6
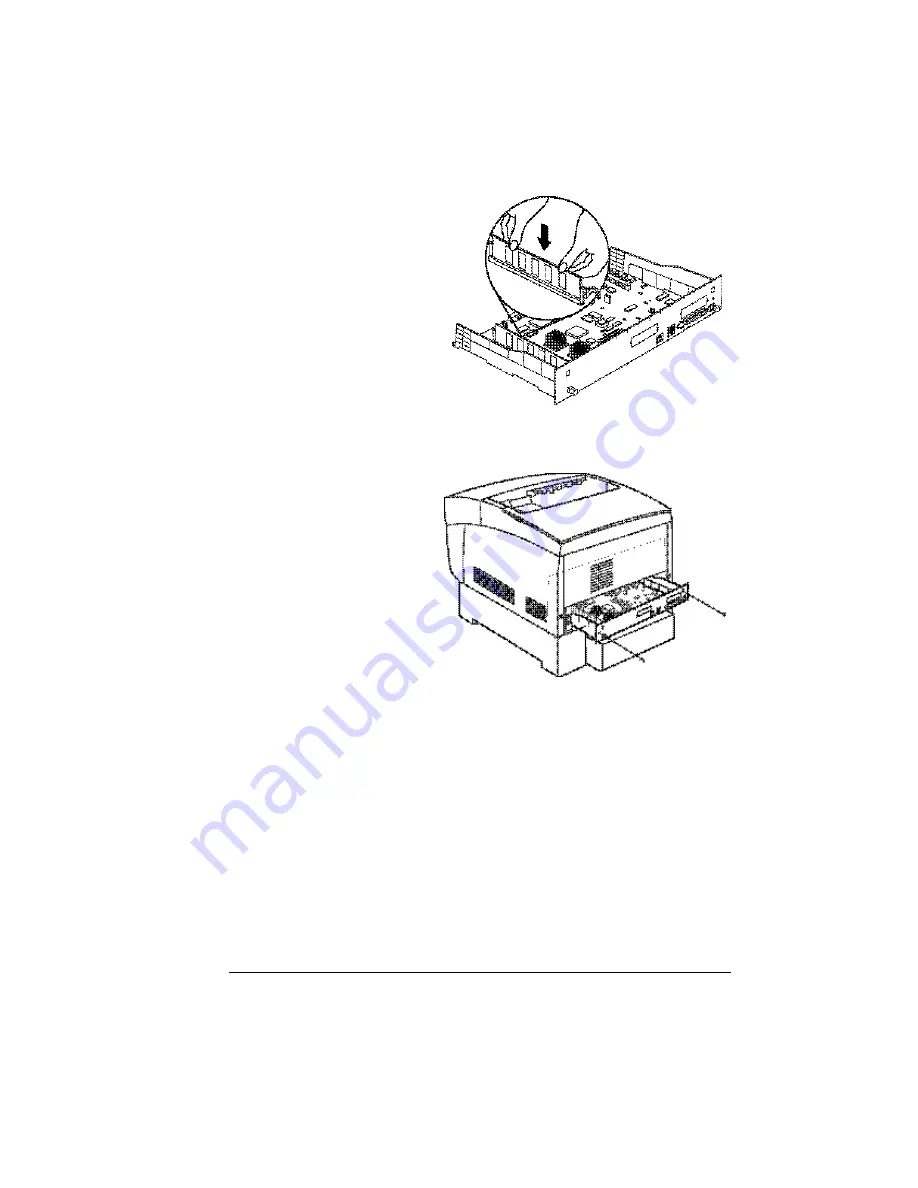
Insert the new DIMM
straight down into the
DIMM connector until
the latches snap into
the locked position.
Observe the keyed
side of the DIMM to
align it with the con-
nector. When seated,
the DIMM stands
upright, firmly in place.
If you cannot snap the
DIMM into place, do
not force it. Reposition
it, making sure that the
bottom of the DIMM is seated completely in the connector.
7
Reinstall the controller
board into the printer.
Gently slide the
controller board into
the printer’s tracks
until it is fully seated,
and then tighten the
two screws.
8
Reconnect all
interface cables.
9
Reconnect the power
cord, and turn on the
printer (a startup page
should print, if
enabled).
2?
In compliance with UL guidelines, “The appliance inlet is
considered to be the main disconnect device.”
Содержание Xpress T8016
Страница 1: ...User Guide Xpress T8016 Color Laser Printer TALLY May 2004 ...
Страница 6: ...Contents iv ...
Страница 7: ...1 Printer Overview ...
Страница 13: ...2 Replacing Consumables ...
Страница 33: ...3 Using Media ...
Страница 62: ...Duplexing 56 ...
Страница 63: ...4 Maintaining the Printer ...
Страница 70: ...Cleaning 64 7 Close the cover 8 Turn on the printer ...
Страница 71: ...5 Troubleshooting ...
Страница 114: ...Additional Assistance 108 ...
Страница 115: ...6 Installing Other Accessories ...
Страница 128: ...Tray Cover 122 4 Attach the tray cover back onto the upper media tray ...
Страница 129: ...7 Color Printing ...
Страница 132: ...Color Registration 126 ...
Страница 133: ...8 Storage Deinstallation Shipping and Packing ...
Страница 146: ...Packing the Printer 140 ...
Страница 147: ...A Technical Specifications ...
Страница 174: ...Index 168 ...


