


191
8.5.4. On-screen PTZ Controls
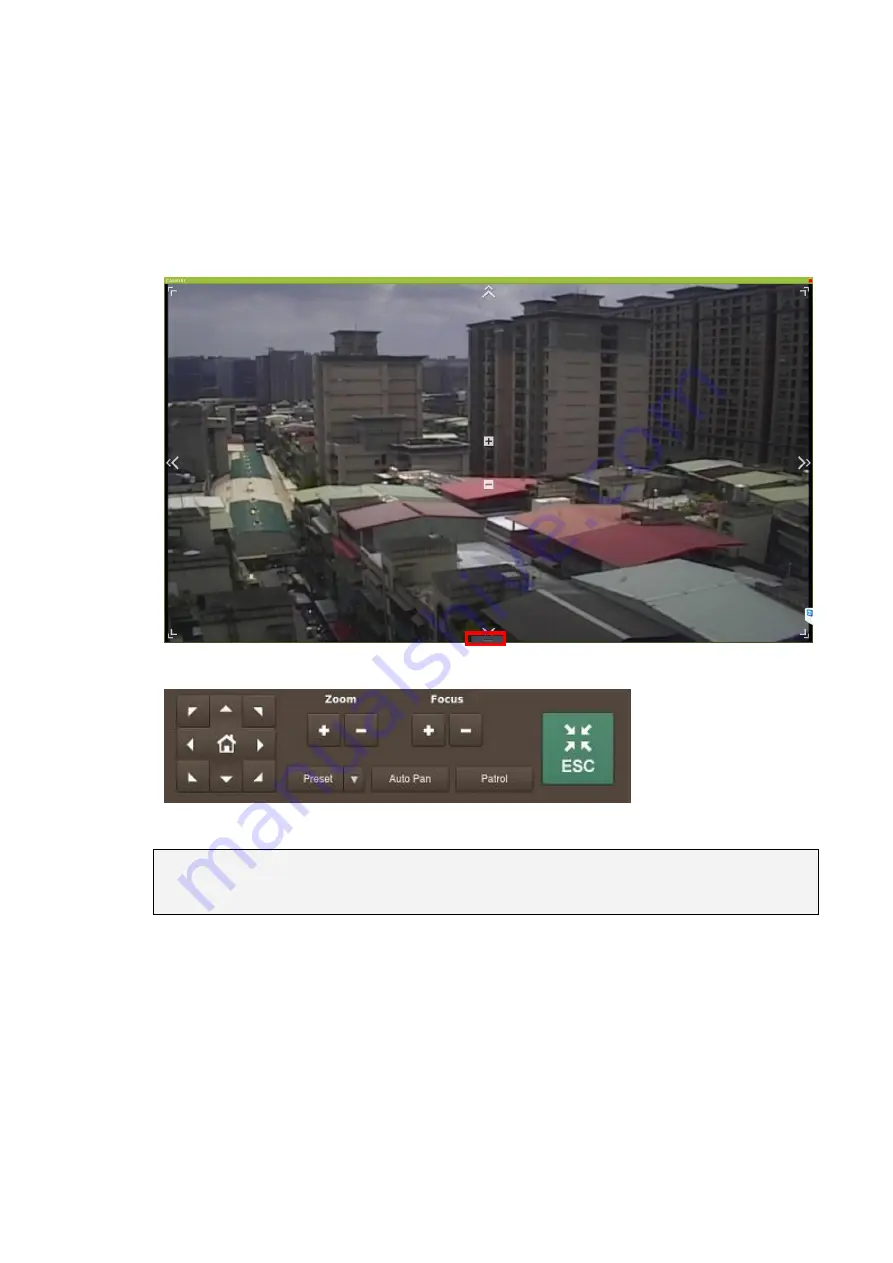
Cameras equipped with Pan-Tilt-Zoom functionality can be controlled directly within
the local client software. These controls can be seen in the live view screen.
Once your mouse hovers over the gray index marked by a red box below, you’ll see a
PTZ panel. Use the PTZ panel to perform PTZ related functionalities.
Note:
(1)
The camera to be controlled must be selected by highlighting it (clicking its
output window) in the main view window.
8.5.5. Directional Pad
Pan and Tilt
The pan and tilt functionalities can be controlled with the directional pad.
Clicking the right or left arrow will pan the camera by one step in the direction
clicked. Clicking the up or down arrow will tilt the camera by one step in the
direction clicked. Clicking diagonal arrows will combine the pan and tilt action of
Содержание NVR7312(2U)
Страница 1: ...NVR7300 Series User Manual Release 1 2...
Страница 72: ...72 1st JBOD 2nd JBOD Last JBOD...
Страница 92: ...92...
Страница 98: ...98 2 Click the Apply button to apply the schedule and OK to exit the dialog...
Страница 100: ...100...
Страница 127: ...127...
Страница 141: ...141 8 1 4 Search Camera Input the query in the search box and press Enter to search from the added cameras...
Страница 249: ...249 Jumps to the next segment The play speed can be adjusted from 1x to 8x...
Страница 283: ...283 12 4 5 EonOneLite Enter EonOneLite platform to operate the system See Chapter 4 8 7 1 8 EonOneLite...
Страница 286: ...286 12 5 5 FTP Setting It allows you to configure FTP server settings...
Страница 293: ...293 12 7 Network Click to bring out VMS Setup window and select Network to set the network related settings...
Страница 324: ...324 You can click on any channel you d like to see or manage to have a single view on your device...
Страница 331: ...331 You can click on any channel you d like to see or manage to have a single view on your device...
Страница 336: ...336 2 Accept the terms in the license agreement and click Next...
Страница 337: ...337 3 Accept and click Next 4 See if there s any information you d like to change if not click Next...
Страница 339: ...339 7 Click Install to start the installation 8 When the installation wizard completed click Finish...
Страница 340: ...340 9 Then the SurveOne Installation Wizard will start Click Next 10 Input the port which is not occupied and click Next...
Страница 358: ...358 Click Run to execute the setups now...


