600m
m
600m
m
700m
m
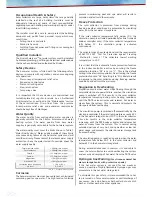
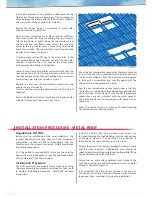
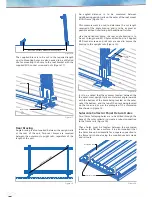
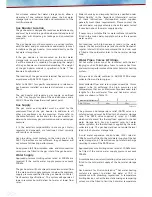
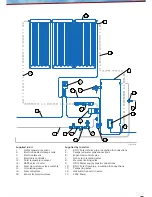
Figure 7
Regulations & OH&S
Before starting installation of the solar collector/s, the
installer should ensure they have read the “Important
Information” section of these instructions and are
familiar with the relevant standards, OH&S regulations
and safety precautions.
It is the builder’s responsibility to ensure the existing
house structure is adequate to take the additional loads
of the SolarCore
TM
Hot Water System.
Installation Procedure
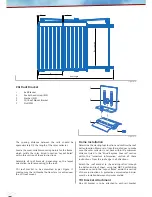
The solar collectors are mounted on a metal roof using
the same assembly procedure as outlined for tiled roofs
in section “Installation Procedure - Tiled Roof” of these
instructions.
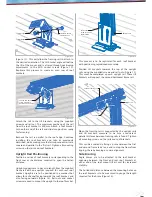
Instead of lifting tiles, the stainless steel straps are
fastened through the roof cladding into the roof battens
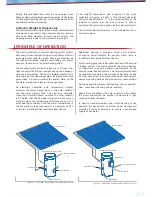
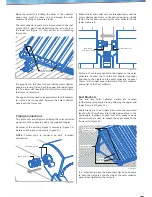
as shown in Figure 8. The position of roof battens is
identified by the rows of fasteners on the roof.
Protect the gutter from being damaged by ladders, tools
and the solar collectors. Additionally, care should be
taken to avoid scratching Colorbond roofing while lifting
and positioning the solar collectors.
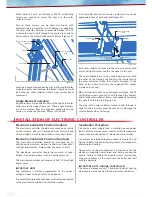
Fasten the top and bottom stainless steel straps to the
roof batten using two self drilling wood screws or metal
screws as shown in Figure 9.
It is important that the correct fasteners are used to
suit the purlin material. Incorrect fasteners may become
loose over time, resulting in an unsafe installation.
INSTALLATION PROCEDURE - METAL ROOF
Cover the hot temperature sensor with thermal paste and
insert it into the orifice provided near the water outlet of
the last solar collector. Push the hot temperature sensor
in fully with a screwdriver and seal the opening of the
orifice with a small amount of silicon.
Run the hot temperature sensor leads under a tile into
the roof space and down to the solar pump controller but
do not connect at this stage. Ensure the hot temperature
sensor leads are not in contact with the water pipes at
any point and fasten to framework with cable ties as
necessary.
Leave the plastic cover/s in place until commissioning
the solar hot water heating system.
It may be necessary to use packers underneath the top
frames to achieve proper alignment of the compression
union between the water outlet of the first solar collector
and water inlet of the second solar collector.
Repeat the above steps as necessary if more solar
collectors are being installed.
Once all solar collectors are in place, remove sufficient
tiles from above the tiles supporting the top frame/s.
Lift the top frame/s slightly, hook the top stainless steel
straps onto the top frames and attach the retaining
plates to the top stainless steel straps using the screws
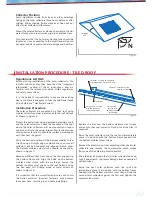
and nuts provided. The top stainless steel straps should
be spaced as shown in Figure 7.
Fit elbow compression fittings to the water inlet of the
first solar collector and hot water outlet of the last solar
collector. Penetrate the roof, connect the water pipes
with compression fittings and tighten.
Lower the top frame of the solar collectors back onto the
roof and packers. Fasten the top stainless steel straps to
the roof battens using three self drilling wood screws or
metal screws per strap, as shown in Figure 7.
Replace the tiles over the top stainless steel straps and
ensure they seat correctly.
Flash or seal the water pipe penetrations and the tiles (if
required).
Fasten the bottom stainless steel straps to bottom solar
collector frames with two screws per strap.


