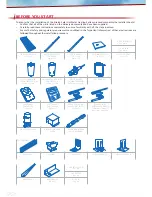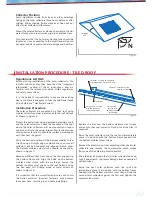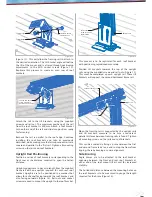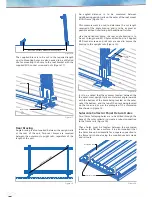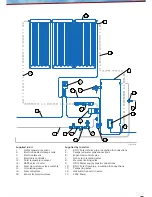
CGI Roof Bracket
1
Rail Bracket
2
Socket head screw (M8)
3
Washer (M8)
4
CGI Roof Mount Bracket
5
Nut (M8)
1
2
3
4
5
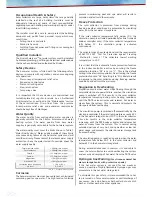
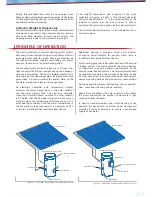
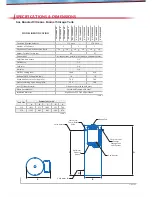
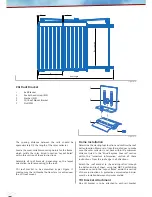
Figure 11
A
Rail length
Rail spacing
6mm
50mm
Figure 10
Frame Installation
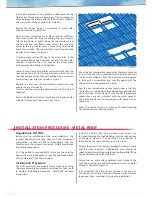
Determine the starting foot location and confirm the roof
batten location. Measure in from the roof edges to make
sure the solar collector is set back within the minimum
distance listed in the “Wind Regions Covered” section
within the “Important Information” section of these
instructions, from the roof edge in all directions.
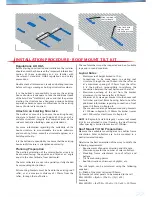
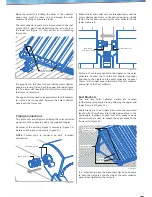
Attach the roof bracket to the existing rafter through
the batten and roof sheet, using two M6 TS self-drilling
screws as noted in the “Layout Rules” within this section
of these instructions. A protective anti-corrosion barrier
must be installed between dissimilar metals.
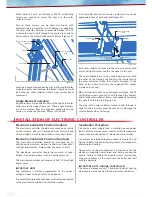
Tilt Bracket Attachment
One tilt bracket is to be attached to each rail bracket
The spacing distance between the rails should be
approximately 3/4 the length of the solar collector.
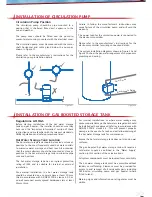
Locate the most suitable mounting points for the frame,
which satisfy the rules listed in section “Layout Rules”
within this section of these instructions.
Assemble all roof brackets, depending on the layout
orientation, before mounting to the roof.
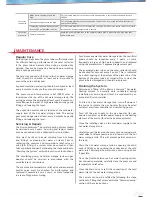
CGI roof bracket to be assembled as per Figure 11
making sure the rail bracket bottom face is centred over
the CGI roof mount.


