Software Manual
131
■
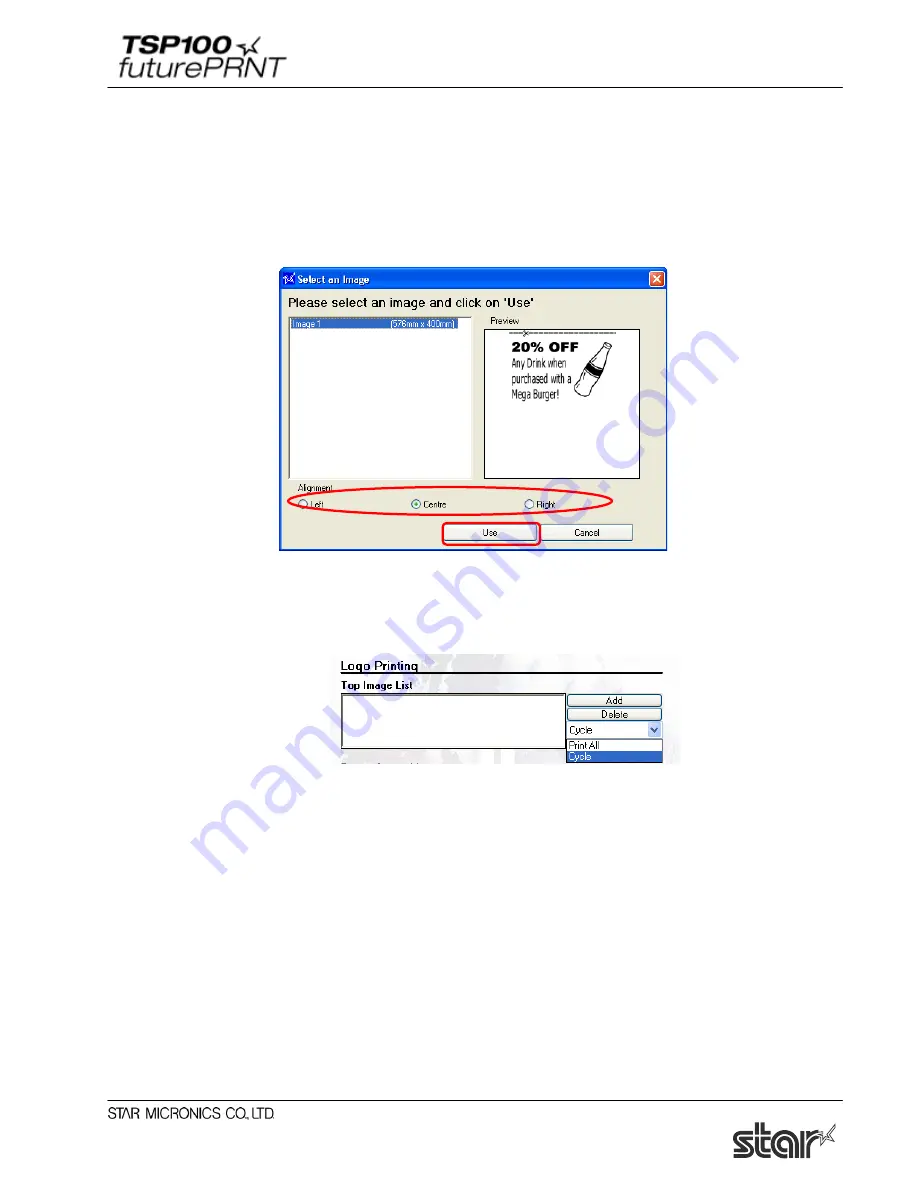
Top image setting
Print the selected image at the top of a receipt.
(1) Click “Add” next to the “Top Image List” text box.
(2) Select the desired image from the image list registered in "4.8.1 Adding an Image", and
specify the image printing position in Alignment.
(3) Click “Use”.
(4) Multiple images can be specified in the image list.
When specifying multiple images, select "Cycle" or "Print All" as a printing method.
Selecting “Cycle” prints the specified images in sequence.
Selecting "Print All" prints the specified image at the top of each receipt.
Содержание Star futurePRNT TSP100GT
Страница 9: ...Software Manual 4 6 Click Next to continue 7 Choose the user and then click Next to continue ...
Страница 132: ...Software Manual 127 Click Add New to browse for an image to add to the list The following Image Import window appears ...
Страница 135: ...Software Manual 130 4 11 1 Logo Printing The following shows the setting required to print an image on a receipt ...
Страница 173: ...http www starmicronics com support ...


