Op
erat
io
n
Scanning Pictures and Printing
9
If all the pictures cannot be displayed on one page,
touch the [
b
] or [
B
] button to display more pages.
4
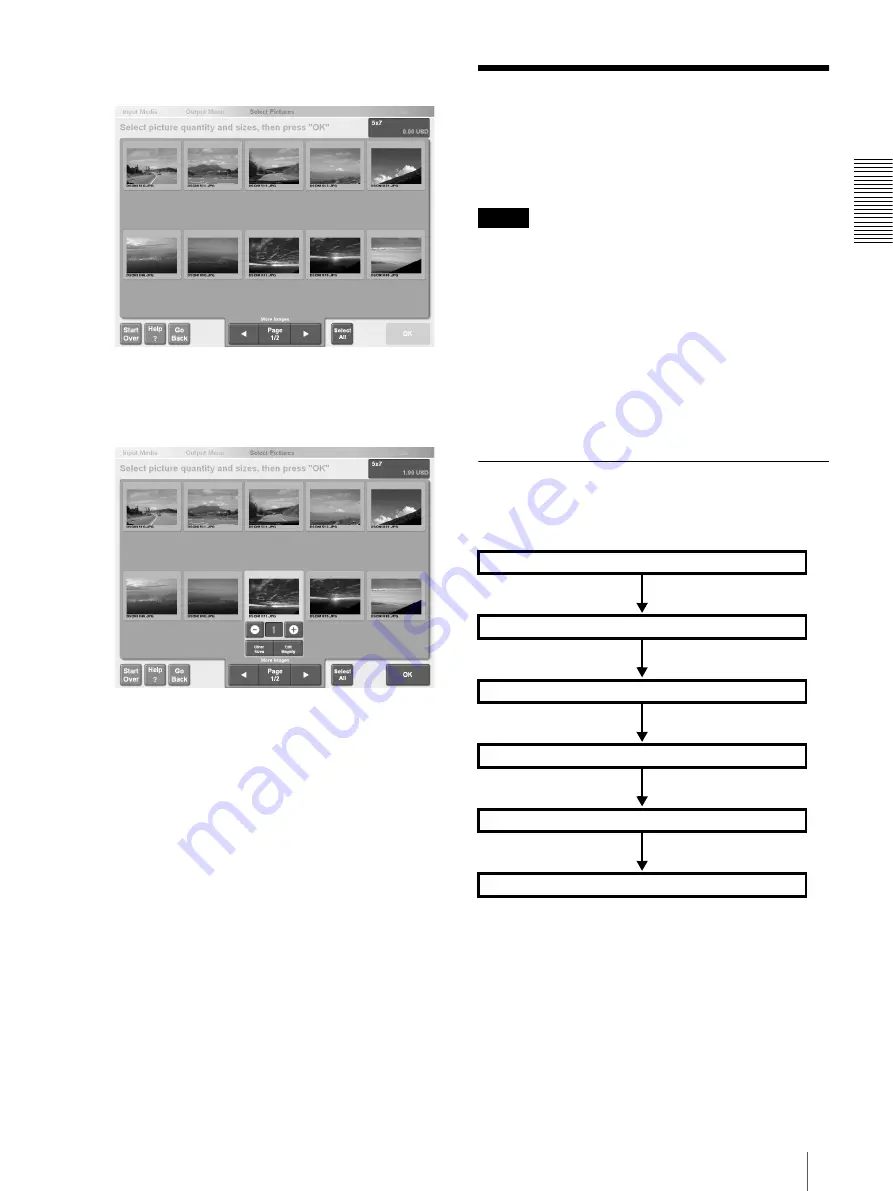
Specify the number of copies to print.
Touch a picture to select it, and then touch the [+]
or [-] button to increase or decrease the number of
copies.
At this step, you can also perform the following
procedures:
• Add text to pictures.
For details, see “Add Text to Pictures” (page 22),
step 2.
• Select sepia or black-and-white picture color.
For details, see “Selecting Sepia or Black and
White” (page 20), step 2.
• Print matte pictures (8 × 10/8 × 12 prints only).
For details, see “Printing Matte Pictures”
(page 18), step 2.
5
When you are done specifying the number of copies
to print, touch the [OK] button.
A screen appears, allowing you to verify your order.
From here, the procedures are the same as those for
pictures stored on media. Proceed to step 1 of
“Verifying the Order and Entering a Password”
(page 7).
Scanning Pictures and
Printing
This section describes how to scan pictures and print
them.
Notes
• A compatible printer (UP-DR100, etc.) and scanner
(sold separately) must be connected to this system to
scan and print pictures.
For details, refer to the hardware instruction manual.
• To perform scans, the [SCANNER] option under
[Input Icons] on the [Screens] tab on the
Administration screen must be set to “on”.
• If you plan to connect and use a scanner, you must
install the driver for the scanner.
For details, contact your dealer or a Sony
representative.
Operation Flow
The following represents the normal flow of operations
to scan pictures and print them.
Select the scanner as the input device
Select the output service
Scan pictures
Specify the number of copies to print
Verify the order and enter a password
Output


