Op
erat
io
n
Editing Pictures
18
3
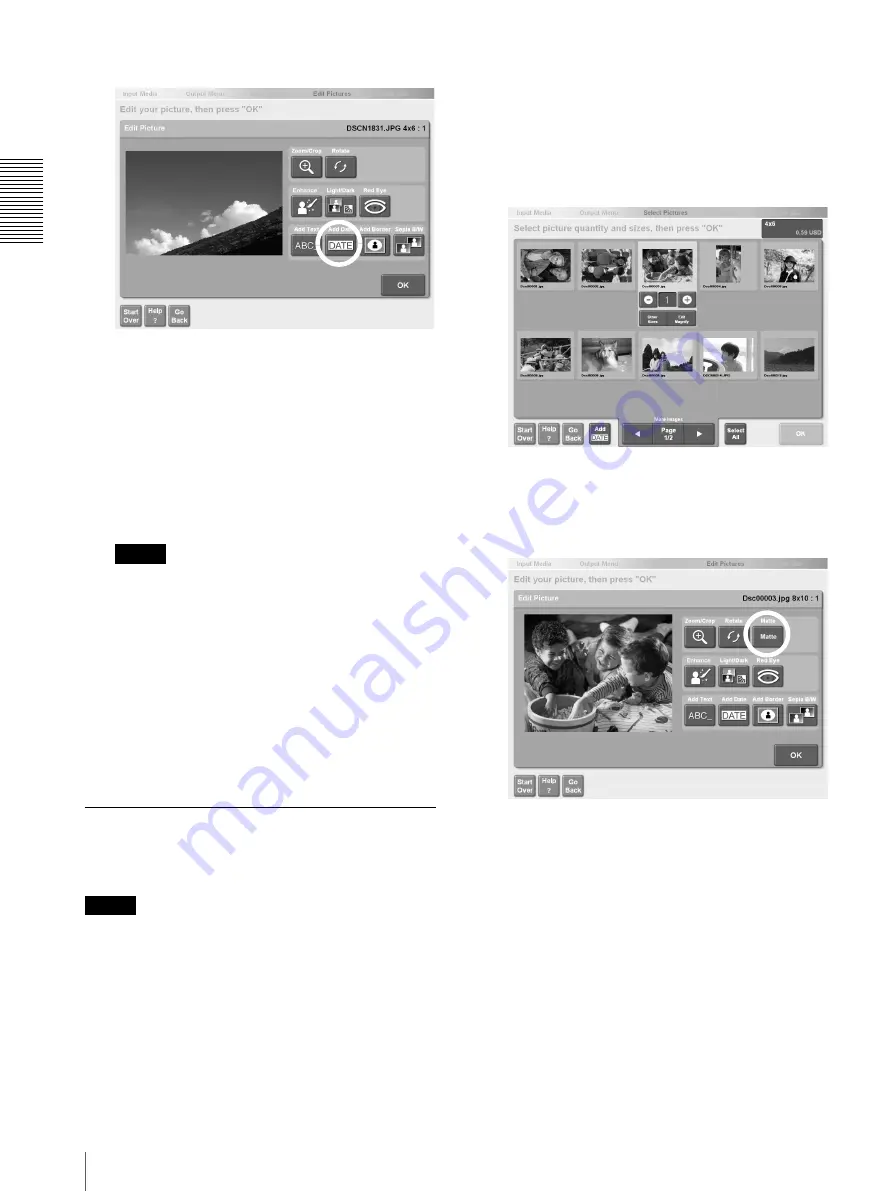
Touch the [DATE] button.
The picture is stamped with the date. If you want to
remove the date, simply touch the [DATE] button
again.
4
When you are finished stamping dates on pictures,
touch the [OK] button.
The display returns to the screen at step 1. At this
point, the [DATE] icon appears beneath the date-
stamped pictures. You can continue editing other
pictures or return to the output operation.
Note
The presence of the [DATE] icon indicates that the
date has been added to a picture, but only applies to
pictures at the paper size you selected during
“Selecting the Output Service” (page 7). If you
specify additional paper sizes when selecting
pictures, you can still set the date stamp for each
additional paper size, but the [DATE] icon will not
reflect this.
For details on adding paper sizes, see “Specifying
Additional Paper Sizes When Selecting Pictures”
(page 25).
Printing Matte Pictures
You can adjust your pictures so that they are matte when
printed.
Note
This function can only be used with 8
×
10/8
×
12 size
paper.
1
To select a picture for matte printing, touch the
picture in the screen used to specify the number of
copies.
For details, see “Selecting the Pictures and
Specifying the Number of Copies to Print”
(page 6), step 2, or “Specifying the Number of
Copies to Print” (page 11), step 1.
2
Touch the [Edit/Magnify] button.
The picture editing screen appears.
3
Touch the [Matte] button.
The picture is set to be printed as a matte picture. To
cancel this setting, touch the [Matte] button again.
4
When you are finished, touch the [OK] button.
The display returns to the screen at step 1. You can
continue editing other pictures or return to the
output operation.


